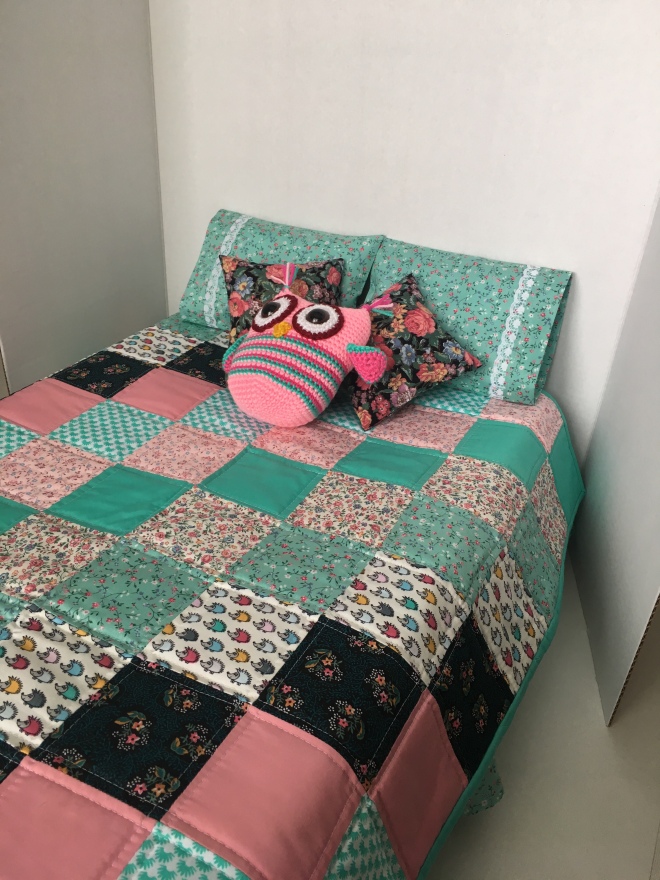


This sweet bedding set is perfect for 18 inch dolls. Suitable for other dolls too!
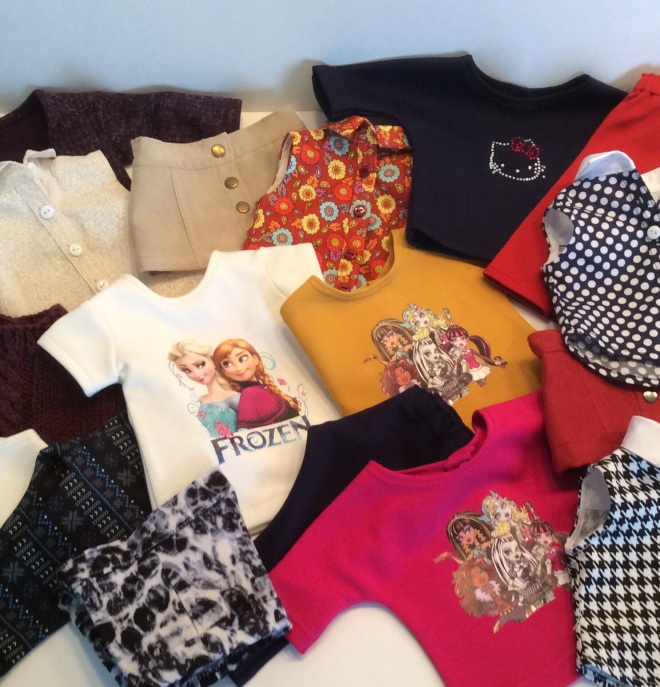
The bed is actually a storage container which is large enough to store the doll, bedding, as well as a variety of clothing and accessories when not in use. The container can be stowed away under a bed and out of site.
The project is a great way to use up some of your fabric stash as well as some of the smaller scraps.
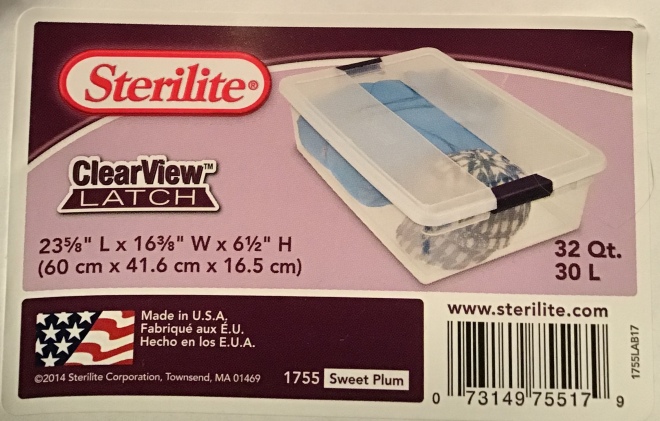
The container I used is a 30 L (32 Qt) Sterilite brand.
At the end of this post I have included instructions if you are using a different size container
Instructions for cutting your fabric:
Dust Ruffle
16 (3/4 x 24 inches for the top)
4 (7 x 42 inch strips for the ruffle).
Quilt
72 (3 1/2 inch squares of assorted fabric) for the quilt top
(26 x 29 inches) for quilt back
3 (2 1/4 x 42 inch strips) for the binding
(26 x 29 inches) of quilt batting
Pillow and Pillowcase:
Pillow (make 2): 4 (5 1/2 x 7 1/2 inches)
Pillowcase (make 2): 2 (6 1/2 x 18 1/2 inches)
Small amount of fibrefill to stuff the pillows.
To make the dust ruffle:
- Sew the short ends of the 4 strips together. Finish the seams and press. You now have a long 168 inch strip.

- Fold and press up 1/4 inch on one of the long edges. This will be for the hem but do not stitch the hem yet.

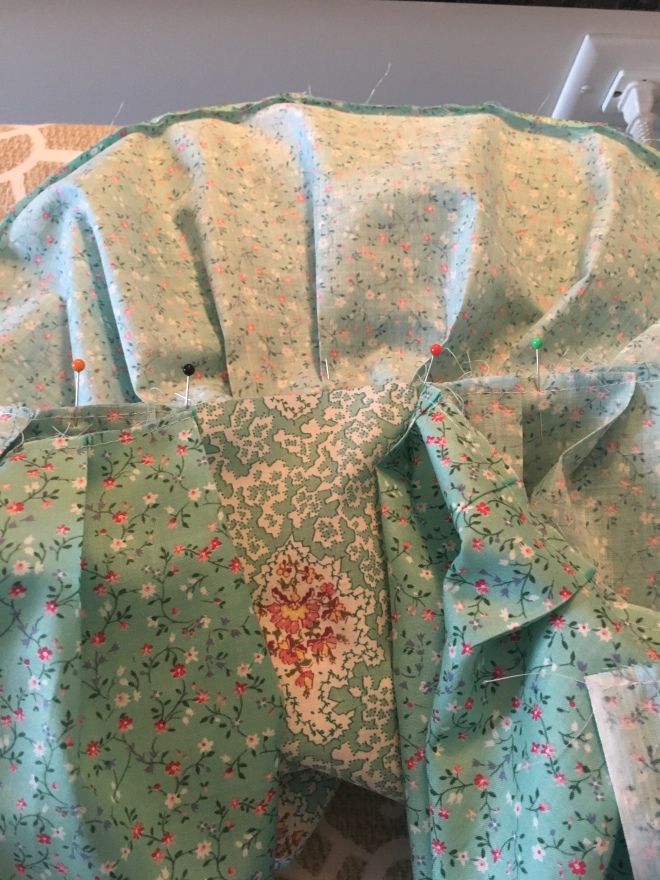
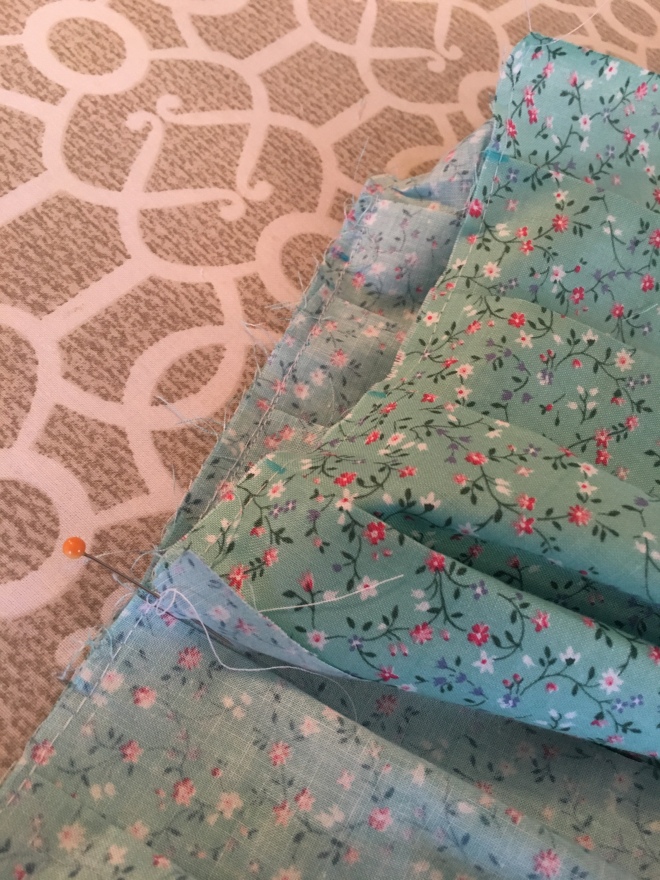
- Mark the other long edge at 1 1/2 intervals along the entire length.

- Make a pleat at every second mark and pin in place as shown.

- Stitch pleats 1/8 inch from edge using a long basting stitch.

- Beginning at the center of one of the short sides of the ruffle top with right sides together, sew the ruffle to the ruffle top. Leave about 2 inches of ruffle unstitched at the beginning.
- When you have sewn all around the ruffle, stop about 2 inches from the beginning. There will be some excess ruffle.

- You will now join the 2 ends of the ruffle together. You will need to cut the excess ruffle, join the ends, and sew the last section to the ruffle top.


- Finish the seam and press.
- Fold the bottom edge of the ruffle another 1/4 inch and stitch the hem. Press.
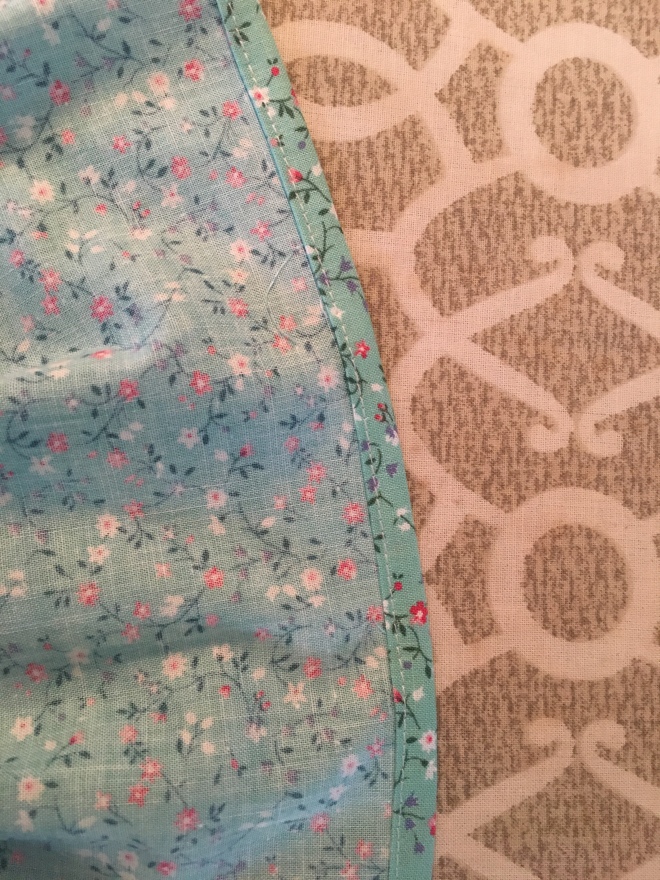
- The ruffle is now finished and it should fit nicely over the container.

To make the quilt top:
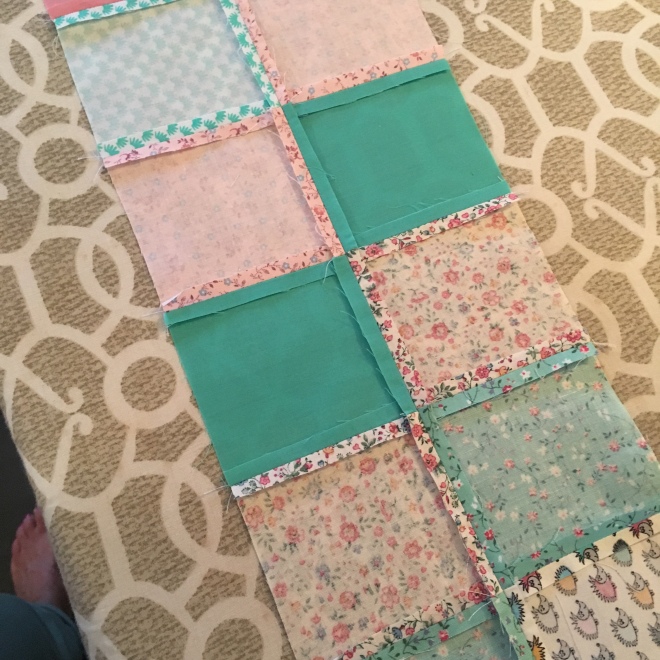
- On a large surface, lay out your squares 8 per row x 9 rows. They can be random or ordered, however you like them.

- When you are happy with the look, label the first square of every row. I just used scraps of paper with 1-9 and pinned in place. DO NOT REMOVE THE NUMBERS UNTIL THE TOP IS COMPLETELY SEWN.
- Stack each row in order so that the first block in the row is on top and the last is on the bottom.

- Sew the 8 blocks of each row together using a 1/4 inch seam. Try to keep the seams as precise as possible.

- Press the seams open.
- Sew the rows 1-9 together matching the seams of the blocks.
- Remove the labels.
- Press the seams open

- Press the front.

Assembling the quilt sandwich:
- Press the quilt back to remove any wrinkles.
- Lay the quilt back wrong side up on a large surface.

- Place the batting on the quilt back and smooth out any wrinkles.
- Place the quilt top right side up, centred on top of the batting. The batting and backing are a little bigger than the quilt top. The excess will be trimmed later.

- Secure all three layers together. I used a spray on basting product. You could also use pins or baste together by hand.
- Machine stitch your quilt together. I stitched about 1/4 inch on both sides of the seams in this example. Other options include stitch in the ditch on the seams, or an all over free motion pattern.
- Stitch around the perimeter of the quilt using a 1/8 inch seam allowance. This will keep the outer edges nice and even.

- Trim the edges of your quilt to the size of the quilt top.

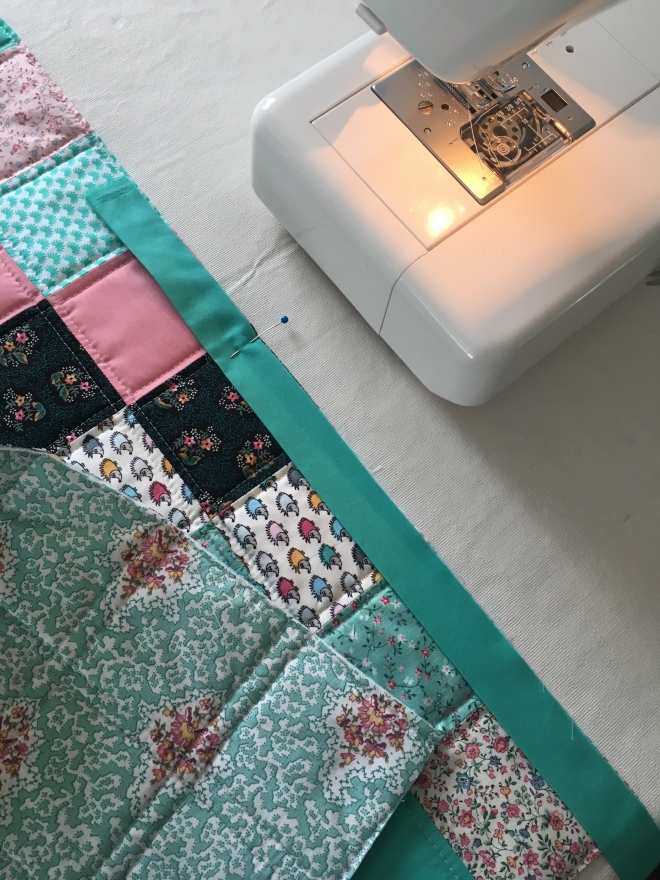
Binding the quilt:
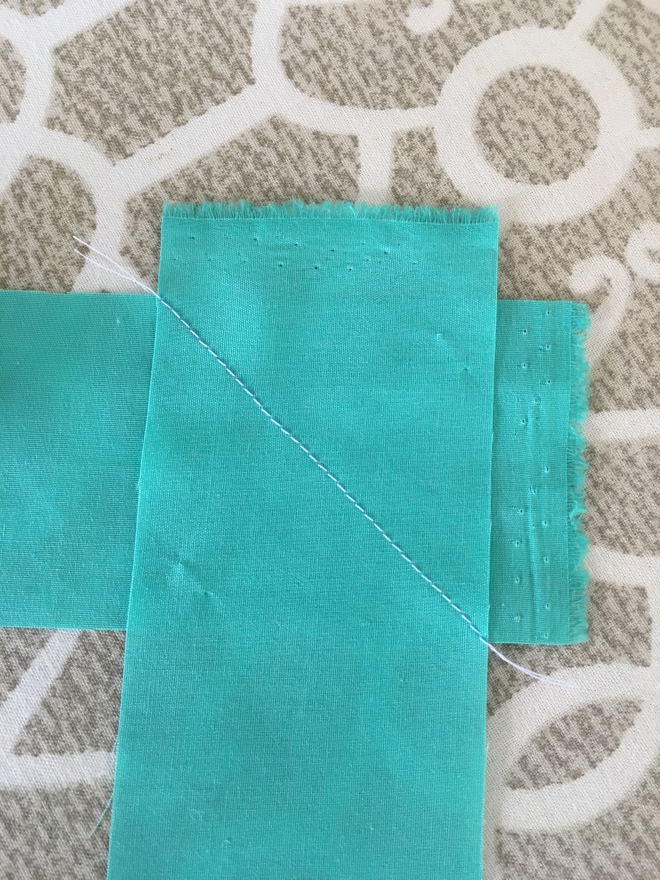
- Sew the short edges of the binding together by overlapping 90 degrees with right sides facing and stitching at a 45 degree angle as shown. Trim the seam allowance to 1/4 inch. Press seam open.


- Fold the strip in half lengthwise and press.

- Beginning at the center top of the quilt, pin the unfinished edge of the binding to the right side of the quilt. Start about 5-6 inches from the end of the binding. You will need this unstitched section to make the join at the end. I do not pin all the way around. I just align the edges as I go.
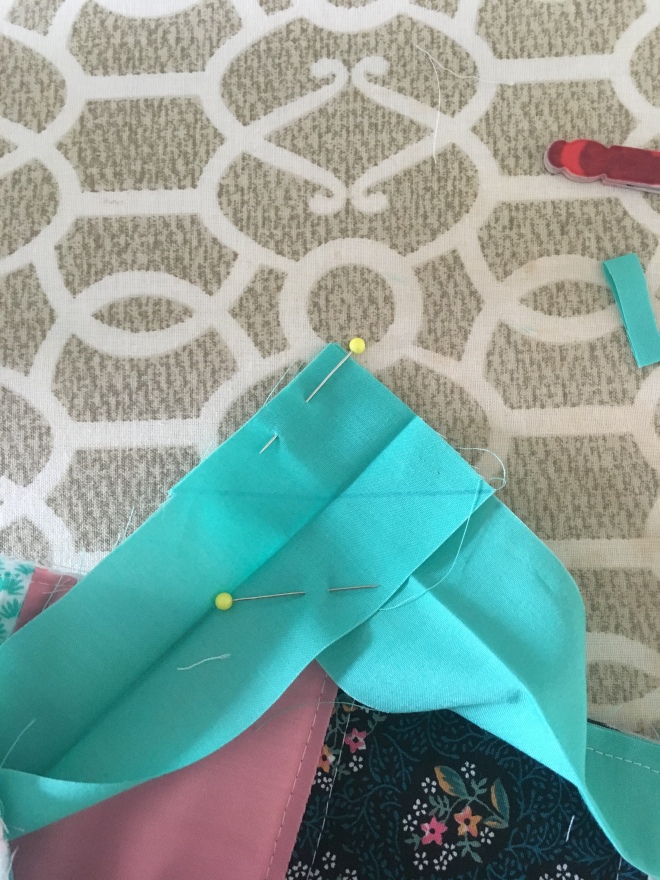
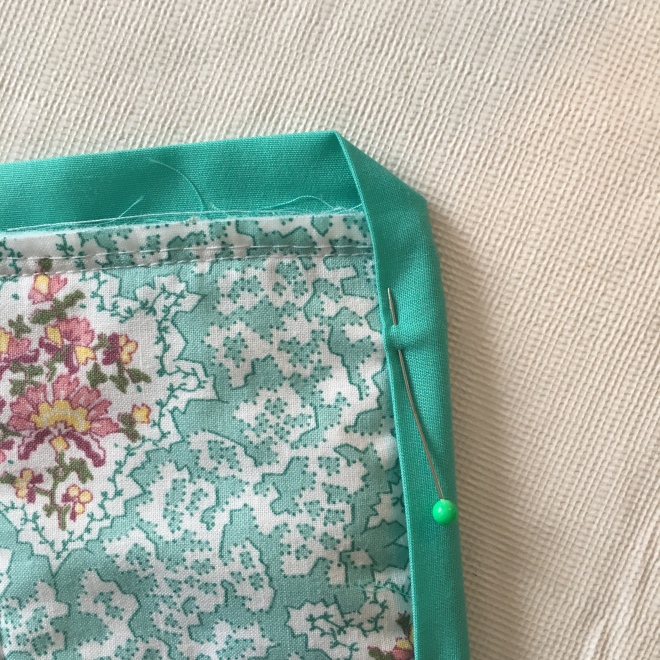
- Sew a 1/4 inch seam allowance. Stop 1/4 inch from the end of the first side. With the needle in the down position, turn 45 degrees and stitch to the point of the quilt. Cut the thread.

- Fold the binding 45 degrees as shown and pin in place.

- Now fold the binding again to line up with the next side.
- Stitch to the next corner and repeat the process.

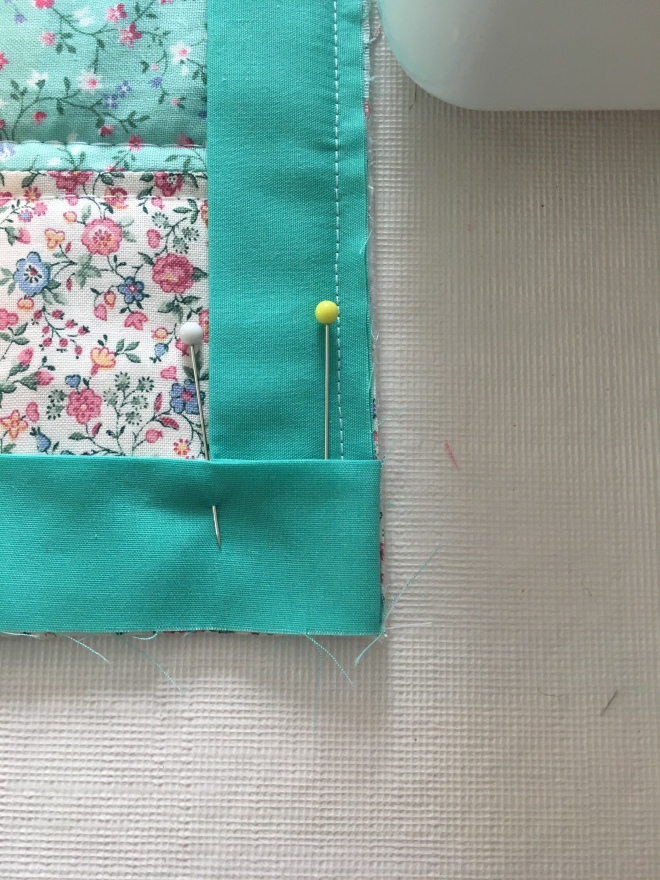
- When you reach the top edge of the quilt, after you have stitched the fourth corner, stop stitching about 10 inches from where you began stitching. Cut the thread.
- There will be excess binding. Trim the excess so that the binding overlaps exactly 2 1/4 inches as shown.

- Now pin the 2 ends of the binding at 90 degrees with right sides facing. Draw the 45 degree stitching line as you did when you were joining the binding strips. Stitch on that line. Do not cut it yet.
- Open the seam and check that it looks good, and the binding fits the unstitched section.

- If everything looks good, trim seam allowance to 1/4 inch. Press.
- Stitch the section of the binding that was left unstitched.
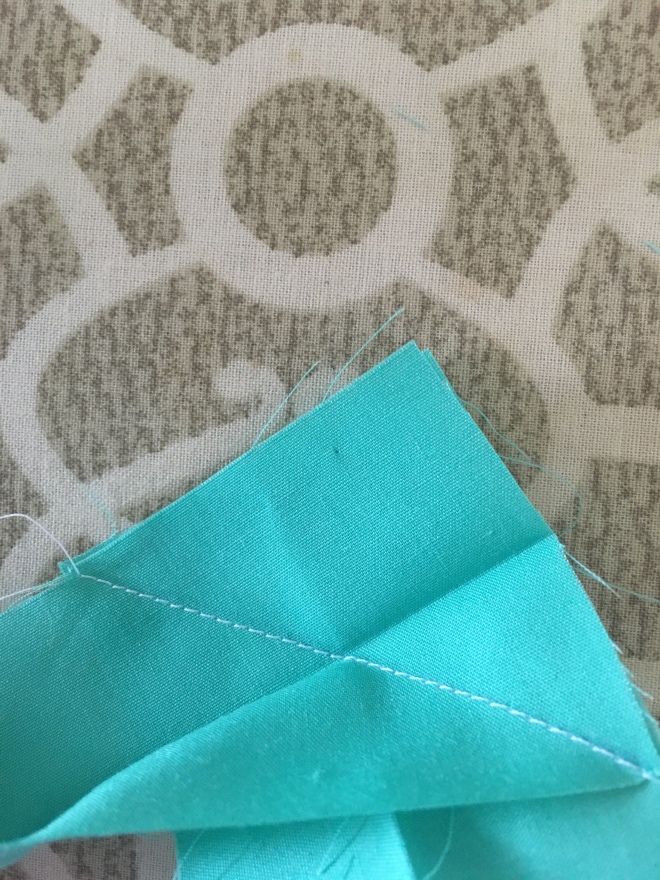
- Clip the corners of the quilt.

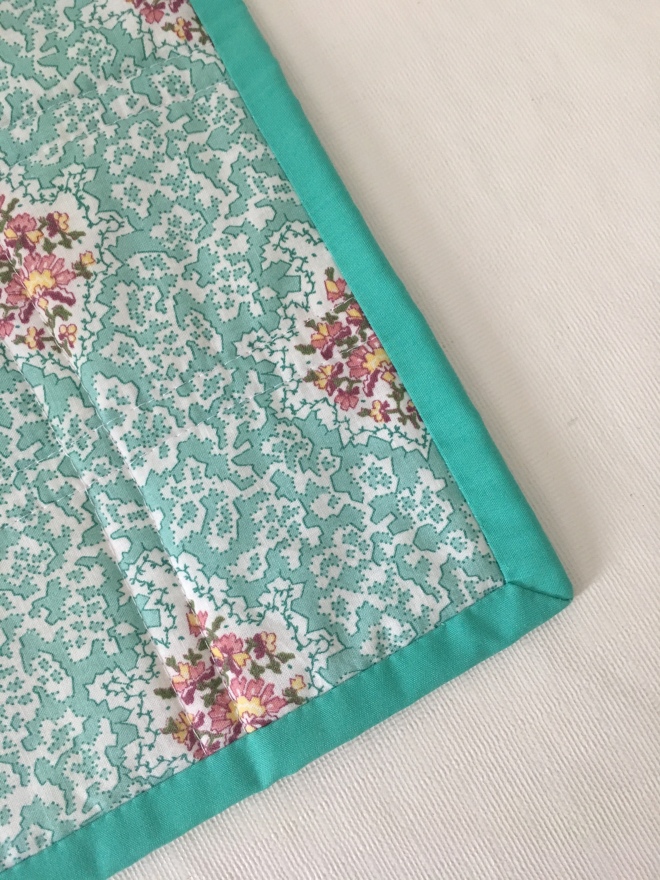
- Turn the binding over to the back. You can see the nice mitred corner that formed on the front.

- Mitre the corners on the back as shown.

- Stitch the binding on the back. I sewed mine by hand. Another option would be to stitch in the ditch from the front side, making sure to catch the binding on the back. Personally I like the look of the hand stitching.

Making the pillows (2):
- Stitch around the perimeter of the pillow leaving a 2 inch opening. Clip the corners.

- Press the stitching to set the seam which will remove puckering. Turn right side out and press. Stuff with fibrefill. Hand stitch the opening.


Making the pillow cases (2):
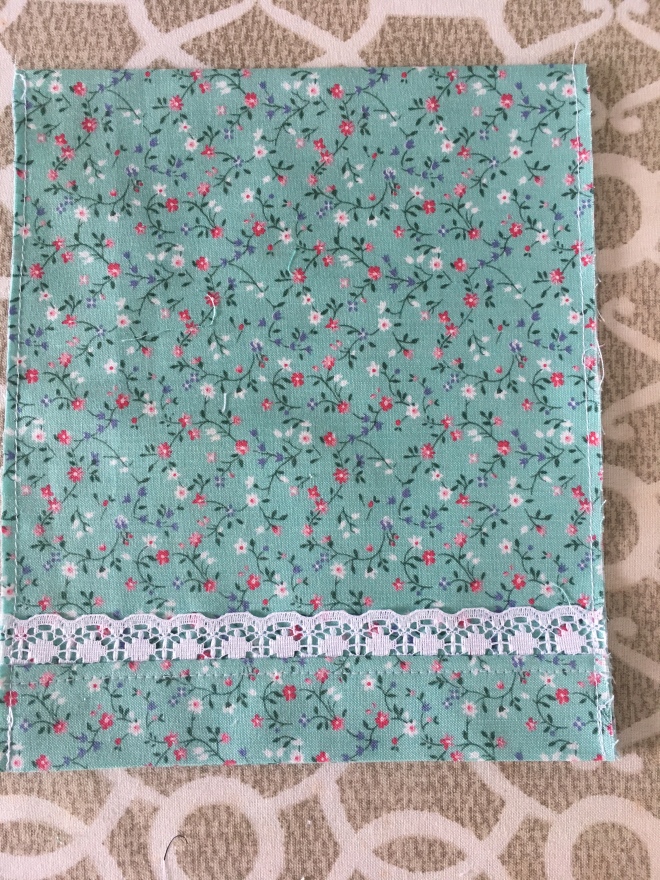
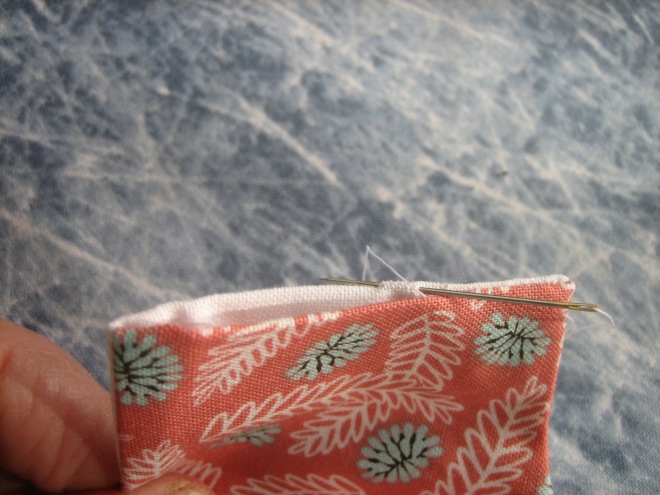
- If you are not adding lace or other trim, skip the first 5 steps. Fold one short edge 2 1/4 inches with right sides facing. Press.

- Place the lace into the fold as shown.
- Fold back at the crease and pin to secure the lace in place.
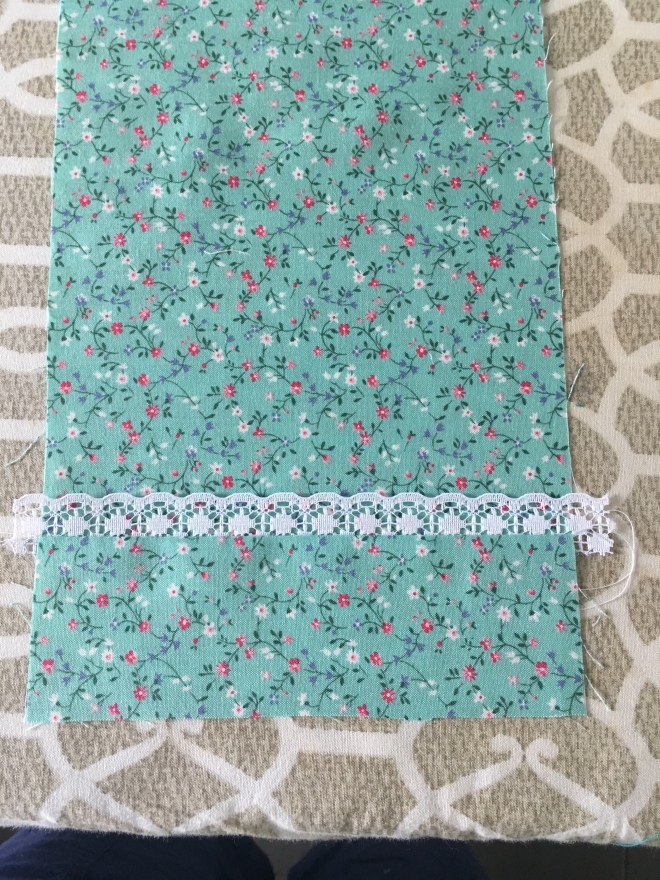

- Stitch the fold at 1/4 inch. Press.

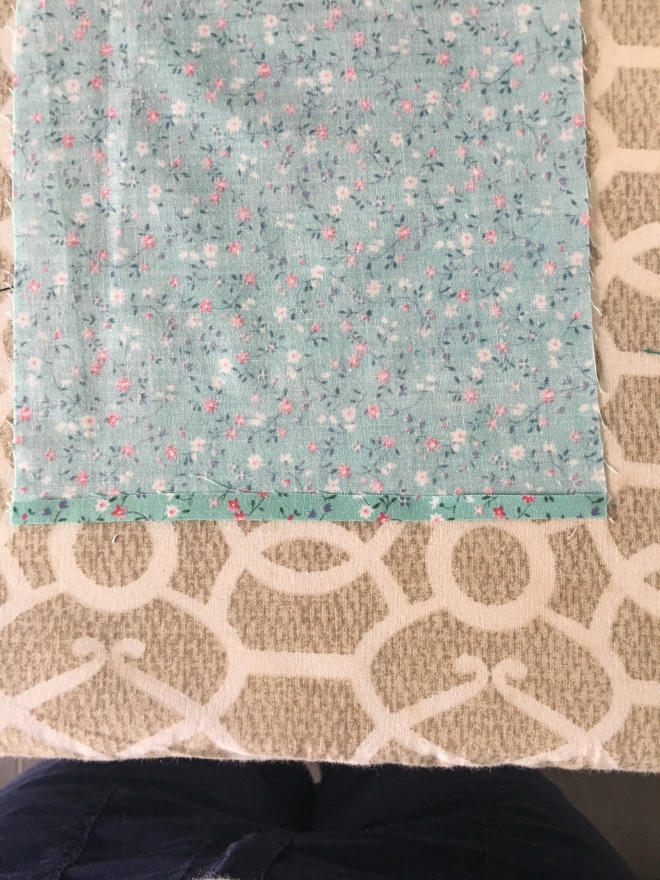
- Turn to the wrong side. Fold the bottom edge so that it fits snugly under the seam of where the lace was stitched. Press. From the right side, topstitch a shy 1/4 inch from the lace. (Sorry but I missed this photo).
- On the other short edge, turn up 1/4 inch and press. Turn up another inch and press. Stitch the hem in place. If you are not using the lace, you would hem both short edges in this manner.

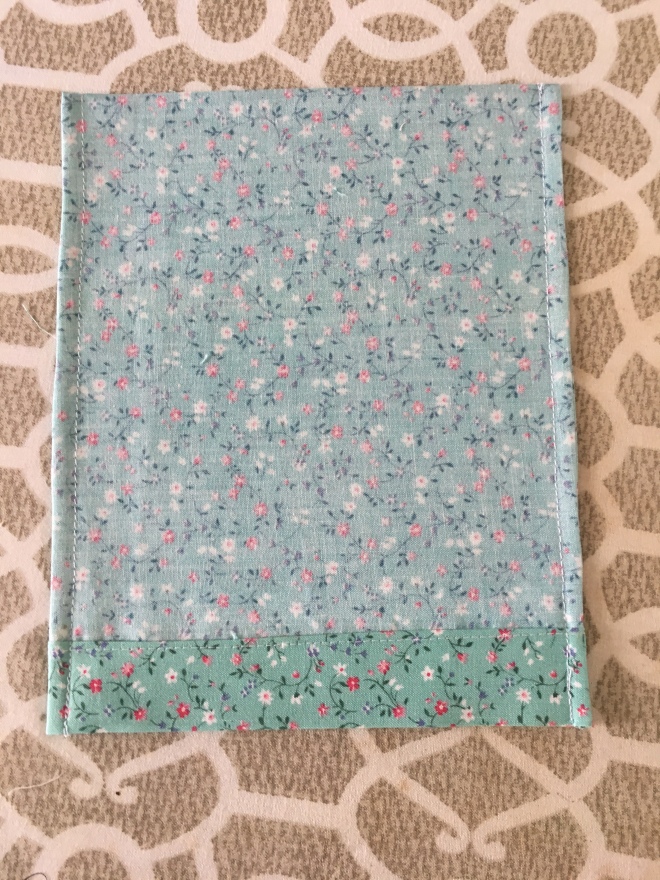
- With wrong sides together, Fold the pillow case so that both hemmed edges align. Press
- Stitch both side seams at 1/8 inch.
- Turn case inside out and press.
- Stitch side seams at 1/4 inch. This is called a French seam. It makes a beautiful finish to the pillow case both inside and out. Turn the case right side out and press.

Should you wish, you could make a few throw pillows to adorn the bed when the doll is not sleeping😊😴😴😴😴
Instructions to calculate for a different size container:
If you are not able to find the exact container that I used, here is how you would adjust you cutting sizes to fit another container:
You will need to take the measurements of your container. Seam allowance is 1/4 inch throughout. Let’s use the example of a container that measures
(Length 20 inches, Width 16 inches, and Height 5 inches). The perimeter would be 72 inches.
Bed ruffle top (length + 1/2 inch x width + 1/2 inch). Round the corners if the container has rounded corners.
(So for the example size above you would cut 20 1/2 inches by 16 1/2 inches)
Measure the height of the container. Also measure the perimeter. Cut the ruffle pieces (Height + 3/4 inch)by (perimeter x 2 + 6 inches)
(So for the example size above you would need your ruffle cut 5 3/4 inches by 78 inches)
The quilt squares are cut at 3 1/2 inches which give a finished size of 3 inches. You will want approximately 3 inches to drape over the edge on both sides and the bottom of the bed.
(So for the example size above you would need 7 blocks wide by 8 rows high for a total of 56 blocks). This would make you quilt top 21 x 24 inches
Then cut your backing and batting about 1 inch larger on all sides.
(So for the example size above you would use 23 – 26 inches)
The binding will be 2 1/4 inch by perimeter of the quilt + 10 inches.
(So for the example size above you would need your binding cut 2 1/4 inches by 110 inches which should be about 100 inches long after the mitred joining)
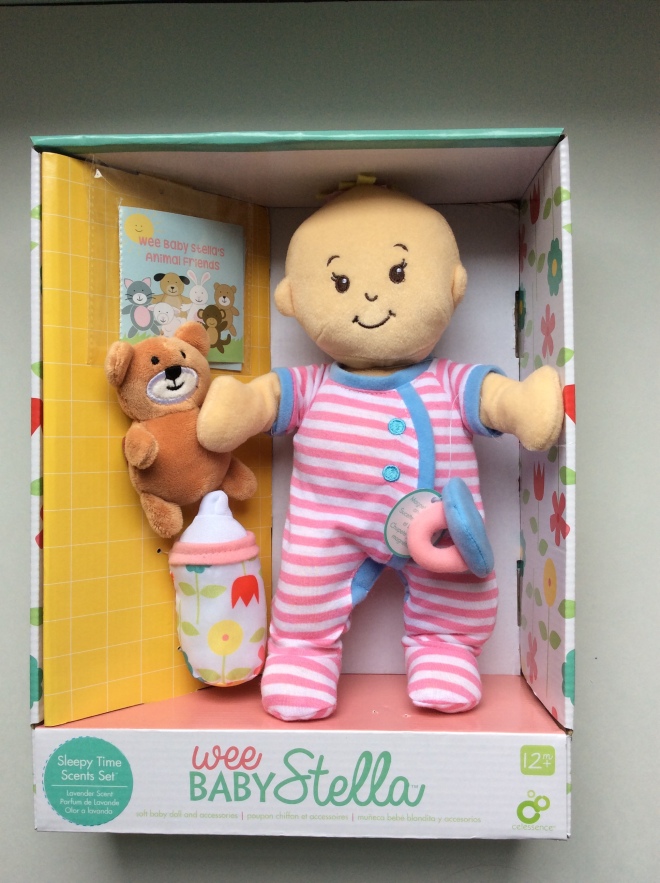 Bought this beautiful little doll for my newest granddaughter for Christmas. She has this very pleasant surprise scent of lavender. Smells like a real baby when you cuddle her.


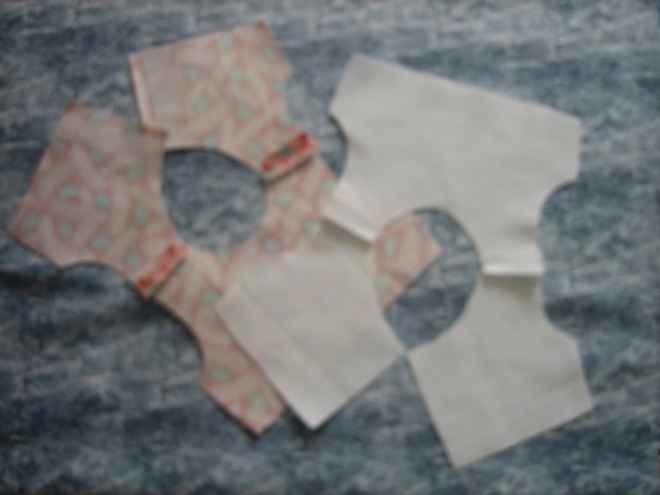


 12. Turn shirt right side out through the center back opening. Poke out the bottom corner of the center back as you did for the top corner earlier. Press the bottom edge.

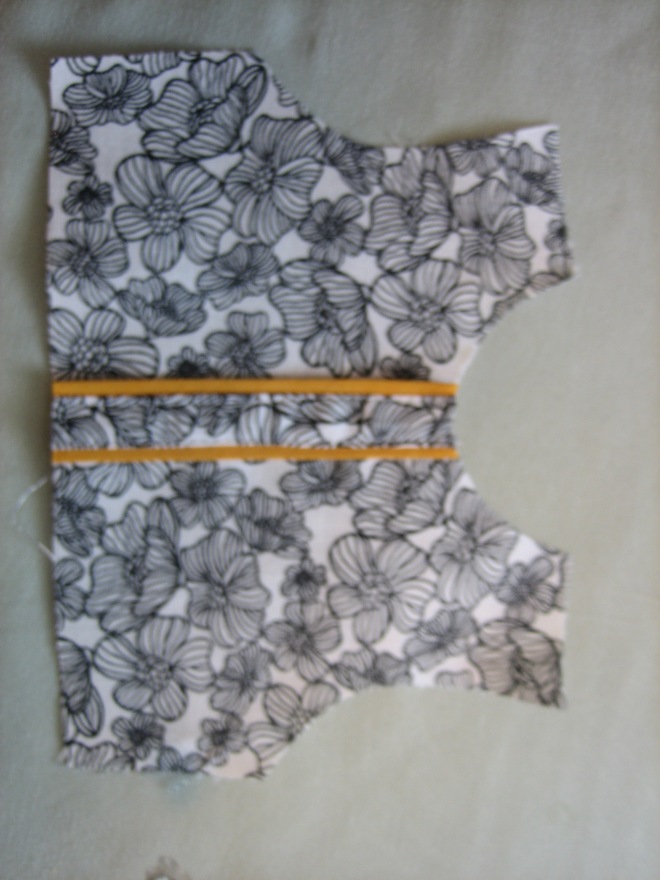
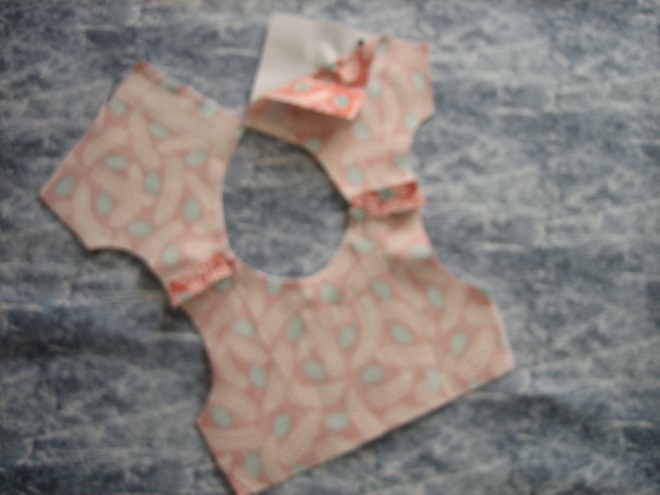
 14. Now all that is left is the closing. The back has allowance to overlap 5/8 inch. I chose to close my top with 2 KAM snaps Other options would be to use button holes and buttons, sew on snaps, or Velcro strips.