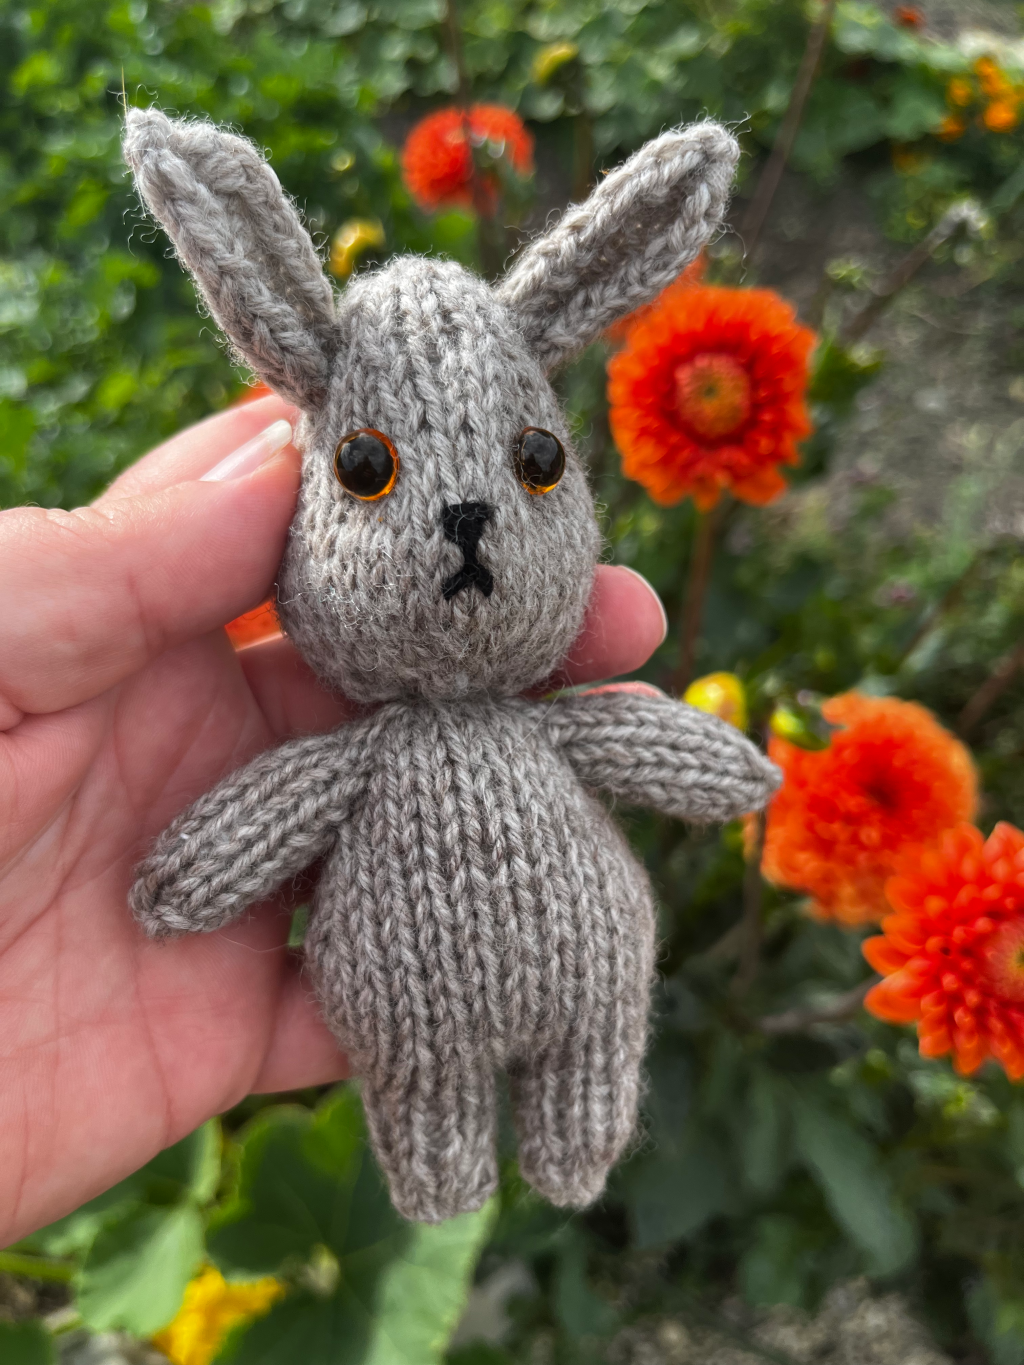
Knit your own Easter bunny. He is knit flat, using nothing more exciting than knitting 2 together, making 1 or knitting into the front and back loop.
If you prefer a Ribblr interactive pattern – one is available here: https://ribblr.com/pattern/easter-bunny-Knitting?referrer=356843

Abbreviations:
k – Knit
p – Purl
m1 – Make one by picking up the bridge between the stitches and knitting it
kfb – Knit into the front and back of the stitch which increases one stitch
k2tog – Knit 2 together
ssk – Slip 2 stitches as if to knit, insert left needle into the back of the stitches and knit them through the back loop.
p2tog – Purl 2 together
yo – yarn over to increase 1
ccd – centre double decrease
You will need:
– 3.5mm knitting needles
– DK weight yarn
– Darning needle, scissors, stuffing, safety eyes
– Optional – fork or pom pom maker for the tail
Body – start with the legs
Leg 1 –
Cast on 8 stitches
Stockinette stitch 6 rows. Cut the yarn. Slide the work to the other end of the needle, and cast on leg 2 on the same needle.
Leg 2 –
With leg one slid to the other end of the needle, cast on 8 stitches
Stockinette stitch 6 rows.
Body –
Slide both legs together and treat them as one unit from now on. You should have 16 stitches on your needles.
Row 7 – k3, kfb, m1, k7, kfb, m1, k4 (20 stitches)
Row 8 – p
Row 9 – k4, kfb, m1, k9, kfb, m1, k5 (24 stitches)
Row 10 – p
Row 11 – k5, kfb, m1, k11, kfb, m1, k6 (28 stitches)
Row 12 – p
Row 13 – k
Row 14 – p
Row 15 – k5, k2 tog, ssk, k10, k2 tog, ssk, k5 (24 stitches)
Row 16 – p
Row 17 – k
Row 18 – p
Row 19 – k4, k2 tog, ssk, k8, k2 tog, ssk, k4 (20 stitches)
Row 20 – p
Row 21 – k
Row 22 – p
Row 23 – k3, k2 tog, ssk, k6, k2 tog, ssk, k3 (16 stitches)
Row 24 – p
Row 25 – k2, k2 tog, ssk, k4, k2 tog, ssk, k2 (12 stitches)
Row 26 – p
Neck – Row 27 – k, yo, – repeat to the last stitch, k (23 stitches)
Row 28 – p
Row 29 – k7, m1, k4, m1, k1, m1, k4, m1, k7 (27 stitches)
Row 30 – p
Row 31 – k13, m1, k1, m1, k13 (29 stitches)
Row 32 – p
Row 33 – k
Row 34 – p
Row 35 – k
Row 36 – p
Row 37 – k7, ssk, k3, k2 tog, k1, ssk, k3, k2 tog, k7 (25 stitches)
Row 38 – p
Row 39 – k10, k2 tog, k1, ssk, k10 (23 stitches)
Row 40 – p
Row 41 – (k2 tog, k1) – 4 times, (ssk, k1) – 4 times (15 stitches)
Row 42 – p
Row 43 – k
Row 44 – p
Row 45 – k2 tog, k1 – repeat over the row (10 stitches)
Row 46 – p
Row 47 – k2 tog – repeat over the row (5 stitches)
Cut yarn with a 20cm tail remaining, thread through the 5 stitches and pull tight. This tail will be used to darn up the head.
Arms – make 2
Cast on 8 stitches
Stockinette stitch 9 rows
P2 tog over the whole row – cut yarn with a 10cm tail remaining, thread through the stitches and pull tight.
Ears – make 2
Cast on 6 stitches
Stockinette stitch 9 rows
P2 tog over the whole row
ccd leaving 1 stitch – cut yarn with a 10cm tail remaining, thread through the stitches and pull tight.
Assembly
Stitch up the inseam of the legs. Stitch from the top of the head down to the neck. Stuff the head, legs and body. Stitch up the back seam. Thread the needle through the row of neck holes and pull tight to create the neck.
Stitch up the arms from the round end to the cast on edge. Stuff and stitch to the side of the bunny.
Stitch the ears to the top of the head.

Leave a comment