Thursday, May 2, 2024

Dollar tree crochet kit

One of the crochet kits I found at the Dollar tree a few weeks ago, definitely not something that will teach you how to crochet as the instructions are rather vague.. that aside they make for great carry alongs .. 

Have almost everything you need to make it, yarn, stuffing, crochet hook that looks to be about a 3 mm, embroidery floss where the facial features, plastic needle, and safety eyes.. a couple of the other kids I had picked up we're a bit different the crochet hook was marked as a 3 mm and made out of aluminum instead of plastic and it had a stitch marker as well as the needle being just a little bit bigger,  the instructions were still a little bit lacking so I wouldn't call those a beginner kit either... But they are definitely fun and worth the $1.25 


I did add a couple of rows to the ears, 

And added a pom-pom tail, also worked in spirals as it is my preferred method for making toys or in this case a charm for my mother to clip on to one of her bags ..
I have plenty of yarn to work it up and more than half of the stuffing left over after making a few different ones I was able to make several other projects from the yard and stuff and leftover

Needle felted monster thingys

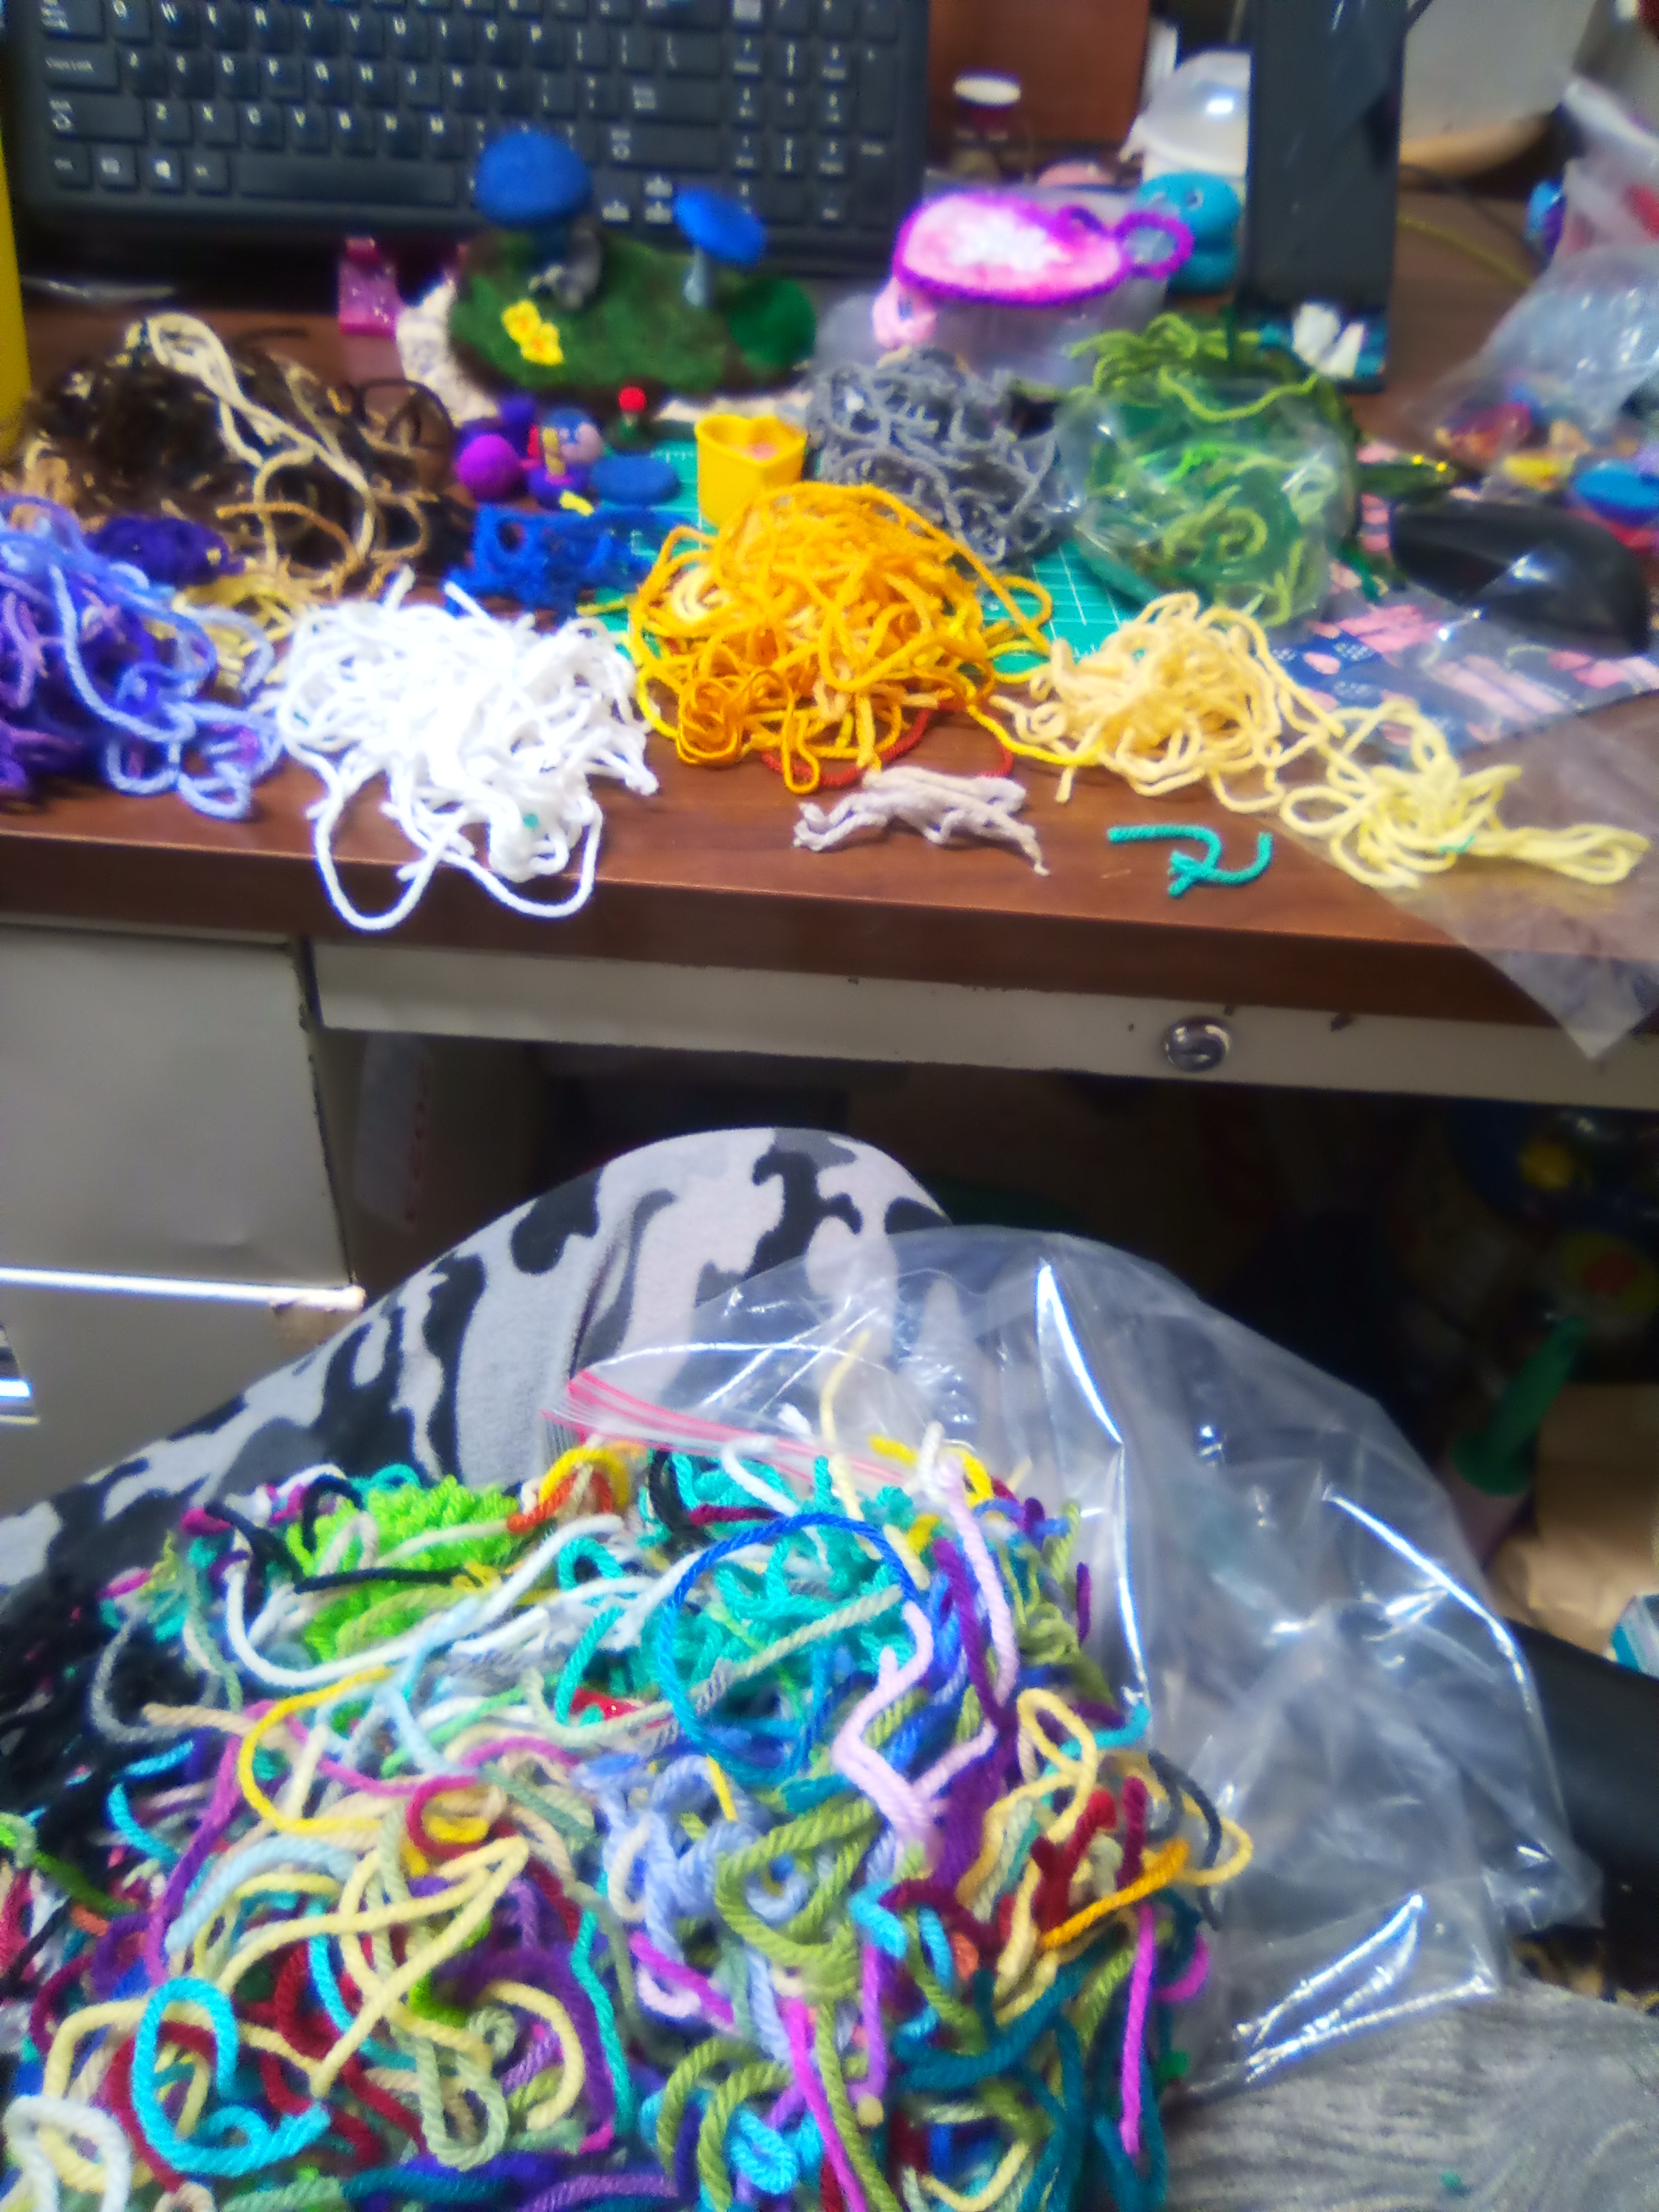
In my scrap yarn stash I've had a baggie full of light worsted weight scraps  ( Mainstay ) from an inkle weaving project.. used a few bits here and there but didn't want to use it for stuffing or tie the ends together to add to my yarn ball... I swear I will get back to that some day 😁... as the pieces were fairly long and seamed like they could be more useful... how I had no clue... until 

 I came across a needle felting video about adding hair to a project.. she called it a monster... so cute..

 After seeing some super realistic looking needle felting, I did want to try adding hair to something, but I will admit the super realistic looking critters .... they kind of creep me out.... 

I personally prefer not so realistic looking little critters sitting on my shelf ..

 the talent and skill that go into these is just amazing and awe-inspiring.. I find it fascinating to watch... just not something I want to do at least not at this point.. but that monster oh yeah I had to try a few of those...


Started by brushing out all of the yarn scraps with a pet brush ..
 The fibers that were "carded" caught up in the brushes, kind of a light felting or matting... I replaced in the baggie to use as my core fiber... the main body filler.. the term they use is core wool so I suppose I could just call it core acrylic.. anyhow I set that aside to

 
proceed with using a hair straightening iron to smooth out all of the strands that had remained straight-ish a bit better, the process also adds a nice shine to it, although I did not straighten it too much as I wanted a bit of a wonky look.. still ended up on the smooth side once it got it on..

 Set that aside going back to the core stuff I rolled it nice and tight .. as tight as I could with it puffing out every where.. 
I had picked up a felting kit from the Dollar tree.. actually my son went into the Dollar tree and found them ... I was outside sitting in the car working on crochet watching his doggie.. he only came out with three so I sent him back in for a couple more.. I couldn't believe it... I had asked him to pick up one of the small crochet kits.. he didn't even realize he picked up a felting kit LOL

while I can't use the wool in it... 
Or at least shouldn't.. ( serious reaction and allergy to wool and lanolin )
 I will admit I'm kind of tempted to put on safety gear and try it just to see what the difference is.. maybe I could get away with trying some wet felting outside with a mask on and huge rubber gloves or something... 

Okay back to this project the kit came with three needles ( if I had to guess I would say 36, 38 and 40 triangular ) and this neat little foam pad to felt on.. just the right size for a small project like this.. it also had the wool needed in the colors called for, plus an eye pin and little cord like thingy with a jump ring and  lobster claw on the end that I have since learned can be used to hang things off of phones... and whatnot ... Side note looking things up when you don't know the name is a very long process.... I definitely needed to get a few of those especially after it took me so long to figure out what they were called LOL lanyard phone ring strap on Amazon if your wondering..


Anyhow where was I ... 
I made my core very firm as I knew I would be keeping my hair rows close together and the firmness would be necessary... plus I just like they feel of it... Yeah okay it is also very satisfying for some reason to stab yarn fibers thousands of times over and get a solid shape out of it... 


Added felted eyes


I cut the "hair" in two inch sections.. and put the rows almost on top of each other they were that close... I did have to stop and find some of the smaller scraps that I had used on other projects to finish up the top of the head as I had run through everything I had prepared just at the last couple of rows.. talk about yarn chicken ugh.. it's a good thing I had already decided I wanted the hair to stand up more on the top and was able to use some smaller pieces to fill it in, lesson learned you definitely need more yarn than you would think at least more than I thought...
Using a 40 gauge triangular needle for the vast majority of it, only in the beginning did I use a 38 triangular, so far in my limited experience I find the 40 triangular to work the best for me with or worsted weight acrylic fibers.

I used a eyebrow brush/comb that I had purchased from yep the Dollar tree to use with my amigurumi doll hair... to smooth it out a bit as I went along, this particular yarn was full of static and tended to be very fly away, so I was moistening my fingers with a light mist of water as needed .. this really helped speed things up which was kind of nice as this is a very long and sort of tedious process ... but so worth it ... it turned out so cute 


I worked in circles around the base/body until I came to the eyes, between the eyes I kept the lower half worked downwards and the top upwards, I wanted the hair on the top of the head to stand upward ( good thing as previously stated lol ) ... so I added a part in the center of the head and worked rows downward from there meeting up with the circular rows I had done prior.. 
Not exactly like the video monster.. more of a "thing" vibe going here.. flat out love them .. 


This one is made with Simply Soft yarn by Caron with a part down the middle .. pre hair trimming .. core if mixed scraps.. no ironing 


Also Simply Soft with no ironing, but the cord was Simply Soft.. took forever to felt.. or about a half hour longer.... being the first and last with of anything a silky yarn core.. actually was the first of the monster thingys .. which I am sure is pretty obvious LOL I think he's gorgeous so I'm keeping this one.. and that one above this.. 
 
Both Simply Soft with random scraps core, both ironed and styled differently ... each has it's own one of a kind look .. 


Friday, April 26, 2024

Yarn scraps for needle felting

I always have yarn scraps hanging around.. when I got my felting needles a couple of weeks ago 
I decided to use this gallon sized bag stuffed full to practice ... 

Okay over three weeks later I will admit I had no clue how much effort and time it would involve... 


I pulled colors as I needed them for whatever project I was working on.. some days I sorted colors out and just worked on brushing.. for hours at a time 


I got a couple of dollar store pet brushes.. around the end of week three they started losing some of the metal bristles .. but as many dozens and dozens of hours as I put them through hard brushing, I think they held up pretty well for the price..

 I had everything from nice super soft shiny to down right harsh scraps.. mostly in between stuff like Red Heart... 
In my experience Red Heart was much easier to brush out and quicker to felt then the smoother shinier Simply Soft scraps although they did make for some beautiful monster hair LOL ( post coming soon )

Red Heart before 

and after brushing 


I finally finished brushing the last of the scraps out last night after doing another marathon of six or seven hours straight.. ugh 
and I have a shopping bag full of baggies still left after dozens of smaller projects 


Side note 
I actually had to buy a box of sandwich baggies.. not something I do often .. I reuse them over and over again until they literally fall apart.. apparently it's been a few years as I could only find a few.. well I should be set for some time now ...... 
 

A few upcoming projects will be .....


I am going to try my hand at glitter eyeballs and polymer clay claws.. I just found some polymer clay at the dollar tree, small amounts in five or six different colors I think ... per pack just perfect size for doing some claws and possibly some beaks


As soon as I manage to de-scent my new pattern books enough to work with I'll start a few of these...
 Look at those hats on the Impkins... definitely looking forward to this... They are in a bag of dry rice .. slowly getting better... I could live without the added fragrance .. if it takes too much longer I am going to resort to taking photos of the pages LOL in the meantime I'm going to work on glitter eyes


Oh and the hairy monsters post 

Planning on mixing up some embroidery needle felting and beads also... 

Thursday, April 4, 2024

Needle felting with acrylic yarn


Just over a week ago I came across the YouTube video on needle felting eyes on to amigurumi, they looked really impressive...

 the one thing I don't like about crocheted eyes is they tend to be a bit bulky and raised, safety eyes are not always a good choice and also can be too bulky on small dolls, embroidery eyes can be difficult to get to lay right  ..  which is especially noticeable on small dolls....

 these were nice and smooth, but being extremely allergic to wool even though I have wanted to try needle felting for ages I thought that was something I would never be able to do.. 

Being burned out on news but still needing something to run in the background while I was working on my latest project, I let a few more needle felting videos play... one mentioned using acrylic yarn... 

That one mention was enough to get me searching online to see if I could find any more information about this.. 

Information is actually pretty limited, most everything directs towards wool, there were enough little bits here and there to convince me it was doable, wet felting of course is not but dry needle felting is... 

My intention was to just get a cheapy set from Amazon and try making a few eyes.. I mentioned this to one of my sons while I was searching on Amazon, asked him what he thought about it...  his input was... to get a better set of needles with a variety of different needle types to see which would work better.. I'll admit it didn't take much to convince me as this is really something I wanted to do for a long time... as I had just sold a few patterns, my practice is to put a little bit back into my crafting every few items sold at least, it seemed like really good timing..

I was going to start with practicing eyes but decided to watch a video on basics and they recommended starting with shapes, first being a ball.. my son walks in and asked what I'm making I tell him I'm making a ball for practice.. he's like no really what's it going to be you don't ever just practice without making something, I laughed and said I only had the set for like an hour he couldn't expect need to actually be able to make anything with it.. 

well that was enough to get me thinking that instead of just making a round ball I should try something I had wanted to do, so I started with one mushroom and another... decided it needed some grass or ground or something to put it on, that needed something with it which turned out to be a bunny not sized to scale or anything just something I wanted to try using just scrap ends.. the ball is now a bush.. still haven't finished with that video ( photo at top ) 


That lead to making more small items... 
I have been working on key chains, charms and such as I like to have plenty of small, low cost items on my tables at markets and was running low..
Still using just scraps I made a few hearts.. 

Along the way I decided to try a landscape.. 


Definitely need to work on building up skills for landscapes lol... had no clue what I was doing but it was fun .. at that point I was going on over 30 hours of no sleep .. the big take away from that was you shouldn't play with super sharp needles when you're really tired... and maybe should plan things out a little bit better..

I did practice eyes... once so far lol .. 


Tuesday, March 26, 2024

Mermaid hair

I have been on a quest for a doll hair I like... Been running across this style a lot recently ...
You stitch a few strands of yarn to the top of the head going back in a line 
The part down the middle is nice... It is quick.. 
 

This one call ed for a wig cap .. I am assuming to give it a bit fuller look.. definitely better with the cap but still not what I was looking for 

I tried adding a line of strands along the front.. helped unless you moved the doll


Took off the wig cap and re-stranded it adding another shade of purple... 
The next couple of photos turned out a bit too bright, I tried using natural light thinking we had enough cloud coverage, LOL back to artificial light

I tried a variation of a technique I had seen stranding it through the inside of the wig cap
this way it lies more like natural hair..  not a quick way to make hair... took hours, and a lot of yarn but if you're looking to stash bust this will definitely help with that
I like the way it looks but I had sent her aside while I was considering whether or not I liked it enough to put on her it just seemed off. In the meantime I started another doll from the same book.. a fairy this time but use the same hairstyle as the original mermaid.........

I decided with this one to make a wig cap and use a thinner yarn with more shine, I spaced the strains out a bit more and then unraveled each strand..


It definitely adds more time to the project but I was going for a medium full look

After unraveling the strands I used a hair straightener to tame down some of the hair.. that's when I decided this wig cap was perfect for the mermaid and switched gears


I wasn't thrilled with the minimal facial features after adding the hair so I added a nose but she still needed more

I added eyebrows and enhancements around the safety eyes, some blush  ... 
and added lips.. she still needed more


I added shells .. a bit fuller lips and worked with her hair a bit more.. I ended up braiding her hair in huge braids then going over it with my hair straightener to heat set it a bit ... Love the end result..... Now I need to make her a better doll stand is this one keeps trying to flop over LOL.. I have a couple more things I want to add before I put this one out for sale .. I'll save that for another post is this one is quite long as it is.. 

Goddess crochet doll pattern


Goddess dolls 

Hook size US G 

Approximately 26 yards of worsted weight yarn  

in the photo above all goddesses are stitched using the same hook size and stitch count.. all yarns are listed as #4 worsted weight, however there is a clear size difference... Just like softness of yarn varies from from brand to brand so does the thickness .. the Autumn red was made using Caron Simply Soft, green is a discontinued yarn by big twist that was their version of Simply Soft, blue is Caron's one pound


American terms 

ch = chain

dec = single crochet invisible decrease,  slid hook through front loop of next two stitches yarn over, pull through both loops, yarn over pull through both loops 

inc = 2 single crochet in the indicated stitch

sc = single crochet


Worked in spiral, no of joining rounds throughout pattern 


1) ch2, 6sc in 2nd ch from hook (6sts)


2) inc     (12sts)
3) inc, sc1    (18sts)

4-6) sc 

7) dec, sc1   (12sts)

 To invisible decrease go through front loop only of first stitch indicated do not yarn over go through front loop of next stitch yarn over pull through both loops yarn over again and finish the stitch give a slight tug to make sure the stitch is snug to the work


When first doing invisible decreases take note of your next stitch it is easy to lose sight of which stitch you need to work next, it's a good idea to count your stitches before going on to the next round 


8) dec, sc1   (8sts)    Stuff fairy firm

9) sc through front loop only


10) inc, sc1  (12sts)

11) inc, sc1  (18sts)

12) sc

13) dec, sc1   (12sts)

14) sc through front loop

15) inc  (24sts)

16) sc

When working the decreases of the bottom be mindful of keeping your stitches low, it will give you a much smoother finish 


17) dec, sc4  (20sts)

18) dec, sc3   (16sts)

19) sc

20) dec, sc2    (12sts)

21) sc           Stuff 

 
When stuffing a tight area it's easy to lose stitches, to avoid this be sure to put in a stitch holder or just slide it in with you round marker.. 


22) dec, sc1  (8sts) 

23) sc

24) dec  (4sts)


Fasten off, cut yarn leaving a tail about 6 inches long. Place tail on yarn needle, weave through last stitches through the front loop only going from bottom to top for each one, pull snuggly 


Go through the center stitches to weave in the tail, going out one side a few rounds down.. 


I like to catch a couple of stitches and go back in a few times

Fasten off weave through remaining stitches pull tight, weave in end 


Arms

1) ch5, turn

2) sc in 2nd ch from hook, sc3, ch1 turn

3-24) sc4, ch1, turn

Fasten off leaving a tail long enough to seam the long edges together, sew on using photo as a guide. 


I find it easier to quickly stitch up the arms panel by placing something to stitch around in it... in this photo I am using a solid straw but have used knitting needles and pencils


Before stitching on arms, turn your goddess around looking for the best placement..


I stitch the bottom of the arm first then go through the arm just above that in stead of going around the edge of the arm.. gives it a smother finish 


Pattern without photos or tips 

1) ch2, 6sc in 2nd ch from hook (6sts)

2) inc     (12sts)

3) inc, sc1    (18sts)

4-6) sc 

7) dec, sc1   (12sts)

8) dec, sc1   (8sts)    Stuff fairy firm

9) sc through front loop only

10) inc, sc1  (12sts)

11) inc, sc1  (18sts)

12) sc

13) dec, sc1   (12sts)

14) sc through front loop

15) inc  (24sts)

16) sc

17) dec, sc4  (20sts)

18) dec, sc3   (16sts)

19) sc

20) dec, sc2    (12sts)

21) sc           Stuff 

22) dec, sc1  (8sts) 

23) sc

24) dec  (4sts)

Fasten off leaving tail long enough to thread through remaining stitches 

Arms

1) ch5, turn

2) sc in 2nd ch from hook, sc3, ch1 turn

3-24) sc4, ch1, turn 

Fasten off leaving long tail for seaming edges together and stitching to body. See photo above for placement. 


All rights reserved, items made with this pattern may be sold.