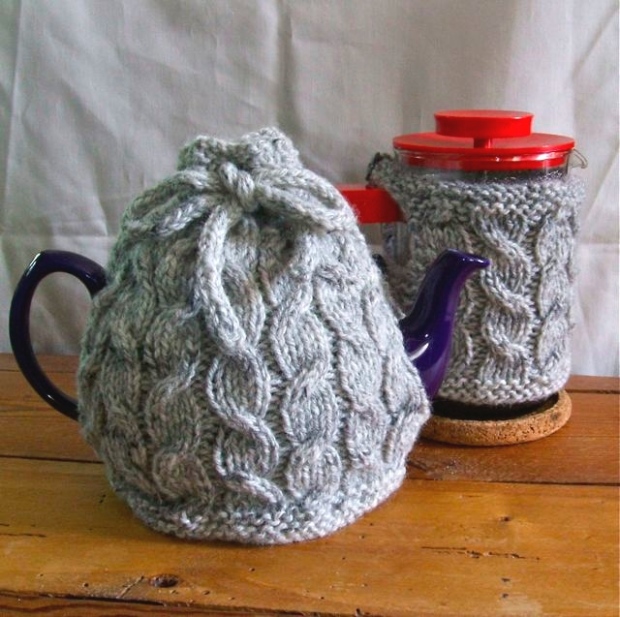
I’ve just published a new FREE knitting pattern online to teach you how to knit cables. The Cabled Cafetière & Tea Cosy pattern is available through Ravelry, but you do not have to be a Ravelry member to download it.
I’m going to tell you the story of how and why I wrote this pattern and go into quite a lot of knitting detail, so if you are not a knitting person you may wish to skip to the end where I have a bit of news.
In my Crafting Locally Update post I told you briefly about this pattern, which I wrote specifically to teach a workshop on how to knit cables. Cables are one of those techniques that look really impressive, but are actually really easy to do once you know how. If you can knit a rib you can knit cables.
I wanted to make my workshop suitable for new knitters, or knitters who had not moved on from the basic stockingette and rib stitches. I designed it using Aran yarn, which I think is the easiest weight to knit with, and to be knitted flat, a technique which is familiar to all knitters, rather than circularly knitted.
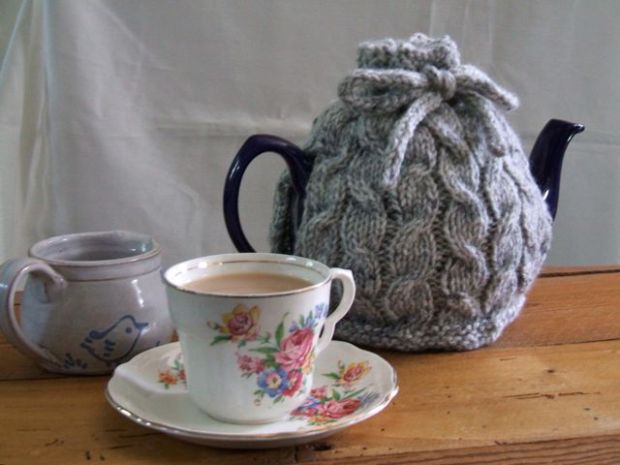
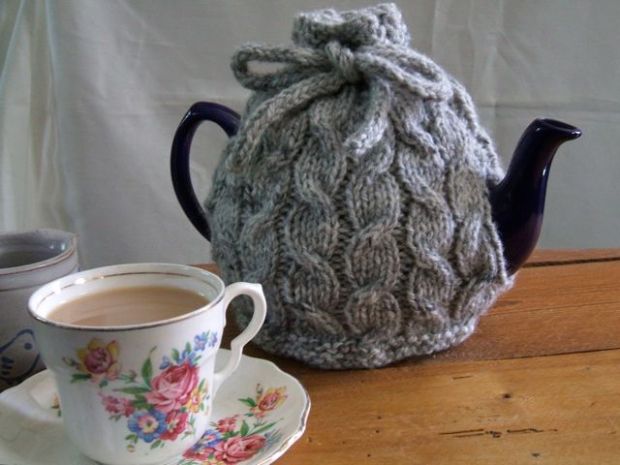
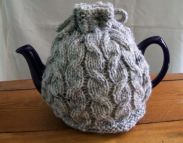
I initially started with the idea of the cabled cafetière cosy, and advertised the workshop, but then a number of people said they didn’t drink coffee, but would come to the workshop if there was a teacosy version. So I adapted the cafetière cosy design, and came up with the teacosy.
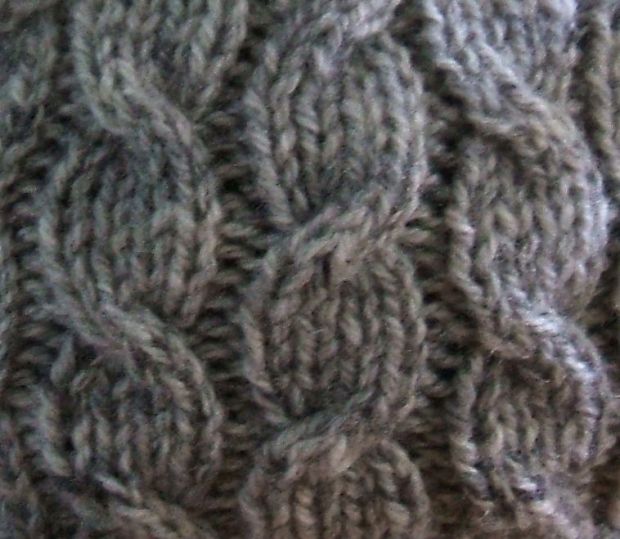
I chose a simple 4 stitch cable, with one column of cables twisting to the right and one column twisting to the left, so people could learn the technique for both cables. I staggered the cable twists so that each cable twist was positioned at the middle of the cable section of of the neighbouring column cables, and placed a purl stitch between each cable column.
I created a photo tutorial for the cabling technique for my workshop attendees to refer to at home – I have also made this tutorial available online:
Cable knitting technique for 4 stitch cables photo tutorial
It shows how to cable using a cable needle, which is the most suitable technique initially . I rarely use a cable needle to knit cables now, as I use the no cable needle cable technique, which I have also included in the tutorial – it is not difficult, but you need to be a confident knitter to try it. Sometimes I have to use a cable needle, (for large cables) and prefer a straight needle, as seen in the tutorial. I brought 2 cable needle types for people to try in the workshop, and many of them liked the style with a v-shaped dent. There are many types of cable needle which are discussed in this article.
In reading about cable knitting on internet forums, I discovered a few beginner knitters thought they had to make the cable twist on every row. I think this misunderstanding occurs because tutorials only focus on the cable twist itself. In fact, the cables only happen on a few of the rows within an overall rib stitch pattern: e.g. in my pattern, the cable section is knitted over a 8 row rib stitch pattern and the cable twists only occur on 2 right side rows. In the workshop, I also demonstrated how the simple cables I included in my design are the basis for all other cabled, twisted and aran style stitch patterns.
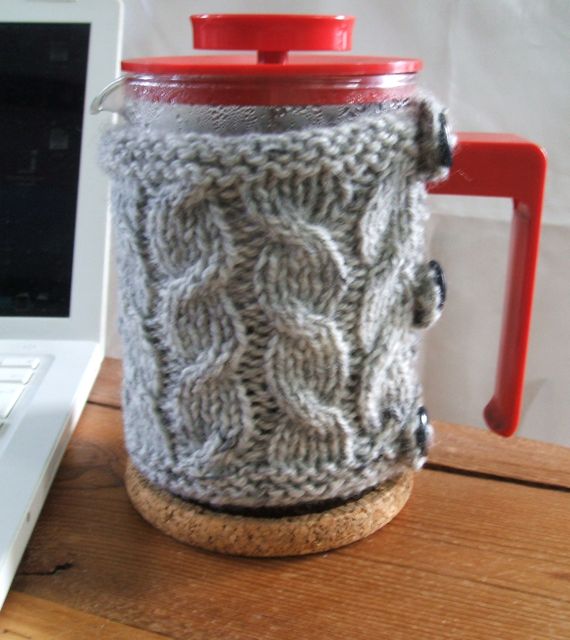
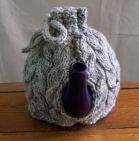
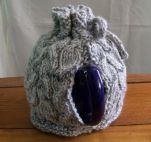
I used garter stitch to finish off the edges of the cosies and stop them curling over. I decided to create tabs and buttons to fasten the cafetière cosy, as I thought it would then fit around most types of cafetière handle. I chose to knit some i-cord to tie the top of the teacosy, but you could easily use ribbon, or plait several strands of yarn together as a tie.
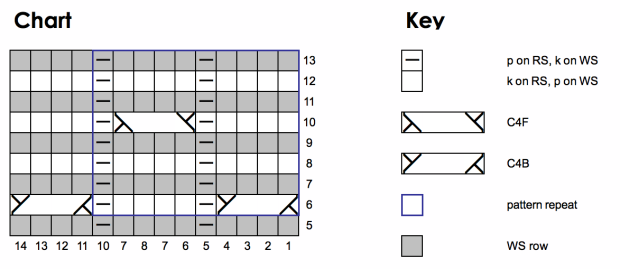
I’ve noticed talking to many knitters, that quite a number of them are nervous of knitting from charts, so I included written instructions and a chart. I explain how to follow a knitting chart in the pattern, and I hope this will encourage a few knitters to give it a try, as this is a fairly simply chart. If you were knitting the teacosy, you could try knitting the second side from the chart, once you were familiar with how it is knitted from making the first side.
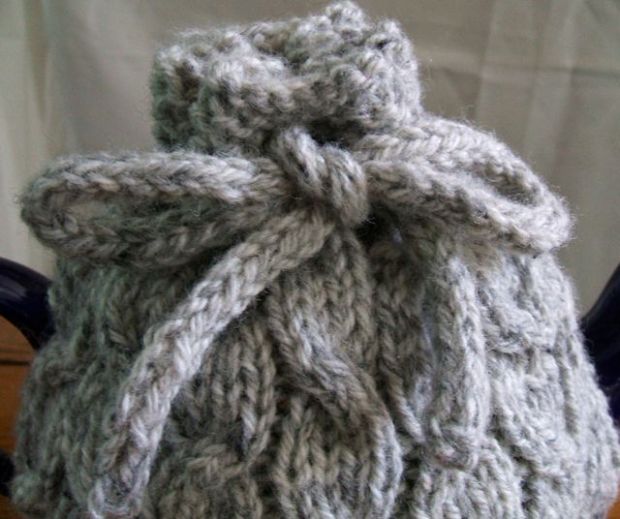
I’m someone who responds well to visuals thing, so I like a chart, it helps me to see what the knitting is supposed to look like. The elongated cross shapes on the chart represent the cable twists and the columns of dashes are the purl stitches between the cable columns – compare the chart with the close up photo of the cables. Here is a great video tutorial explaining how to read a cable knitting chart
(I use “dashes” to represent purl stitches, this video uses “dots” instead.)
I had a really good response from people attending the my Cable Knitting workshop:
For Janet it was the first time she had knitted cables and successfully followed a knitting pattern, and she was justly proud of her teacosy. My explaination of how cable stitches worked inspired her to follow some other cable stitch patterns and knit up some sample cable squares that she could make into a blanket.
Cathy joined my workshop, because she had not picked up any knitting for about 15 years, although she used to knit a lot. This was the first time she had knitted cables, and she made a lovely cafetière cosy in a self striping yarn. This got her back into knitting again, and I suggested a few patterns she might try, and she made a cable knit bag.
I hope all this inside information helps support the pattern, and encourages you to have a go.
News
I have sadly decided to leave Lauder Trading Post – see my posts, Crafting locally and Crafting locally update. This is a fantastic co-operative craft group in my village which started off as the idea of a co-operative run craft shop, for which I would just have had to spare a little time in the shop and do a bit of admin to support it. However, it has become so much more: a programme of events and craft workshops, a pop-up cafe, a shop, running the local community hall and outreach craft workshops. I just got swept along with it all, and thoroughly enjoyed it, but my health deteriorated, and I felt that continuing with it was detrimental to managing my condition.
I’m very lucky that I can do quite a lot of things despite having M.E./CFS: I have managed to keep my job, I can walk OK, I don’t have accompanying Fibromyalgia, if I over exert myself I can recover fairly quickly. There are many people with M.E. who are a lot worse off than me. I have learned that it is best to focus on what you can do – writing my blog, taking photos of the Felty Folk, knitting and crochet, designing and writing knitting patterns, starting up an Etsy shop – so I am going to focus on these, and try not to “overdo” it. I realise that I set my own rules and deadlines that sometimes I can’t meet, because of my health; which I then beat myself up about. One of these is my blog: in aiming to write alternate Felty folk and crafting/general interests posts I have not written some general posts because I have been waiting for my health to improve, so I would have enough energy to go out and take photos of the Felty Folk. So I am going to write my Felty Folk posts as and when I can manage them. I really enjoy meeting and writing about the Felty Folk, so their posts will appear as often as I can possibly manage them.
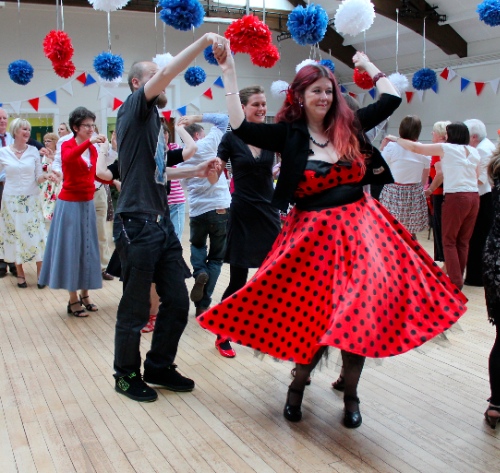
I had a lovely time with the people involved with Lauder Trading Post, and have made many new friends. I will continue to support their events. I learned that I enjoy teaching workshops, and when I’ve got my health more on an even keel, I will consider teaching some more. I’m going to look at the situation again in 5 months time. I ended with Lauder Trading Post on a high note, I helped out in the shop at the beginning of June, while they were putting everything together in the hall for the Queen’s Diamond Jubilee celebrations. I joined them later in the day, and managed one dance at the Vintage Tea Dance.
wonderful tea-cosies! i really like them – almost makes me wish i could knit (but not quite – too impatient) 🙂
Thanks Barbara 🙂
Not only does Ruth enjoy teaching she has a fantastic aptitude for it. She is sorely missed at LTP. Her ideas and creativity are just first rate. Love the blog nearly as much as I love spending time with you.
How kind
I’ve always wanted to knit cables, and I’m inspired to have a go after reading your blog – thank you, Ruth!
Thanks Katherine. Hope you enjoy knitting cables
Ruth, you share so much of yourself all the time! We are all really missing you at LTP but, thankfully, are able to keep up through the blog and your postings on our FB page. Once we’re up and running with things after the summer break, I hope we’ll get to see you at some of our events. Lots of love, Lara x
Dear Ruth, How would you adapt this pattern to make a teacosy for a 6 cup teapot? Thanks, Jane.
Hi Jane, You could add another cable column to each side (add 5 sts each side). That would add about 2 inches to the circumference. You would have to cast on an extra 5 sts each side. Knit the pattern repeats until it measures about 1 1/4 inches to the top of the teapot, then decrease. You might need to add an extra eyelet hole each side, or spread them out more. It’s basically the same principle for enlarging the cafietiere cosy, but it all depends on the height and breadth of your teapot. Hope that helps. Ruth
Hi Ruth
I have knitted the cafetière cosy and it’s fab but I’m a bit puzzled by the tea cosy. I have knitted the top part (with the eyelets) and am now doing the main part. Do I need to knit 2 identical main parts and then sew them together? Wasn’t sure if the ‘knit 2 pieces’ meant 1 top part and 1 main part or meant 2 of each. And I have just knitted one top part – should I have knitted two?
Any help would be gratefully received.
Thank you.
Alison
Apologies…. I realise my mistake! No need to reply!
Please could you send me your cable tea cosy and coffe pot cosy. I can’t see very well and have nerve damage in my fingers. I am an experienced knitter but had to give up. I think I could manage this one now mybteacosy is falling apart. I like all these cable patterns
Please let me know quickly
Thanks
Hi Christine, You can download the cosy pattern for free here: http://www.ravelry.com/patterns/library/cabled-cafetiere–tea-cosy Just click on the download link at the top right of the page. Hope you hands cope OK with it.
Hi. I realise it is not permitted to sell products made from this pattern. I am not a great knitter but have started knitting small items and asking friends to ‘buy’ them (give donations) and all the money goes directly to a charity (Dogs for the Disabled in Ireland). Please let me know if I am permitted to use this pattern for that purpose.
Thanking you.
Hi Caroline, Sorry, I missed seeing your comment. Please feel free to sell the cosies made from my pattern for charity purposes.
Ruth