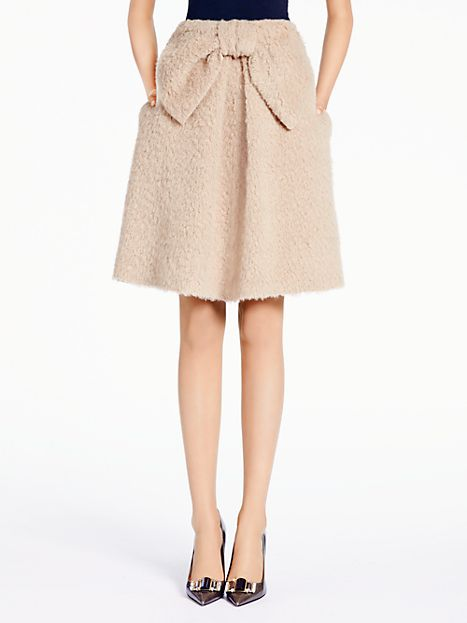
I love Kate Spade for her unabashed, girlish femininity.
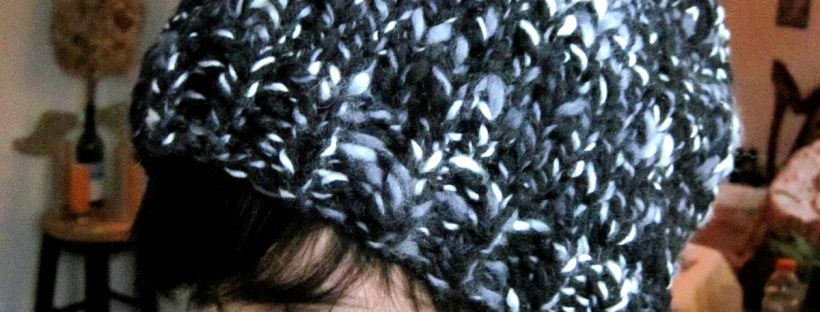
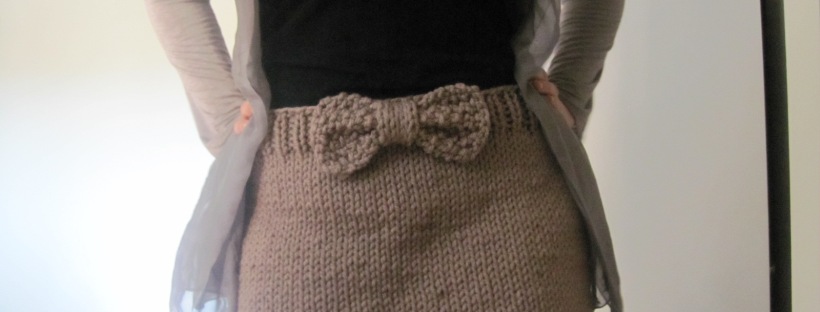
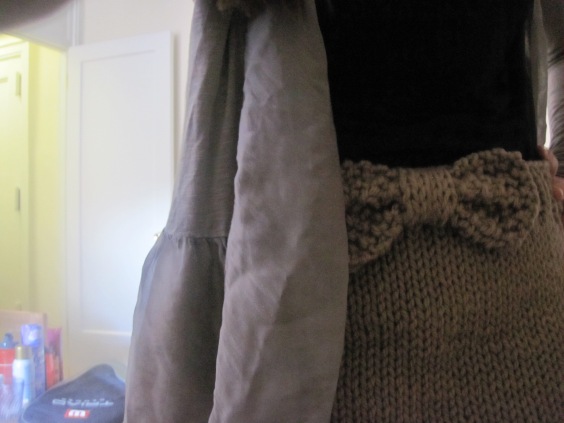
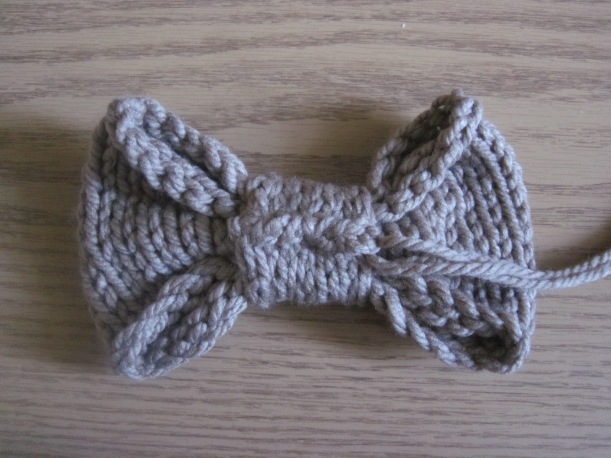
Last night I finished knitting a pencil/mini skirt that I have been toying with for awhile. I was so excited to decorate it that I woke up early this morning, senza alarm, and immediately spent two hours experimenting with different types of bows to decorate it. (Note; procrastination.) Then, I spent an embarrassing amount of time taking low quality apartment selfies to evaluate my work. I decided to go with a simple, medium-sized moss stitch bow.
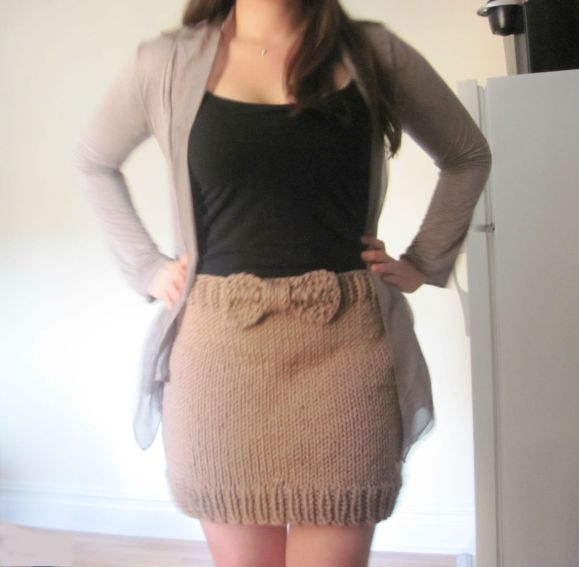
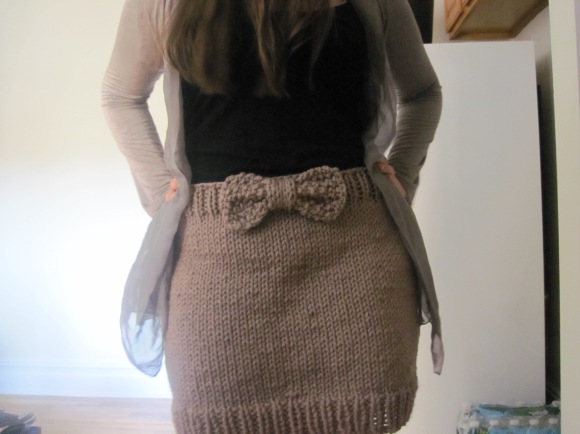
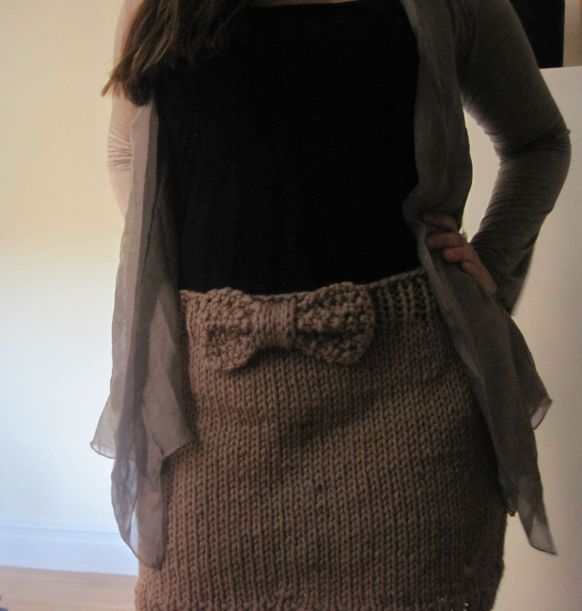
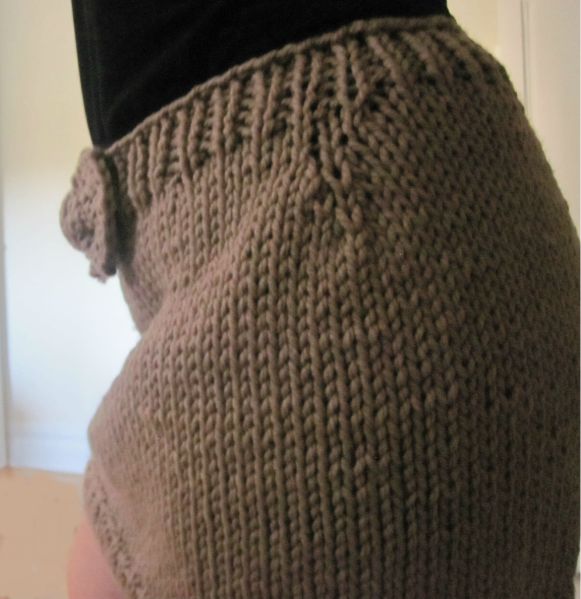
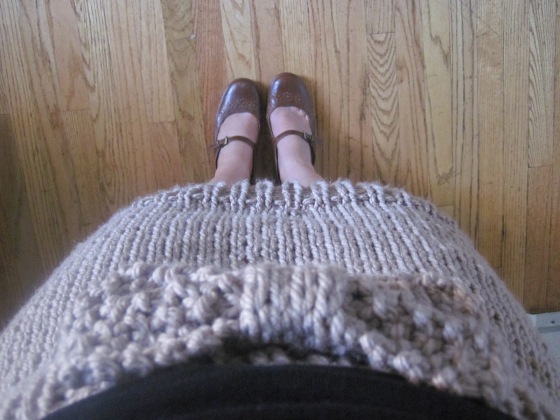
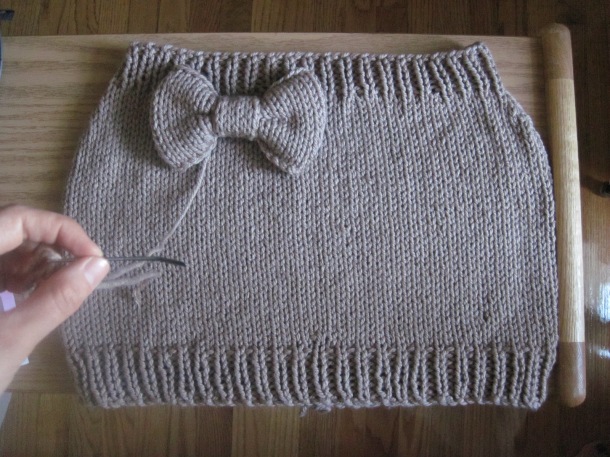
I apologize again for the low quality, but I wanted to quickly show the general fit of the skirt so far. The pattern is still in progress; I am working on creating multiple sizes and detail options for maximum versatility (and adorableness, obvs!) I’d also like to experiment with pleats, pockets, buttons, flowers…and perhaps I’d like to make it a bit longer. Ideas? Please share!
In the meantime, here are some simple patterns for bows I came up with;
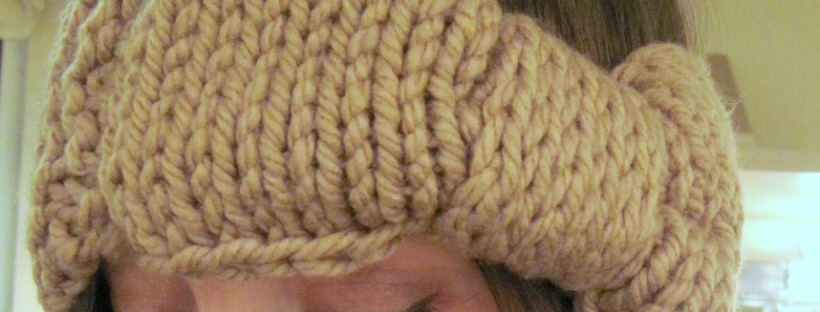
Dramatic Chunky Bow
Hello Kitty, anyone?
Materials
- Super Bulky yarn (I didn’t measure the amount, less than a skein. I used Bernat Softee Chunky).
- Size 11 straight needles.
- Tapestry needle.
Pattern
- For bow loop, cast on 32 stitches with a 14-inch tail.
- Work 14 rows in stockinette stitch. Bind off.
- For band, cast on 7 stitches with a 20-inch tail.
- Work 11 rows in stockinette stitch. Bind off.
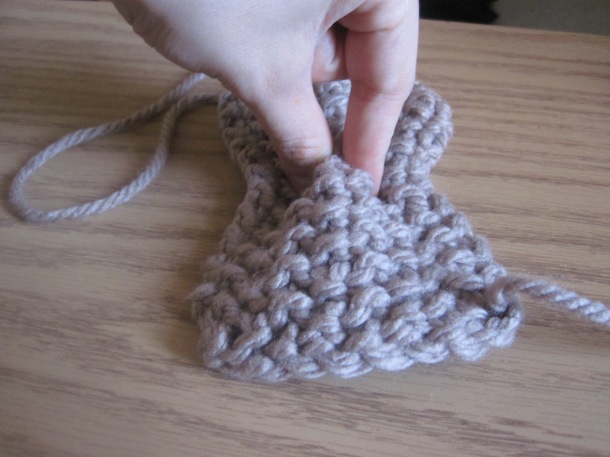
- Using the tapestry needle and the 14-inch tail, whipstitch together the back of the bow loop piece of knitting, so that it creates…a loop. Cut and weave in all ends. Then pinch the middle of the bow loop together, preparing it to be wrapped with band like in the picture below;
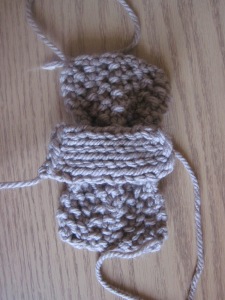
6. Wrap the band around the bow loop (like in the picture above) and using the 20-inch tail, whipstitch the band around the bow loop, but don’t cut the tail yet. (like in the picture below.)
7. Use the remainder of the 20-inch tail to sew the bow onto a skirt, a sweater, or whatever you’d like!
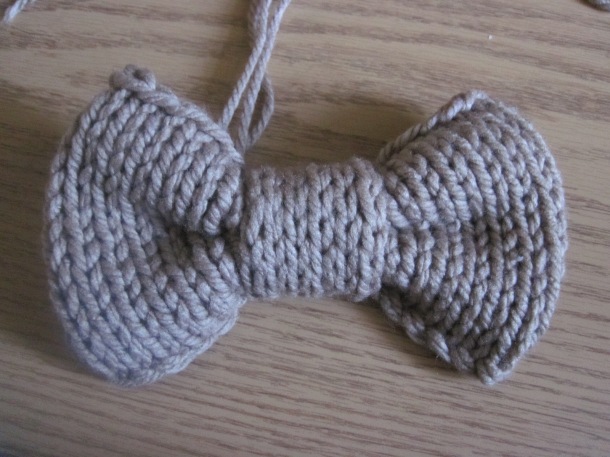
Moss Stitch Medium-sized Bow
Materials
- Super Bulky yarn (I didn’t measure the amount, scrap yarn amounts).
- Size 11 straight needles.
- Tapestry needle.
Pattern
- For main bow section, cast on 10 stitches (cast on tightly if you would like rounded corners, like I did.)
- Work 23 rows of moss stitch. Bind off (again, tightly if you want rounded corners). Cut yarn and weave in end.
- For band, cast on 5 stitches and work 10 rows in stockinette stitch. Bind off, leaving a 16-inch tail.
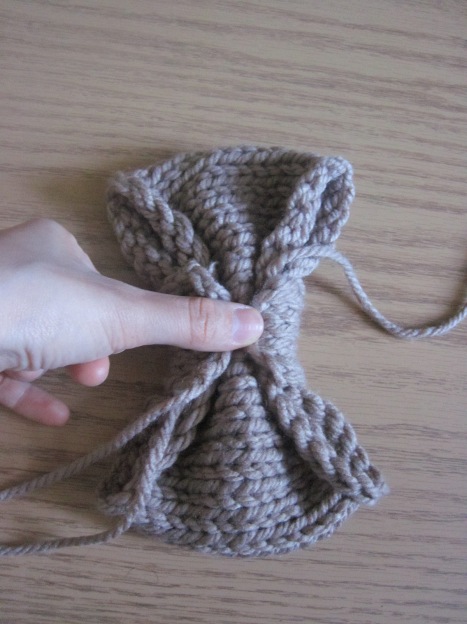
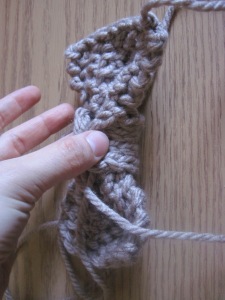
- Pinch and shape the main bow section, preparing it to be wrapped with the band (like in picture below).
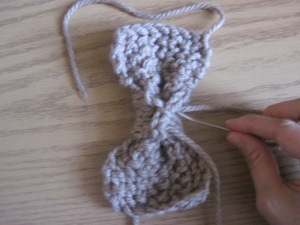
5. Wrap the band around the bow and using the tapestry needle, whipstitch it around securely, but don’t cut the yarn or weave in the end. (like in the pictures below).
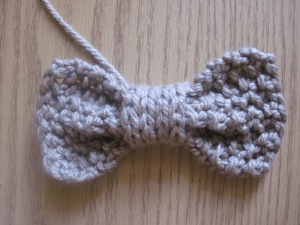
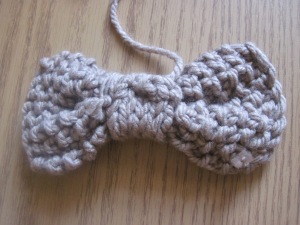
6. Use the remainder of the tail to sew your bow to anything you’d like!
Kate Spade-Inspired Skirt
Materials;
1 huge skein Bernat Softee Chunky Yarn (or any yarn with the same gauge).
1 16 inch size 11 circular needle
Tapestry needle
Stitch markers
Medium-sized crochet hook.
Pattern; (this is for a size 8-10)
CO 106 sts, join into the round and place a marker.
Work in the round in K1P1 rib 7 rounds.
Knit 1 round.
Next round; K52, K1f&b, K52, K1f&b, = 108 sts.
Knit 32 rounds.
Next round; K25, K2tog, PM, K54, PM, K2tog, K until end = 106 sts.
Next round; Knit until marker, slip marker, k2tog, knit until 2 sts before marker, k2tog, slip marker, knit until end = 104 sts.
Next round; Knit until 2 before marker, k2tog, slip marker, knit until marker, k2tog, k until end = 102 sts.
Next round; Knit until maker, slip marker, k2tog, knit until 2 before marker, k2tog, slip marker, knit until end = 100 sts.
Next round; Knit until 2 before marker, k2tog, slip marker, k2tog, knit until 2 before, k2ttog, slip marker, k2tog, knit until end = 96 sts.
Next round; Knit two, k2tog, k2, k2tog, k until last 8, k2tog, k2, k2ttog, k2 = 92 sts.
Next round; K1, then *(k8, k2tog), repeat from * around, k1 = 83 sts.
Next round; K2tog, P1, K1, and continue in k1p1 rib around = 82 sts.
Work 6 more rounds of k1p1 rib.
Bind off. (This end is the top of the skirt).
Next, make a crochet chain long enough to be a belt, and weave it in and out of the top row of ribbing, just under the bind-off edge, so that it creates a drawstring from the inside of the skirt.
Finally, make the smaller moss stitch bow (pattern above) and sew it to the top middle of the skirt. Wear and enjoy!
Thoughts? On bows? Skirts? Life? I’d love to hear from you!
Thanks for reading, and enjoy!