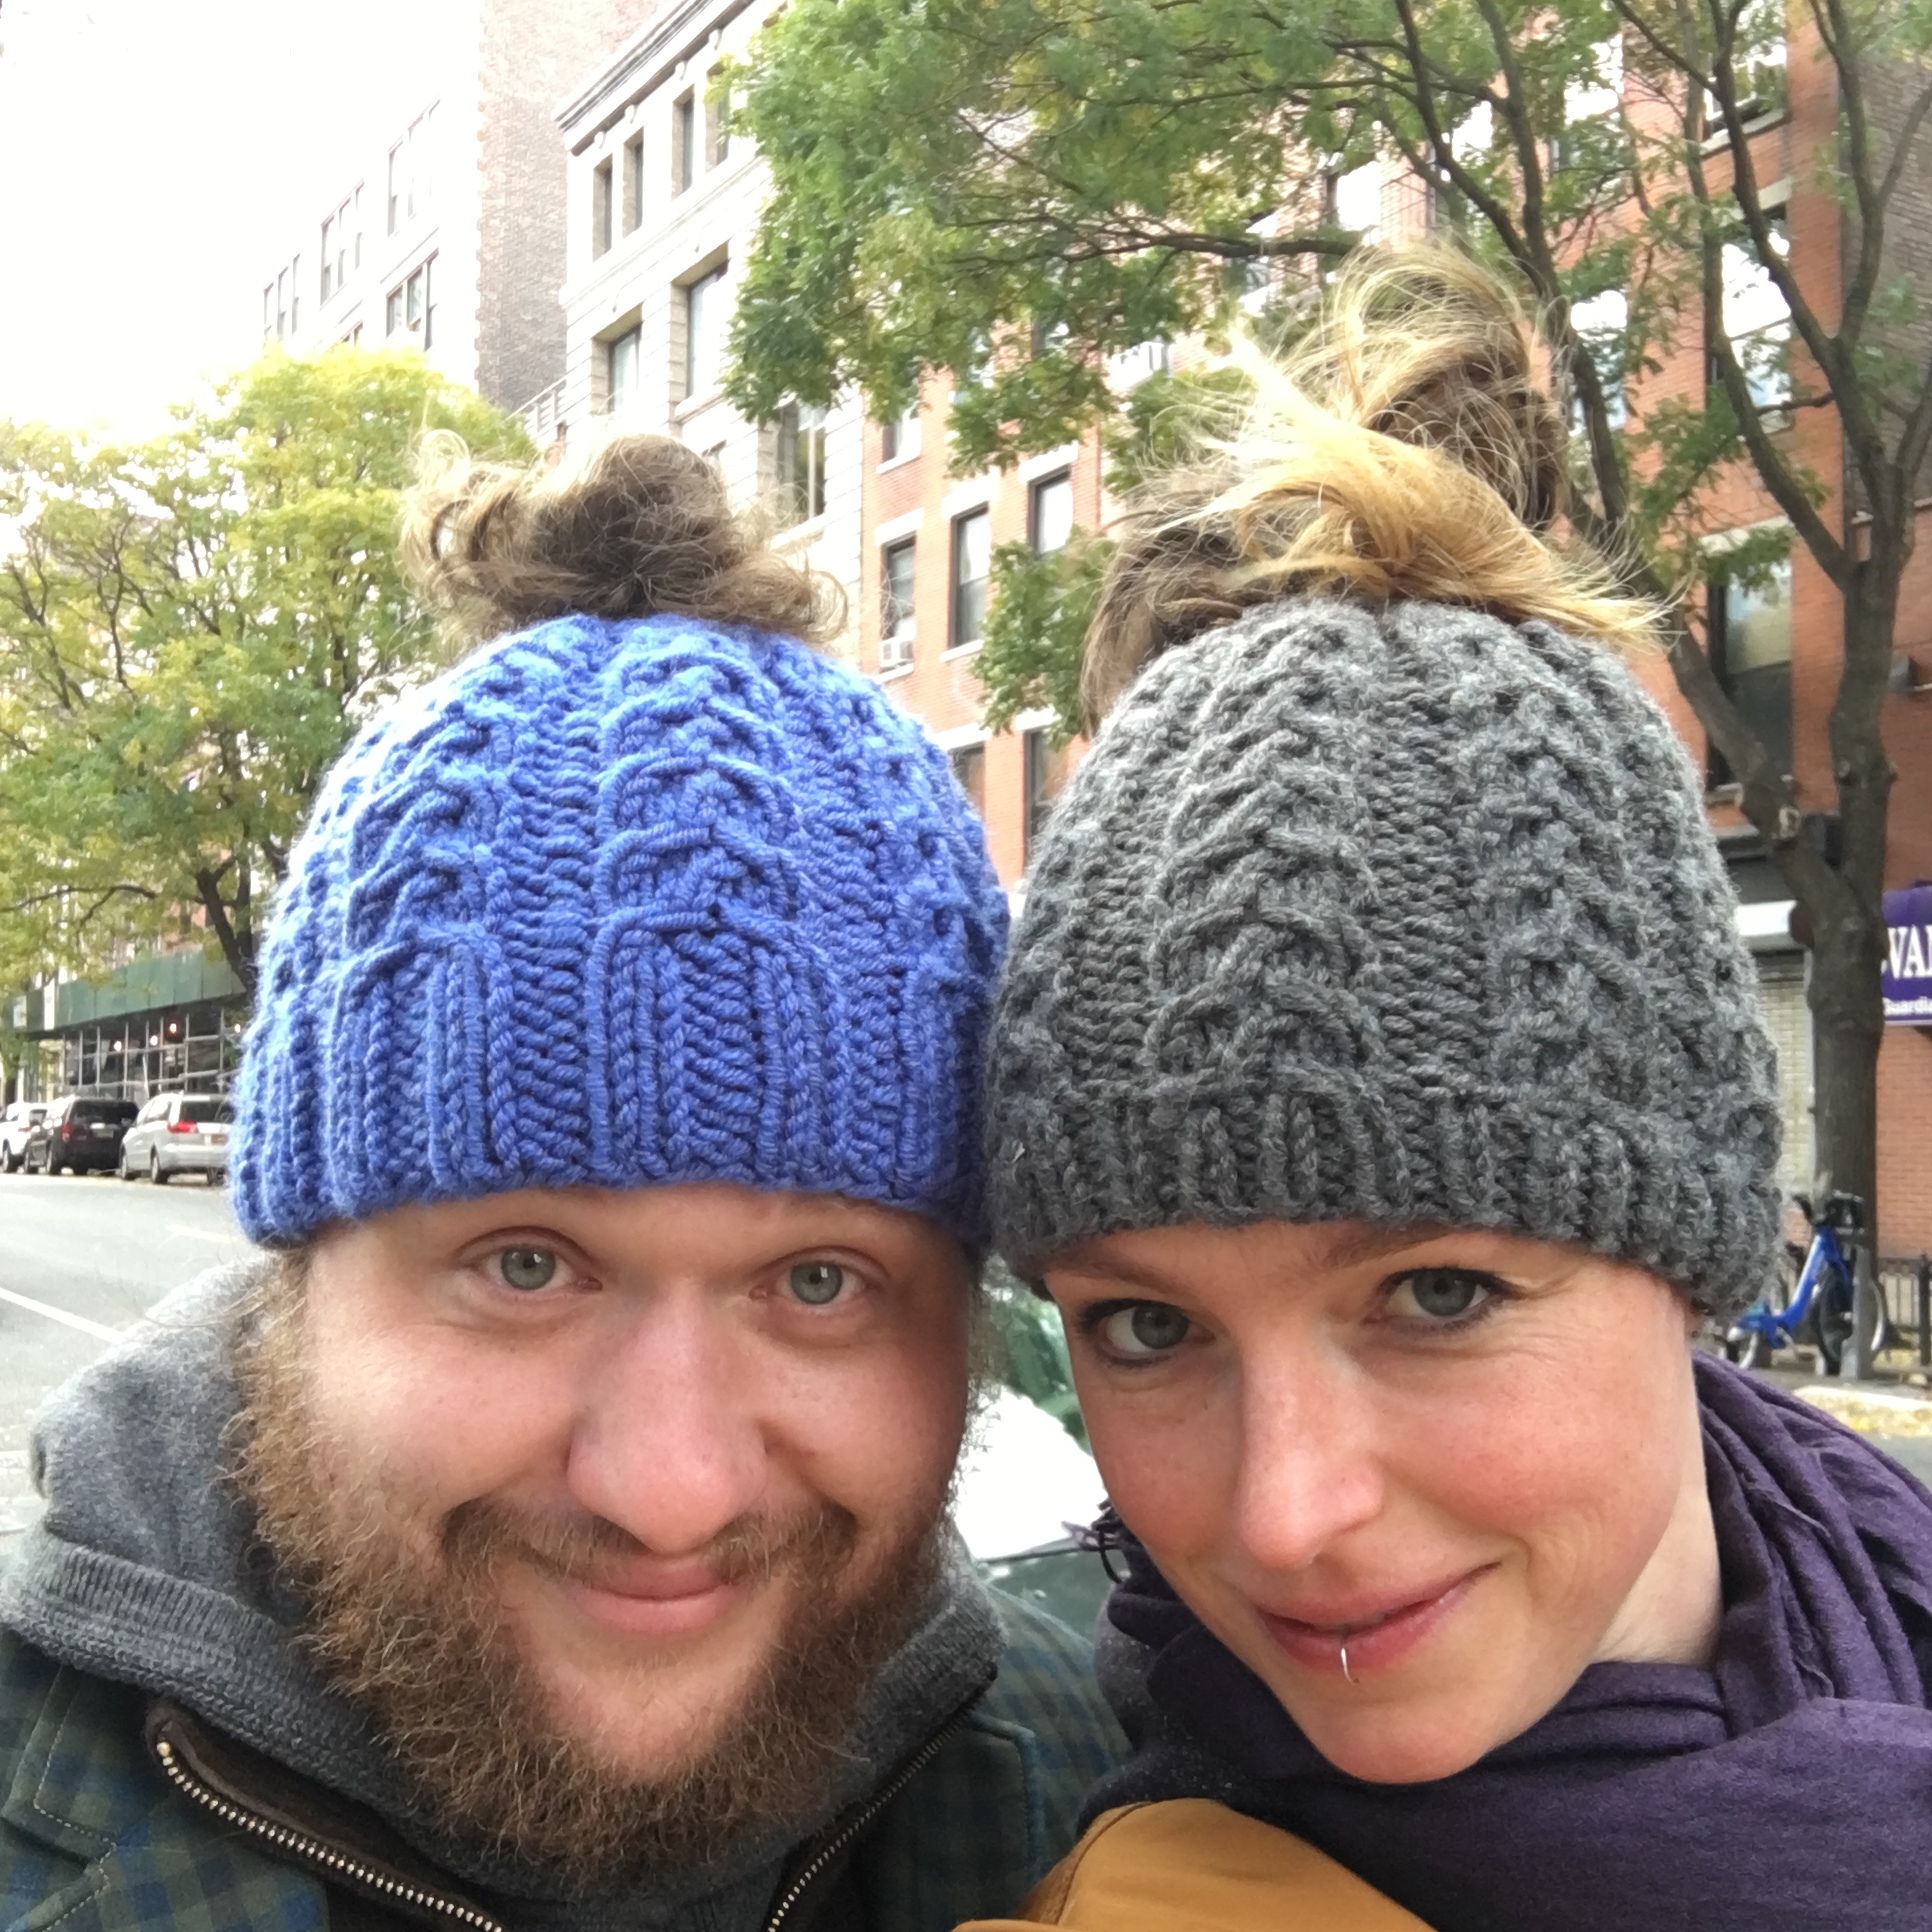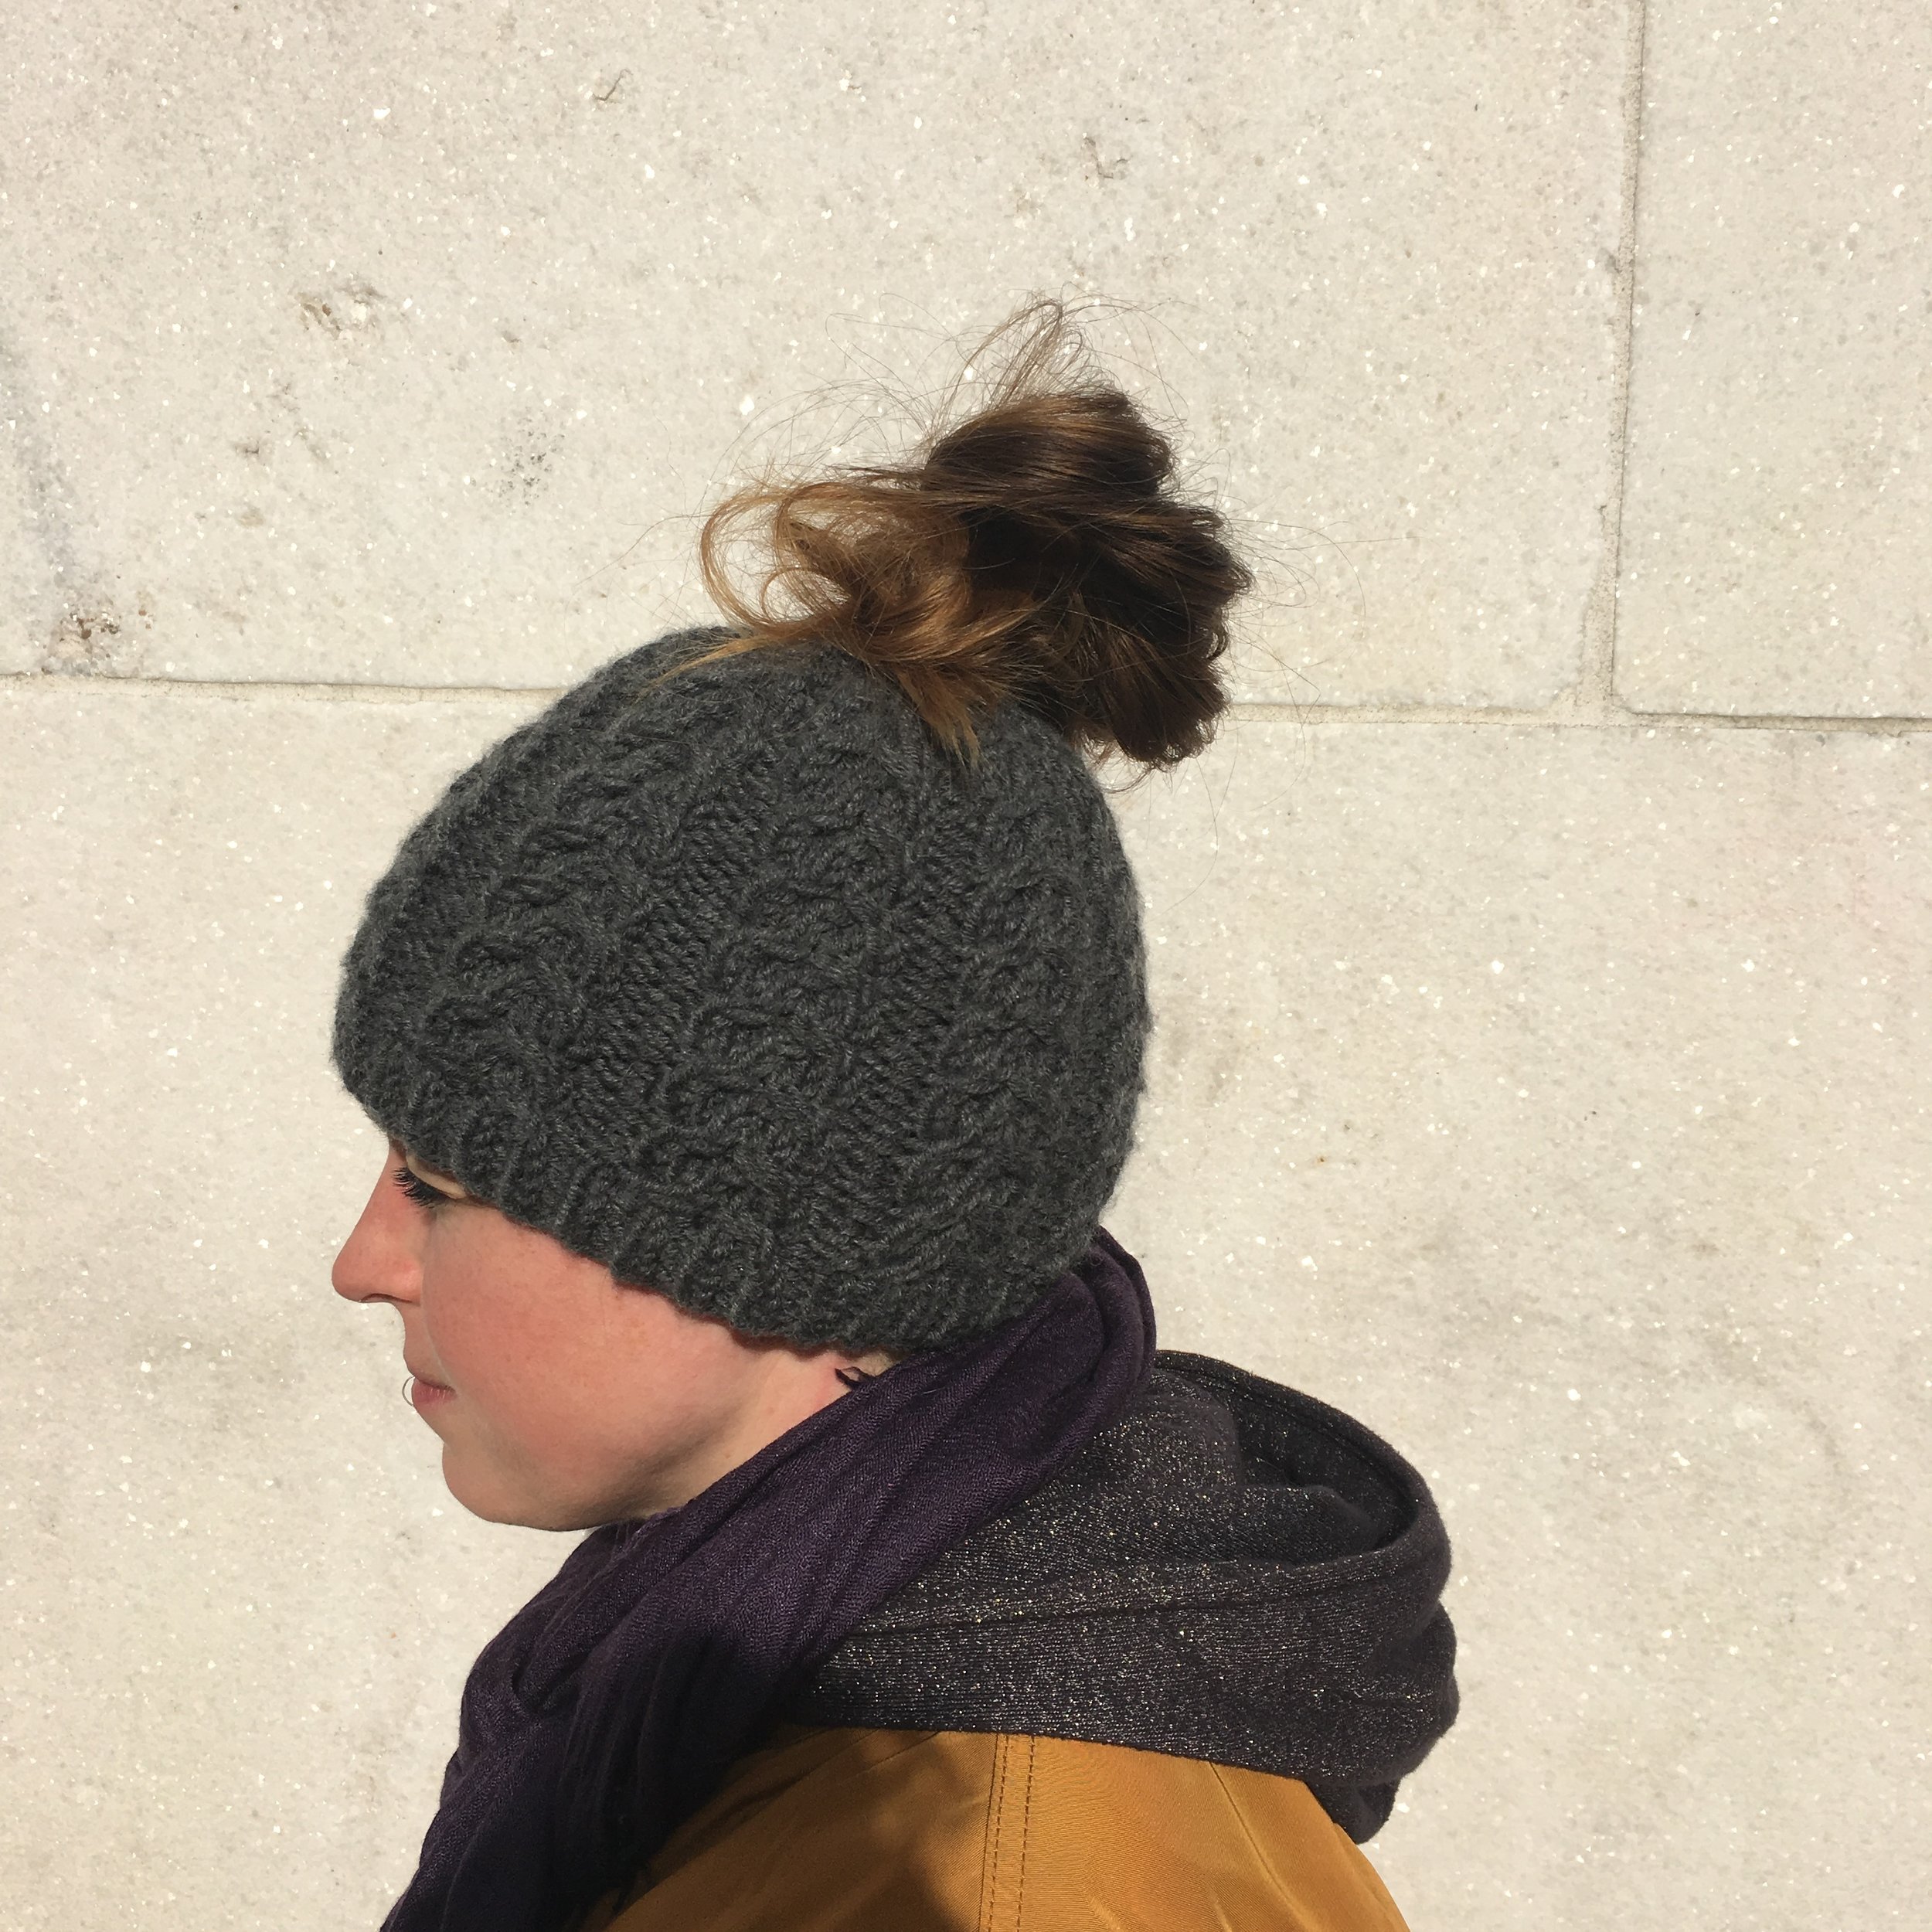


Wishbone Bun-Hat
Why make a pom-pom for your hat when you already have your own hair?!
I've been making bun-hats for my husband for years, mostly modifying existing patterns. But this year, seeing wishbones at Thanksgiving and the winter holidays, put together with our cold days in NYC inspired me to finally put pen to paper to design my own bun-hat. It's a simple cable hat knit in the round that incorporates a hole for your bun or high ponytail!
This hat is unisex and easily sized up or down by increasing your cast-on in multiples of eight. You can also find it on Ravelry here.
WISHBONE BUN-HAT
Needles: US #9 and US #10.5 (6.5mm) 16" circulars and DPNs (or as required to achieve gauge)
Yarn: Lion's Pride Woolspun (Bulky, 12 ply, 80% acrylic, 20% wool) (less than 1 skein used)
Gauge: 11 stitches and 13 rows over 4 in x 4 in/ 10cm in Stockinette stitch in larger needle
Other notions: Stitch markers, cable needles, darning needle
Sizes: Adult Medium
You can always size up or size down by increasing the cast on # in multiples of 8.
Final Measurements: Adult Medium is 8" tall, and 22" head
Stitch abbreviations:
C3L (cable 3 left): Slip 1 stitch onto cable needle and hold in front, k2 from cable needle, then k1 from cable needle
C3R (cable 3 right): Slip 2 stitches onto cable needle and hold in back, k1 from cable needle, then k2 from cable needle
K2tog-k1 (knit 2 together, then k1 in same): Knit the first two stitches on the left needle together but do not yet slip off needle, then insert right needle between the two stitches just knitted and knit the first stitch again and slide both off the needle
C2F (cross 2 front): Slide one stitch onto cable needle, hold in front, k1 from needle, k1 from cable needle
C2B (cross 2 back): Slide one stitch onto cable needle, hold in back, k1 from needle, k1 from cable needle
K2tog (knit 2 together, right slanting decrease): Knit the first two stitches on left needle together as you would one stitch
Ssk (slip, slip, knit, left slanting decrease): slip first stitch as if to knit, slip second stitch as if to knit, both onto right needle, insert left needle into the front loop and knit the two stitches together
P2tog (purl two together): Purl the first two stitches on the left needle as you would one stitch
K (knit): Knit
P (purl): Purl
BOR: beginning of round
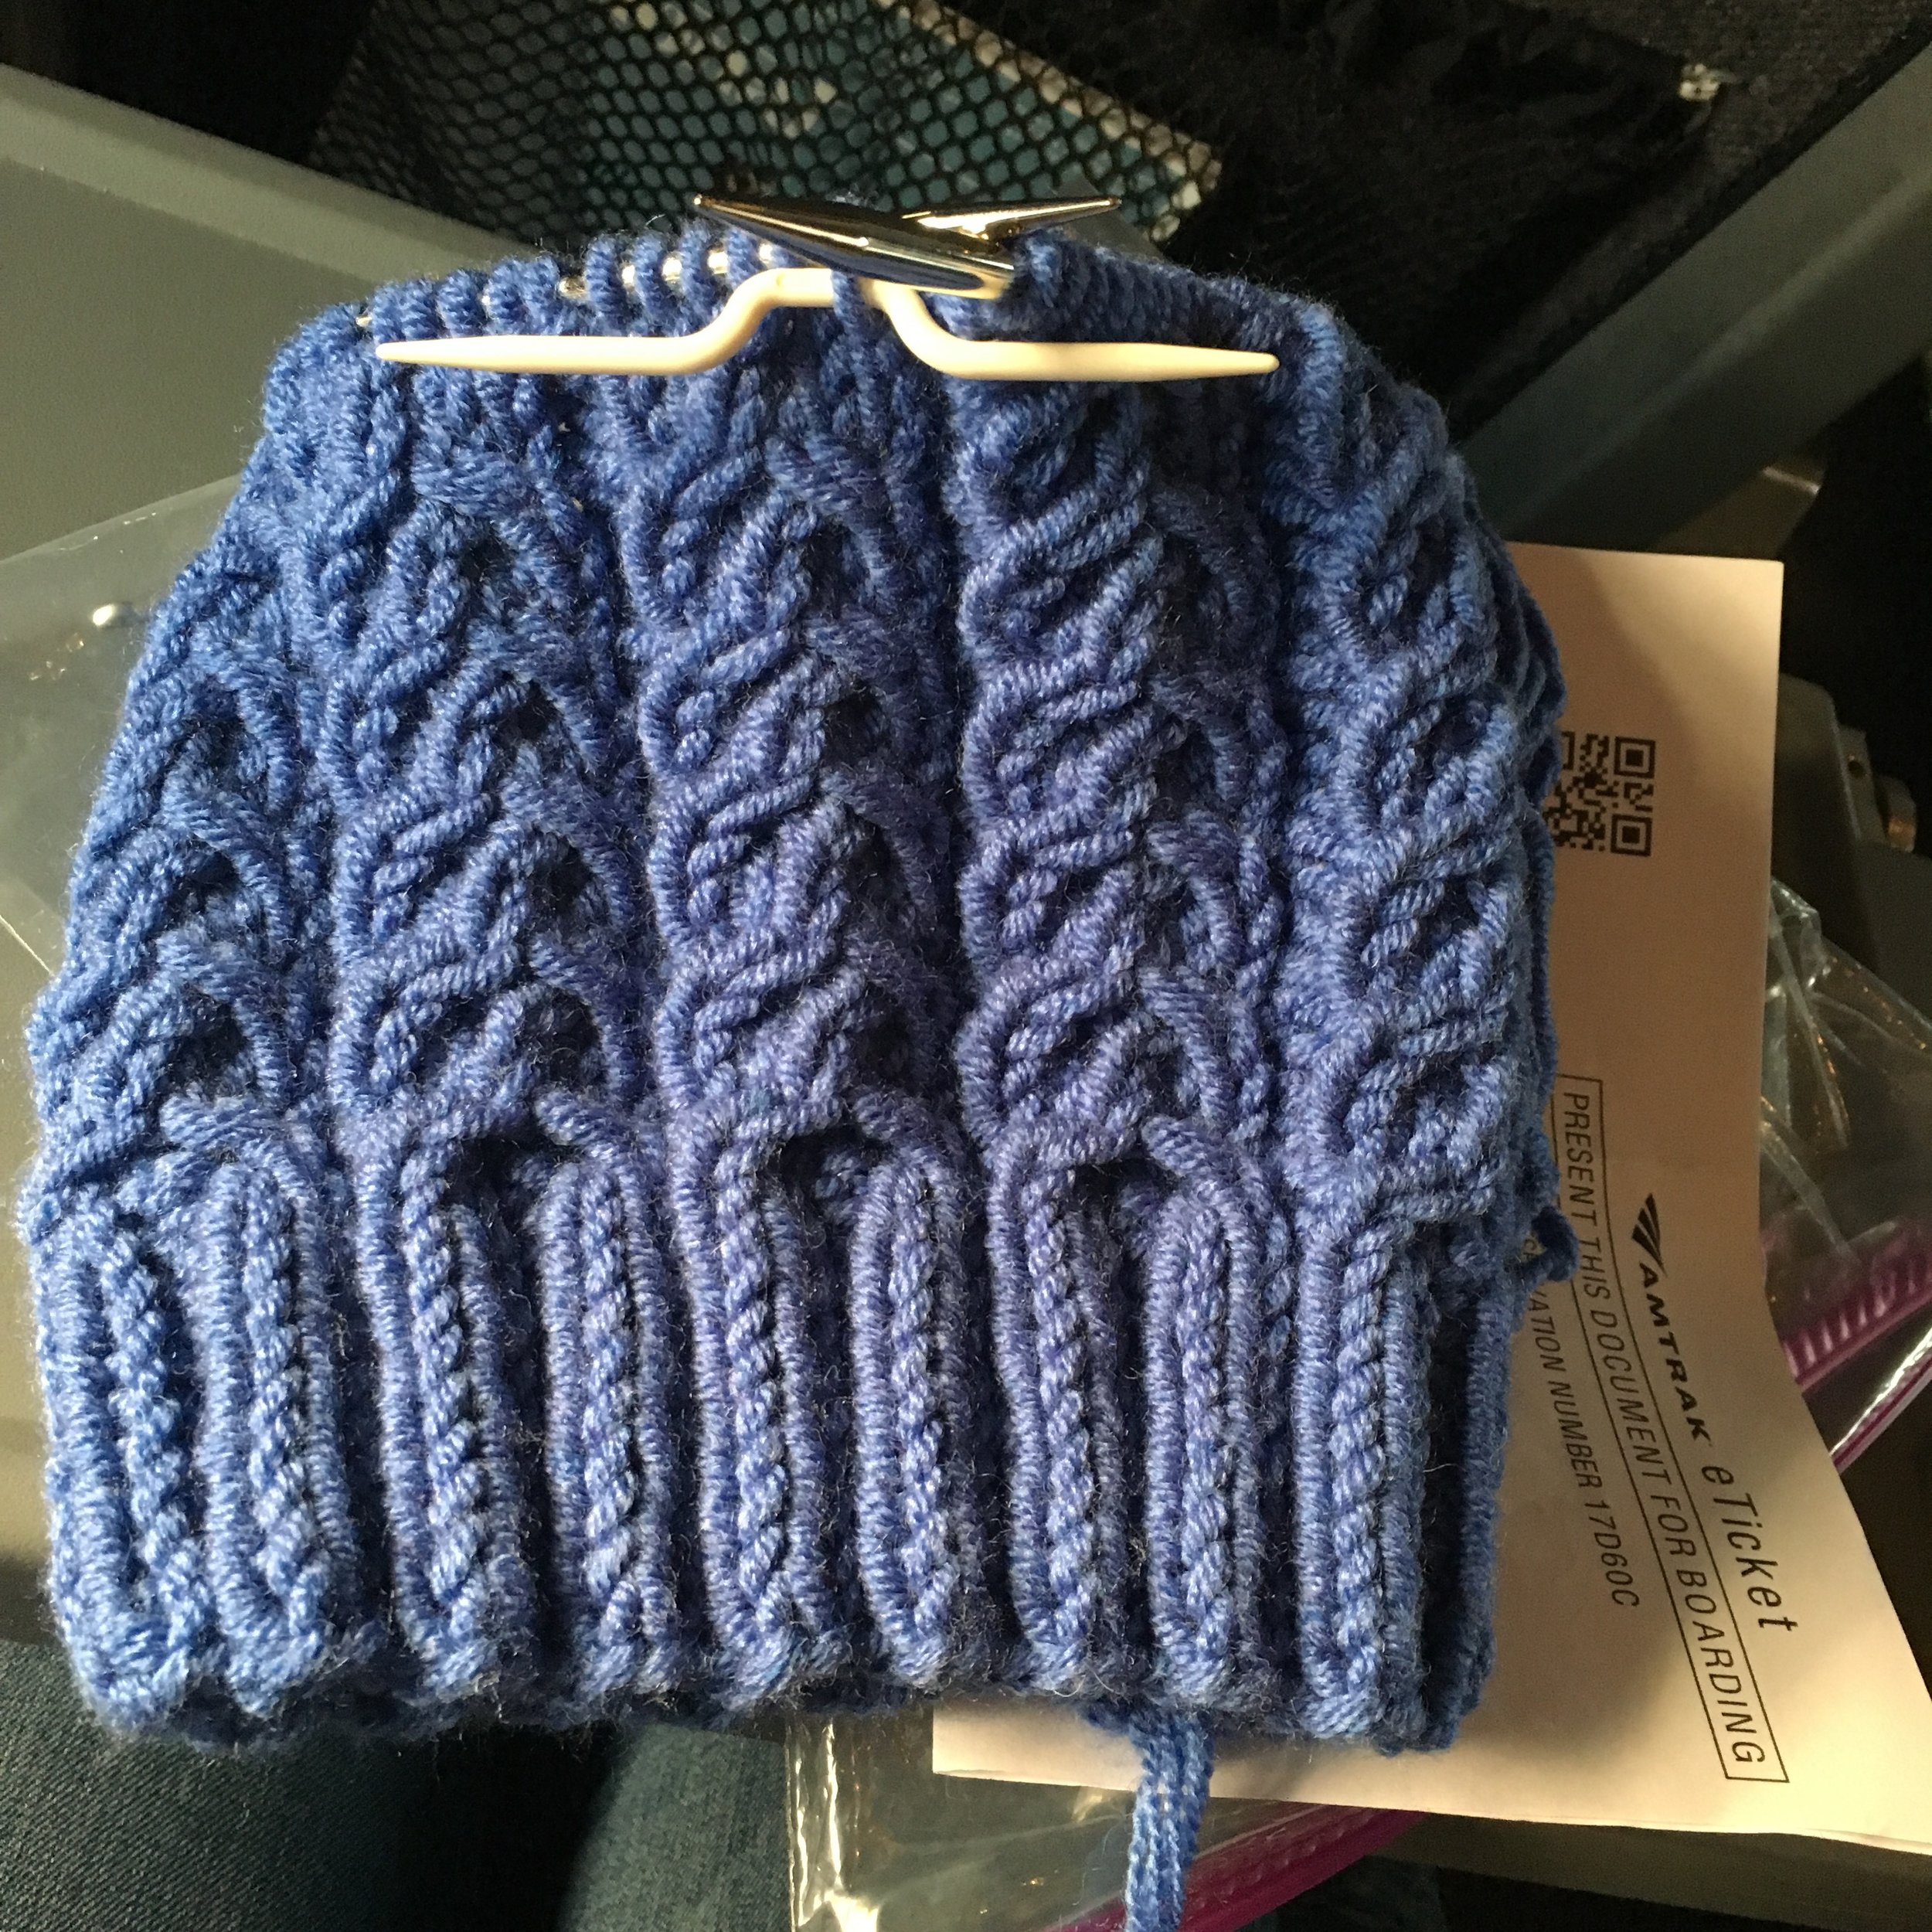
Wishbone cable pattern:
Row 1: [k6, p2]
Row 2: [C3L, C3R, p2]
Row 3: [k6, p2]
Row 4: [k2, k2tog-k1, k2, p2]
Pattern Instructions:
Cast on 72 stitches on smaller needles, place beginning of round marker and join to work in the round.
Work in 2x2 ribbing [k2,p2] for 10 rounds.
Switch to larger needles and begin Wishbone cable pattern.
Work 6 pattern repeats, or approximately 6.5" and then begin decreases as noted below.
Decreases:
Rounds 1-3: Work rounds 1-3 of cable pattern.
Round 4: [ssk, k2tog-k1, k2tog, p2] (54 stitches)
Round 5: [k4, p2tog] (45 stitches)
Round 6: [C2F, C2B, p1] (45 stitches)
Round 7: [k1, k2tog, k1, p1] (36 stitches)
Round 8: [k2tog, k1, p1] (27 stitches)
Round 9/Bind Off: [k2tog, p1] (18 stitches) K2tog, p1, pass the stich on the right over the left stich as in a regular bind off. If you prefer, you can first complete a row of [k2tog, p1] and then use your preferred stretchy bind-off.
Weave in ends. Note this leaves a hole for your bun or ponytail!
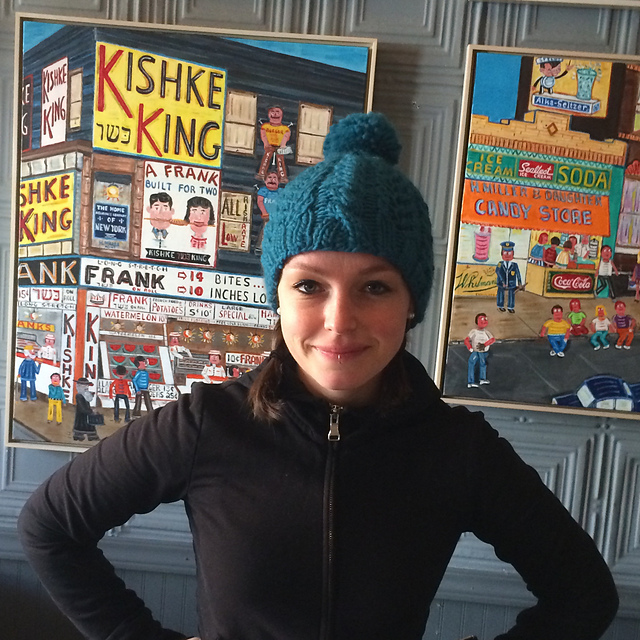
Below you'll see both the final product, as well as the prototype that didn't quite work out right!