

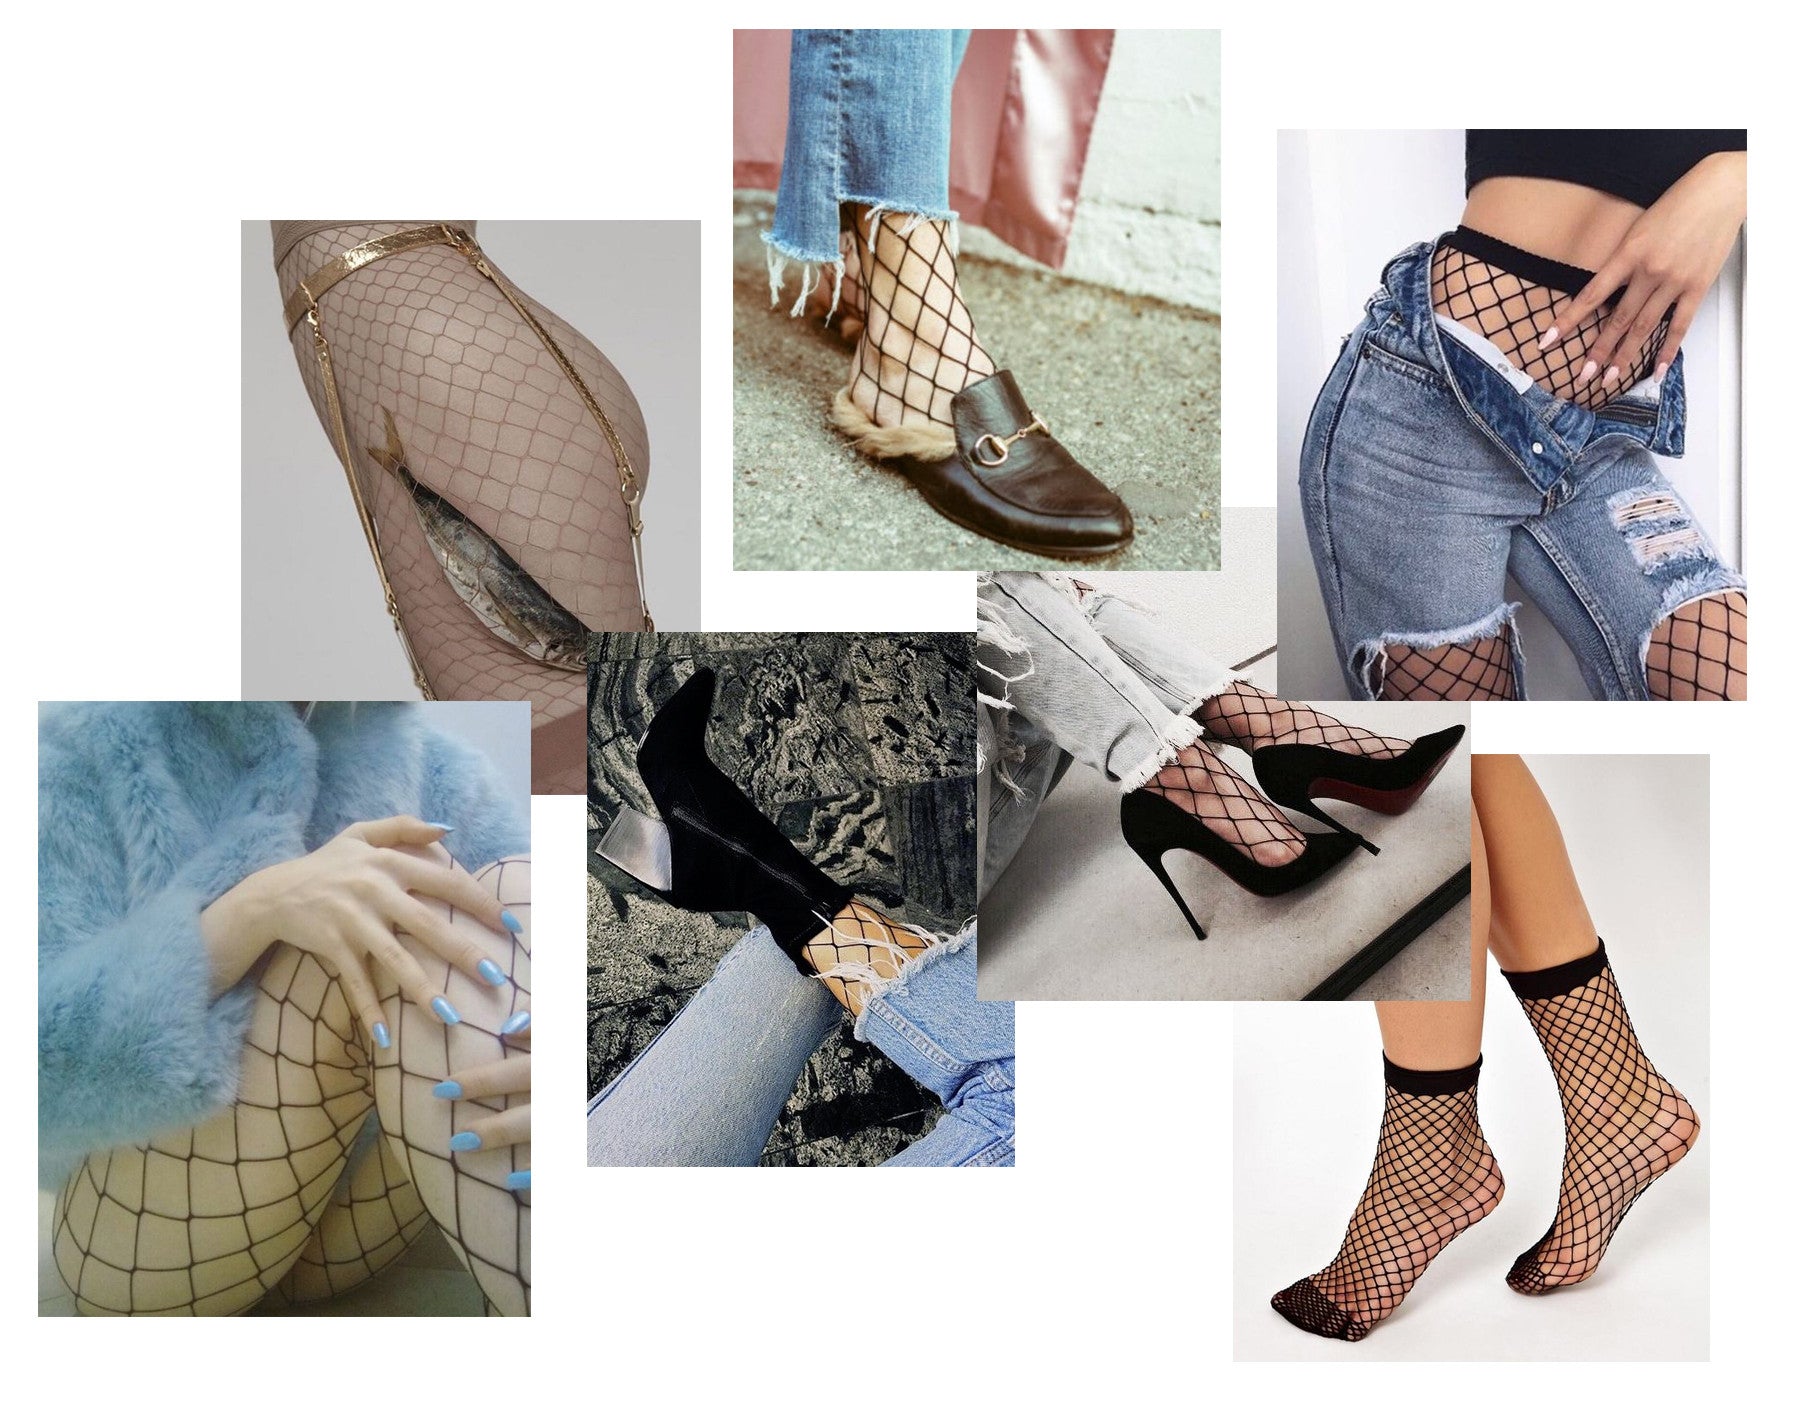
One of the biggest trends of 2017 is is the once maligned, often halloweened, fishnet stocking. Layered under jeans on Instagram to show a sexy bit of skin, or paired with a mule for a modern spin on 90s chic, some stores can't keep them in stock long enough to meet demand. From Lolita to lingerie fetish, Roller Derby to Goths and Rockers, fishnets are appealing to a broad range of fashionistas.
(Click through to pinterest for image credits)
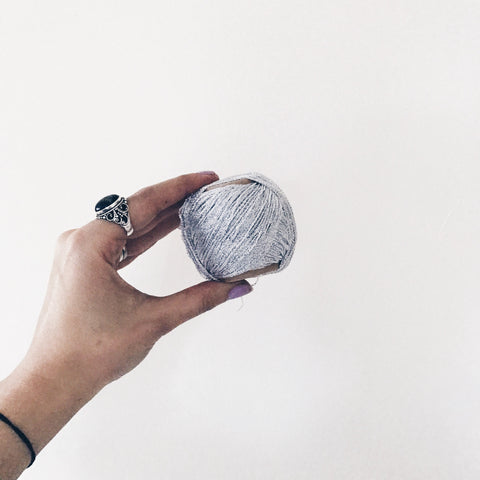
Fishnet stockings are commercially produced on giant "weft" knitting machines, with up to 400 needles and cranking out a pair in 2.5 to 8 minutes. I gave myself the challenge to knit my own pair (although not at the commercial production speed!), as part of my 2017 New Year Resolution. I used a cute little ball of silver lurex from my stash (bought last year from LoveKnitting.com) and kept switching needles and swatching holey lace until I was happy. This pair of socks is super speedy to knit, and can be done two-at-a-time if you want absolutely identical pairs.
Want to knit your own pair? Keep reading for the instructions.
Materials:
- 3mm and 8mm circular knitting needles
- 18-20 grams/80m of lurex
Techniques:
- Judy's Magic Cast-on
- 1x1 rib
- circular knitting
Tension:
20 stitches x 40 rows = 10cm/4" square for 1x1 rib on 3mm needle
Measurements:
Approximately fit women's UK size 6.5/EU 39, however due to the nature of the stitch there is a lot of stretch and give to fit various foot sizes.
Instructions:
- Using 3mm needles, C/o 16 stitches using Judy's Magic Cast-on. You will have 8 stitches on each needle, 8 for the front half of the sock and 8 for the back. Not sure what that is? Read more here (it is my absolute go-to for casting on toe-up socks!)
- Front half of sock: knit 1 stitch, increase 1 stitch, knit until there is 1 stitch remaining, increase 1 stitch, knit 1 stitch (10 stitches). Repeat for the back half of the sock.
- Repeat step 2 until you have 40 stitches in total, 20 for the front half of the sock and 20 for the back.
- Change to 8mm needles and *yarn over, k4tog* to end of round (20 stitches in total, 10 for the front half of the sock and 10 for the back)
- *yarn over, k2tog* for 40 further rounds, or until your work is the desired length
- Change to 3mm needles and knit front and back into every stitch (40 stitches in total, 20 for the front half of the sock and 20 for the back)
- Work 1x1 rib for 5 rounds
- Cast off loosely using stretchy cast off. I like using this method, but feel free to use your favourite stretchy cast-off!
**Note!! You might need to play around with the number of stitches in your cuff until you get something that stretches over your foot but doesn't sag around your ankle, as the lurex is not very stretchy. If you really can't get the right combo, work your rib with an extra strand of sock or shirring elastic.

Have you tried this pattern? Let me know, and share your pics on Instagram with #knitsafari