This post may contain affiliate links. I may receive a small commission at no extra cost to you that goes towards supporting Fluffy Stitches. All opinions are my own. Full Privacy & Disclosure Policies HERE.
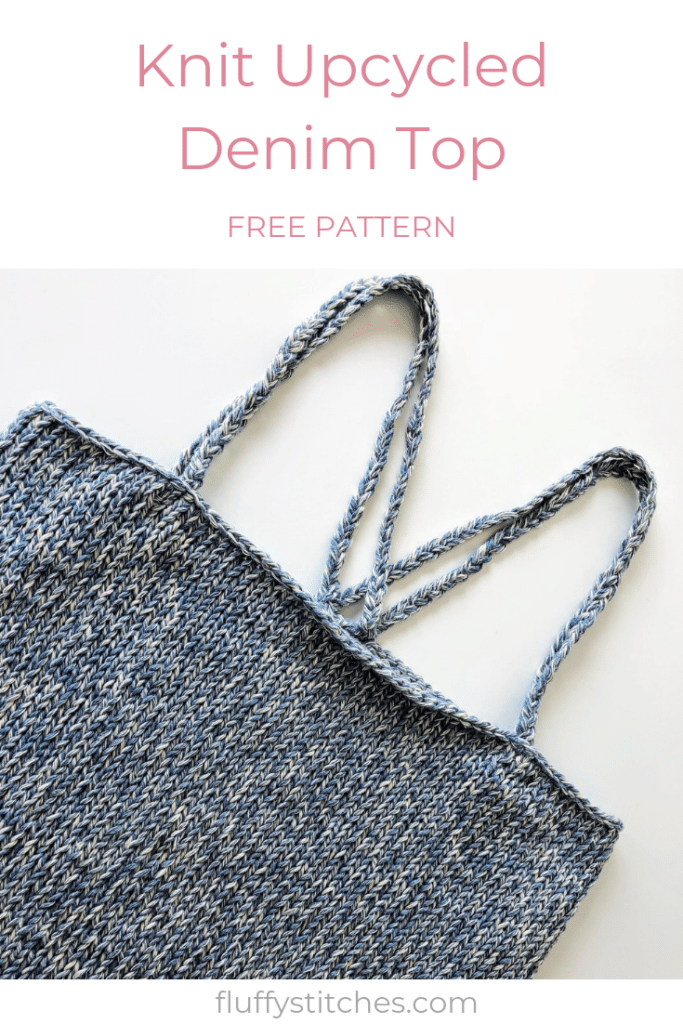
Knit Upcycled Denim Top
Oh, summer… Before the high temperatures go away (which should happen mid-October here in Portugal) I have one knit pattern to share with you! Watch out for the Knit Upcycled Denim Top!
- Pin it for later!
- Keep scrolling for the free version of the Upcycled Denim Top!
- Get the inexpensive add-free PDF with all the details from your favorite store:
Inspiration
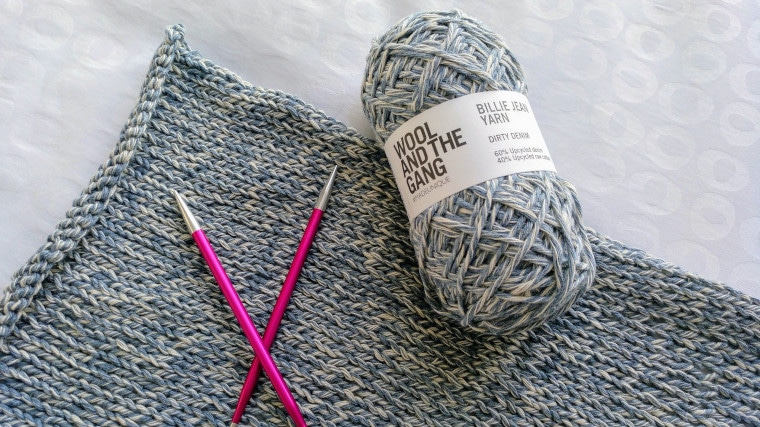
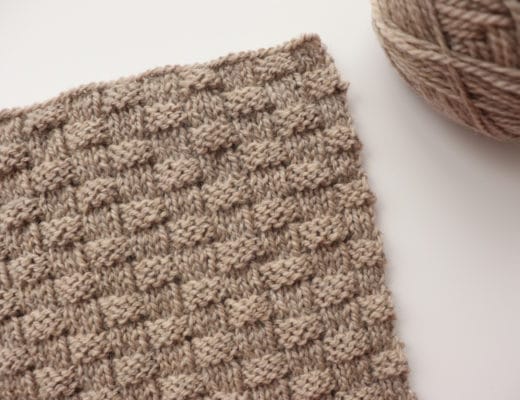
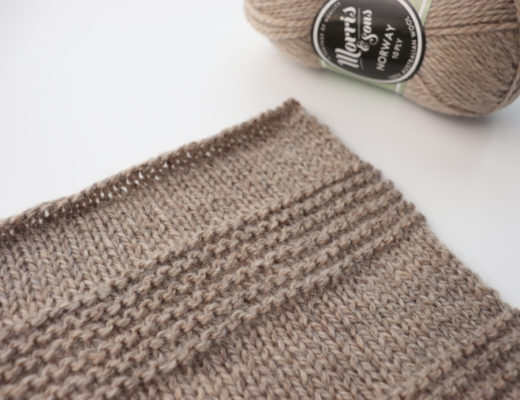
I have taken my chances with knitting and designed a very simple and practical knit denim top for the summer days. It’s made in Wool and the Gang Billie Jean Yarn, a 100% upcycled cotton (yay to recycling!) that’s very light, soft, and environmental friendly!
The Project
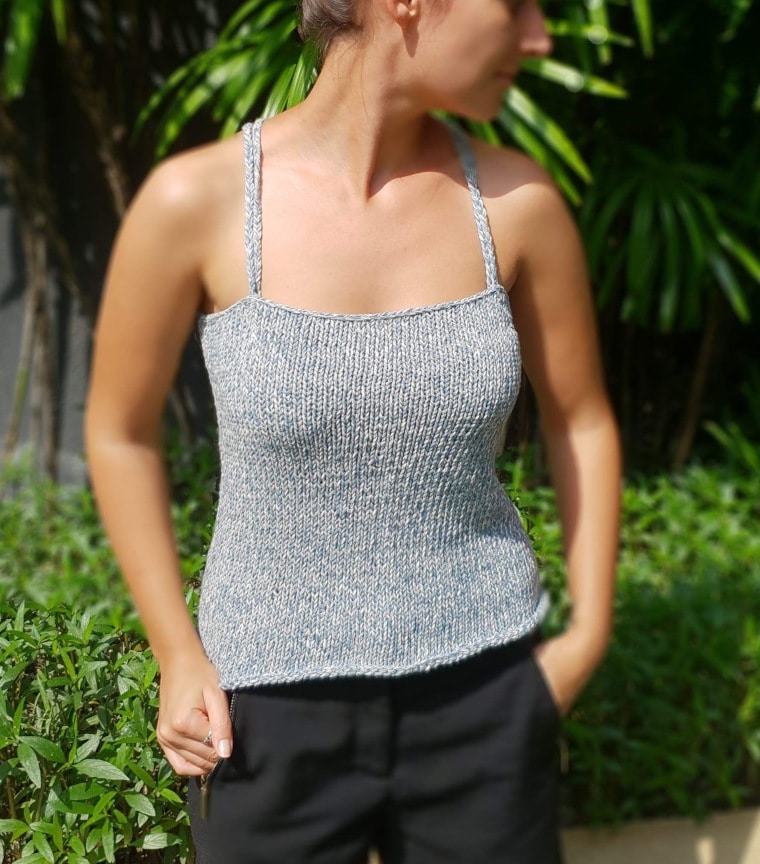
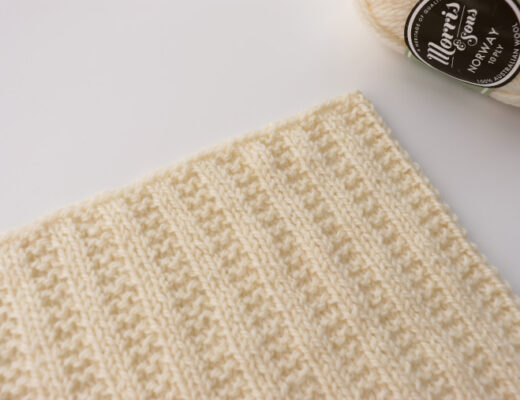
This is a very comfy top for you to wear all summer long! And the best part… it is super easy to make! I’m a beginner in knitting so believe me when I say, that there are no tricks to this top. It’s all about purls and knits. And as if this weren’t enough, the marled look of the yarn makes it very forgiving of mistakes (something I needed desperately! 🙂 )
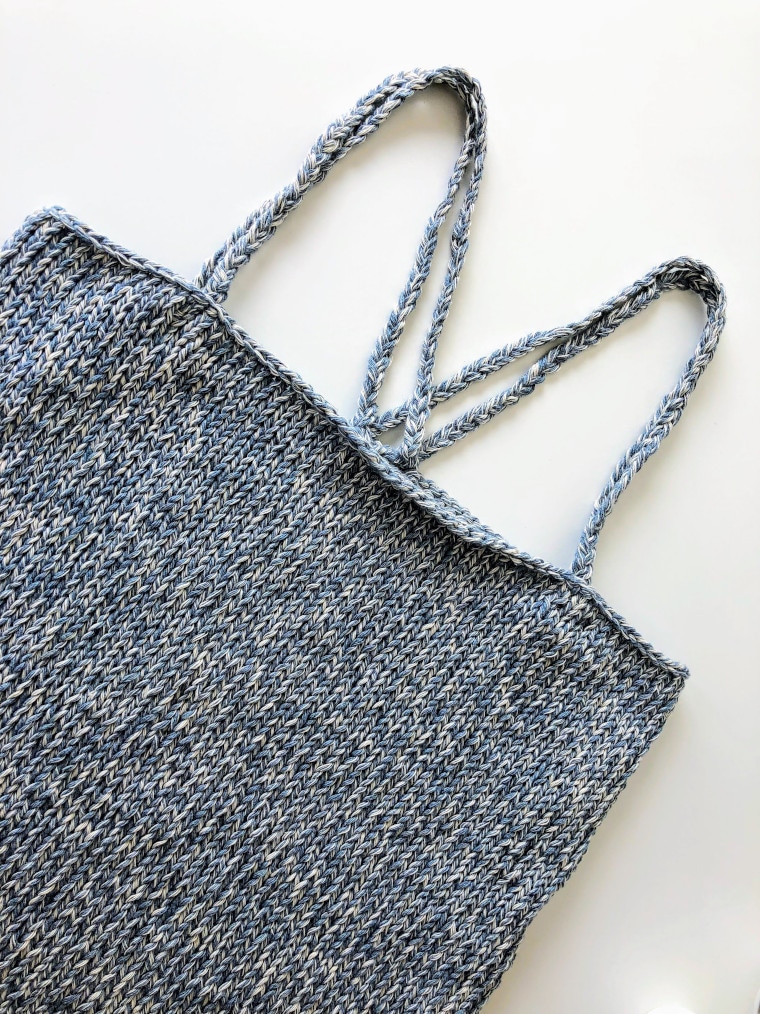
The straps of the top are what make it stand out. I wanted to do something a bit different, but you can always skip the
The pattern I’m sharing below is for a rectangular top, without any kind of shaping. But honestly, I’ve made it so that it would be fitted in the bust, so the yarn is giving and it’s acquiring my body shape through the wear, which I’d risk saying it’s the best form of shaping!
Ready to try your first knit upcycled denim top? 😀
Pattern
- Pin it for later!
- Keep scrolling for the free version of the Upcycled Denim Top!
- Get the inexpensive add-free PDF with all the details from your favorite store:
Description
A beautiful top that is as easy to make as it is comfortable to wear. With a beautiful marled look and braided straps, it is a simple, practical yet head-turning piece.
Skill Level
- Basic
Have in Hand
- 3 (3, 3, 4, 4, 4) skeins Wool and the Gang Billie Jean Yarn
 (148 yd/135m) in Dirty Denim
 - US Size 8 (5.0mm) circular knitting needles
- Stitch markers, measuring tape, scissors, tapestry needle
Gauge
- 16 sts x 22 rows of stockinette stitch = 4”/10 cm
Finished Measures
- Written for sizes XS (S, M, L, XL, 2X):
| XS | S | M | L | XL | 2X | |
| Fits Bust size | 30’’ 76 cm | 34’’ 86 cm | 38” 96.5 cm | 42’’ 106.5 cm | 46’’ 117 cm | 50’’ 127 cm |
| Panel width | 15.25 ‘’ 38 cm | 17.25 ‘’ 43 cm | 19.5’’ 48.75 cm | 21.25’’ 53 cm | 23.5’’ 58.75 cm | 25.5’’ 63.75 cm |
| Panel length | 15.75’’ 39.5 cm | 16’’ 40.5 cm | 16’’ 40.5 cm | 16.5’’ 42 cm | 17’’ 42.25 cm | 17.25’’ 43 cm |
| Strap | 30.75’’ 70 cm | 31’’ 80 cm | 31’’ 80 cm | 31.5’’ 82 cm | 32’’ 82.25 m | 33’’ 84 cm |
Abbreviations (US Terms)
- BO: bind off
- CO: cast on
- k: knit
- p: purl
- RS: right side
- st(s): stitch(es)
- WS: wrong side
Notes
- Pattern designed as 2 rectangular panels (front and back) knit bottom up and then sewn together at the sides. Straps are made separately and then sewn to the top.
- Stitch count remains the same.
- Pattern assumes that two stitches in each panel will “disappear” with side seaming.
- Block your panels before assembly.
Knit Upcycled Denim Top
Panel (make 2)
CO 61 (69, 78, 85, 94, 102) sts.
Row 1 (RS): K each st across the row.
Row 2 (WS): P each st across the row.
Rows 3 – 87 (89, 89, 92, 93, 95): Repeat Rows 1 and 2 in that sequence.
BO and weave in ends.
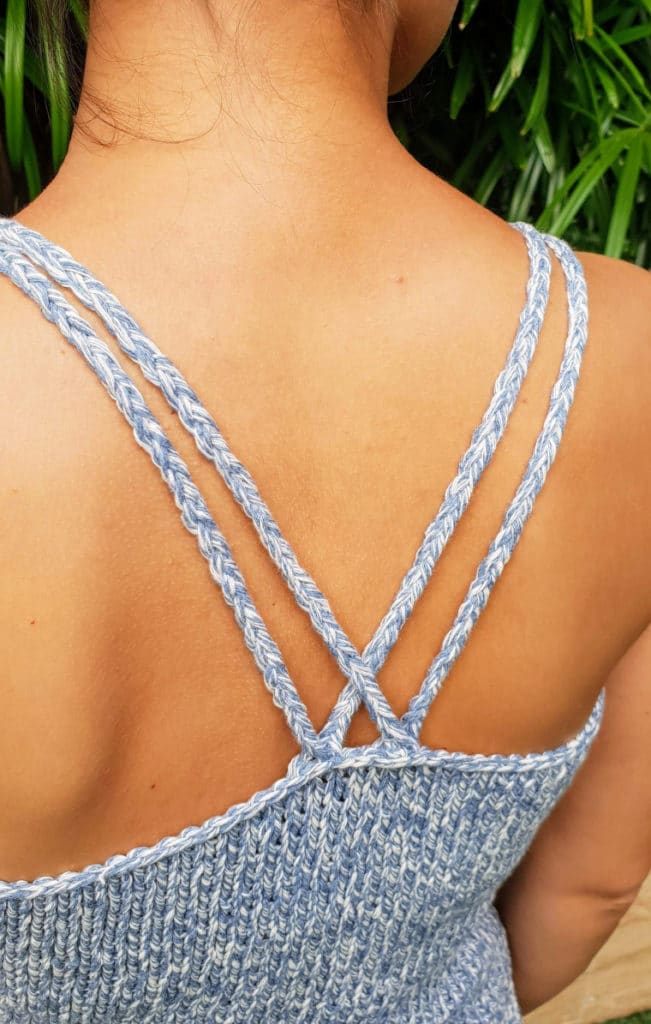
Strap (make 2)
Cut 6 pieces of yarn. Depending on how tightly you braid (more tension will need more yarn) try to cut it so that you can make a braid that is slightly bigger than the final size of your strap.
Make a 3-strand braid, where each strand is made of 2 pieces of the yarn you just cut. Finish off your braid.
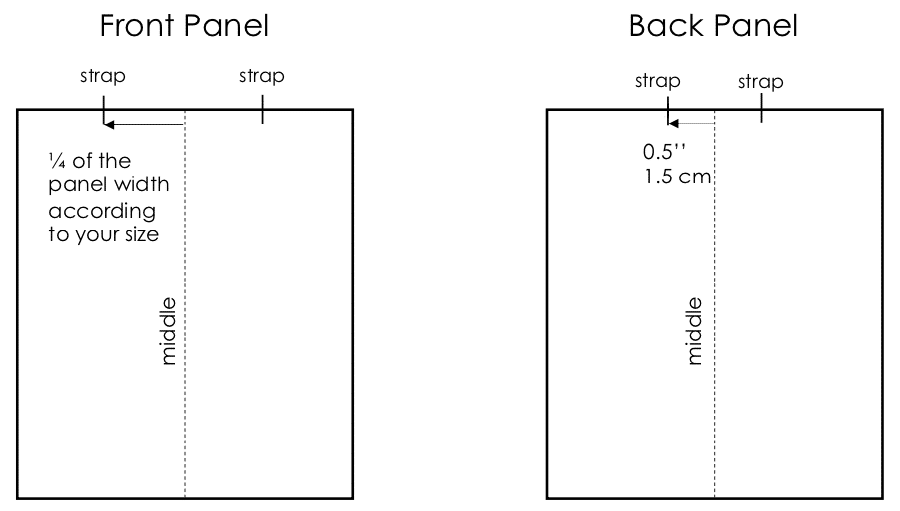
Assembly
Lay panels on top of each other with WS facing out. Use mattress stitch to seam up the sides of your panels together.
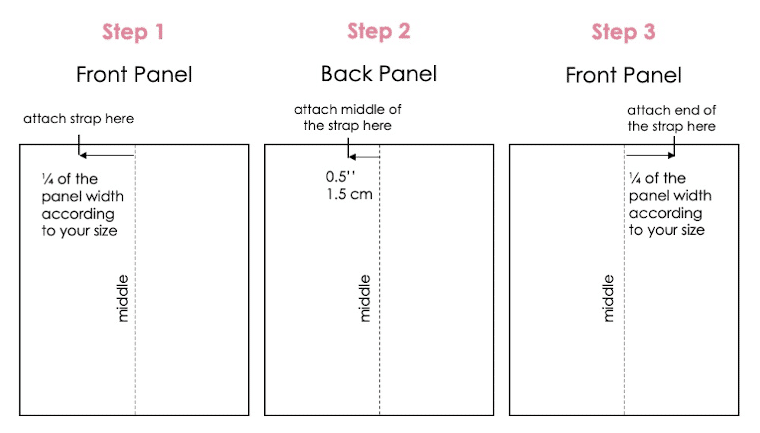
Lay piece with RS facing out. Use stitch markers to mark where the straps will go. In the front panel, the straps will go at about ¼ the length of the panel according to your size. You can measure either from the side seams or from the middle of the panel. In the back panel, the straps are 0.5 ‘’/1.5 cm from the middle of the panel.
To obtain the crossed effect attach one ending of the strap to the front of the top. Then, attach the middle of the strap to the back of the top. The other ending of the strap is attached to the front of the top, on the opposite side to where the strap was first attached.
2 Comments
hello! Great pattern 🙂 can you please provide more detailed instructions on how to make the straps? How do we do the ends? How do we sew it on the shirt? I am a beginner and not sure how this is normally done, and can’t find any applicable videos anywhere.
Hi Melanie,
Thank you for your comment!
As for the straps, unfortunately, I don’t have any pictures of how I did it. I’ll take a note of that for when I review the pattern.
For now, I can suggest that you try something like the Whipstitch, that you can find in this link here: https://www.apartmenttherapy.com/how-to-sew-basic-stitches-221433. I think I did it across the braids to hold them to the hem of the top (on the inside).
I hope this helps! 🙂