Free Knit Scrunchie Pattern
Scrunchies are a fun accessory. You can never have too many of them, especially if you grew up in the 90’s like we did! You will be knitting these on repeat I promise, they are so fun and fast to knit.


For this pattern I really wanted to feature Premiers new Chameleon Color Changing Yarn. Above, you can see the white scrunchies on the left and when you put them in the sun they change to the picture on the right! They currently offer pink, purple and yellow and the yarn is marked for a limited time only so I would snag some quick, it’s so fun to create with.
SUPPLIES:
US #6 (4.0mm) 16” circular knitting needles
Premier Chameleon Color Changing Yarn or light weight or DK yarn of choice
Hair tie (I used the Goody Ouchless Elastic Hair Ties)
Yarn needle
PATTERN NOTES:
Each scrunchie takes approximately 70 yards
My gauge for a 4x4 square was 21 stitches x 28 rows
ABBREVIATIONS:
K2tog - Knit two stitches together
Kf&b - knit in the front and then the back of the same stitch
sts - Stitches
PATTERN:
Cast on 110 sts.
Join in the round place marker and be sure to not twist your stitches
Rounds 1 - 11: Knit
Round 12: K2tog repeat to the end of round (55 sts)
Round 13: Knit
Round 14: Kf&b repeat to the end of round (110 sts)
Rounds 15 - 24: Knit
Bind off and follow directions below to finish.

Step 1:
Once you are done knitting this is what your scrunchie should look like.

Step 2:
Turn the scrunchie inside out so it looks like the picture.
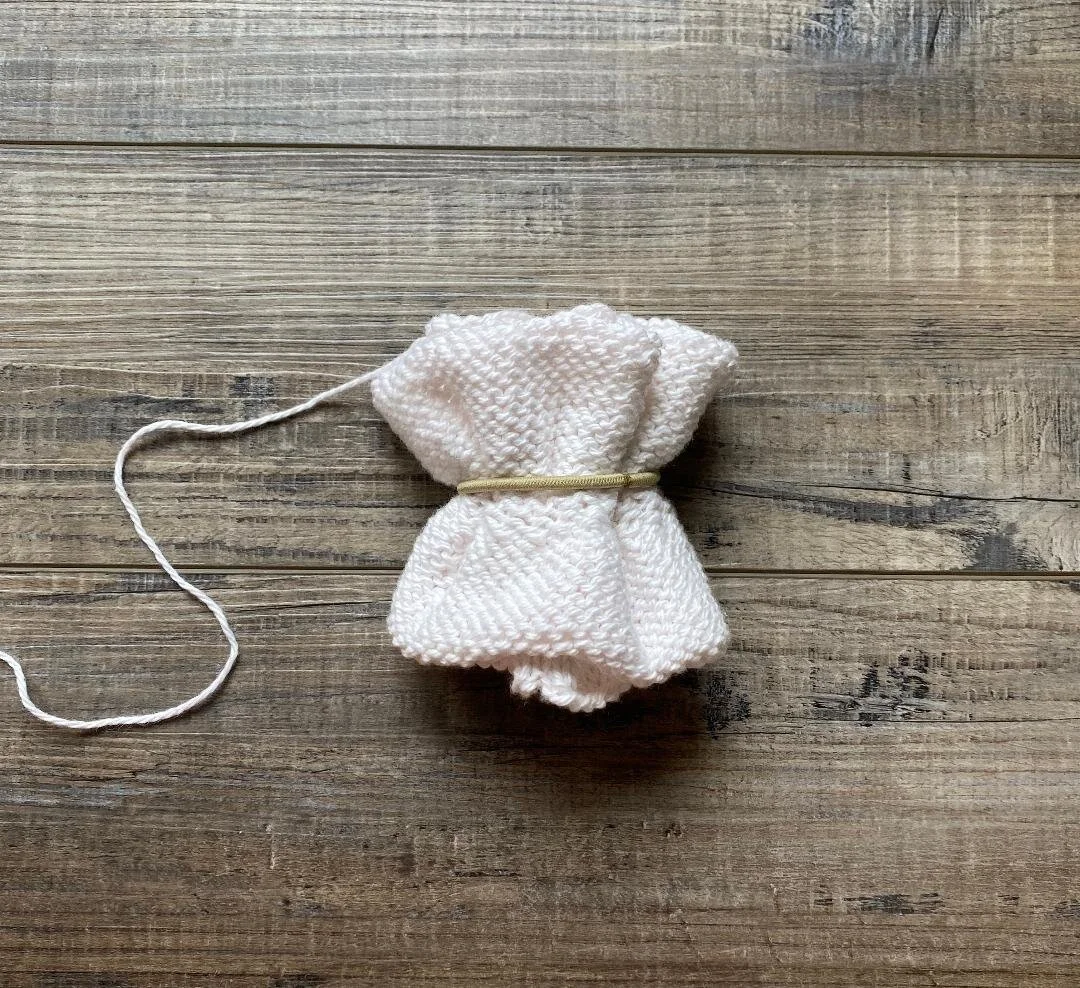
Step 3:
Take your hair tie of choice and wrap it around the middle of your scrunchie as shown. Use the line in the middle from the decreases and increases as your guide for where to place the hair tie.
Step 4:
Fold your scrunchie so that the hair tie is on the inside.

Step 5:
Flatten it the best you can so your cast on and bind off edges are together. It may be helpful to use little clips to hold edges together.
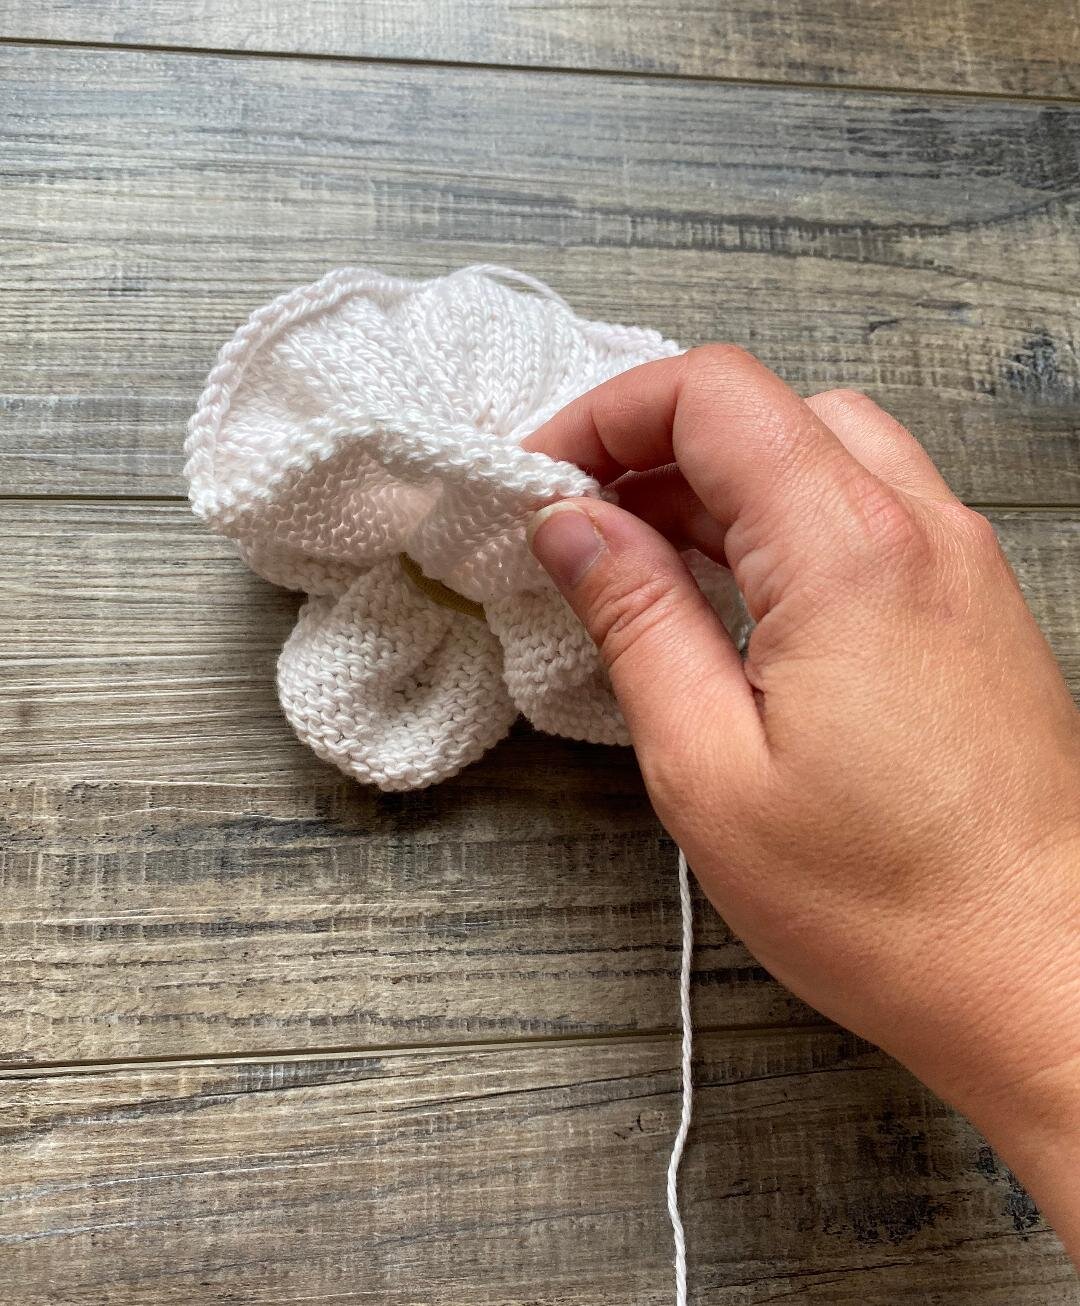
Step 6:
Sew your cast on and bind off edge together all the way around.

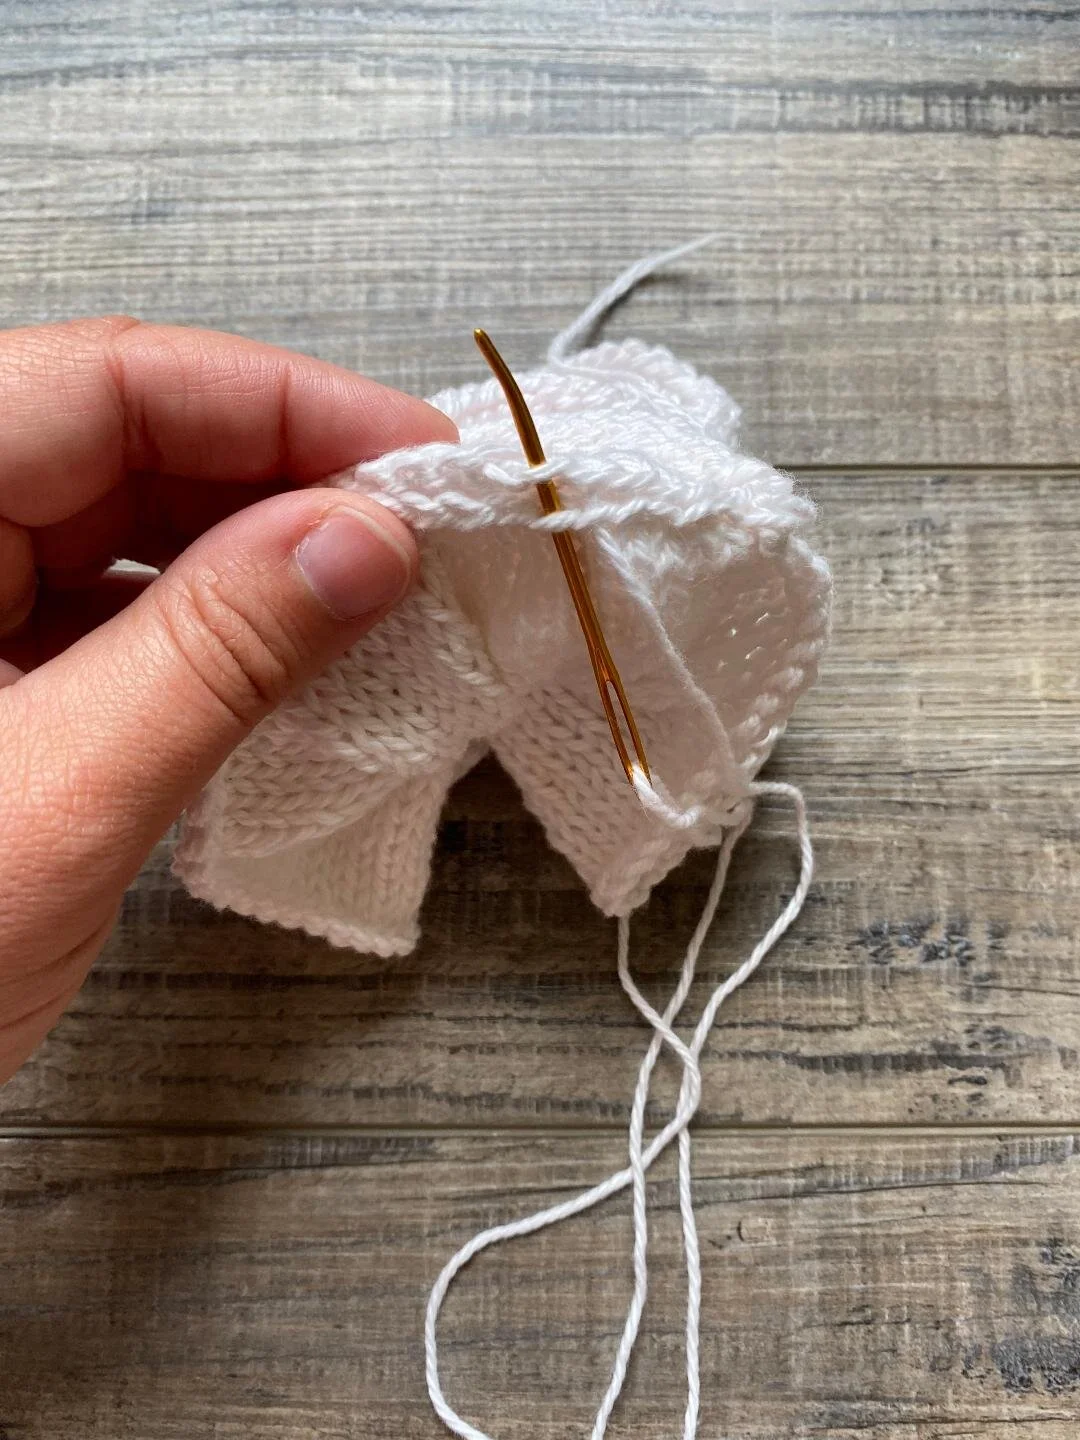
Step 7:
Continue sewing your edge until you have it completely sewn shut.

Step 8:
Weave in ends and enjoy!
Happy Knitting!!!
If you have Instagram go check out our video of the color changing yarn in action!
If you make this, don’t forget to tag us on Instagram: @Clickety_Sticks
You can also ask questions, get help with a WIP or brag about your finished item in our facebook group Clickety Sticks Craft Community
LET’S CONNECT!