Zero Crops Given Crop Top Part 1

This is part 1 of the pattern. If you are looking for part 2, please click here
Hey hey! Summer is in full roar now isn’t it (well, in the Northern Hemisphere). It was super hot here for about a week, then the temps went right back to perfect. I wonder how long this nice weather is gonna last? hmmmm… Hopefully for awhile!
Recently I messed up both my thumbs. I’m pretty sure I overworked them trying to do too many projects at once. (my biggest flaw! But, I gotta get to all my ideas somehow!) I had carpel tunnel once a few years ago, and it healed up just fine. I’m thinking this is the same thing. That said, I’m probably going to have to cut back on my pattern making for a little while. This stinks SO MUCH, but it’s important to keep my hands healthy. I’m going to be taking the next week off and hoping they heal up.
Anyway, that’s all that’s new here! Now lets get to the pattern!
ABOUT THIS Top:
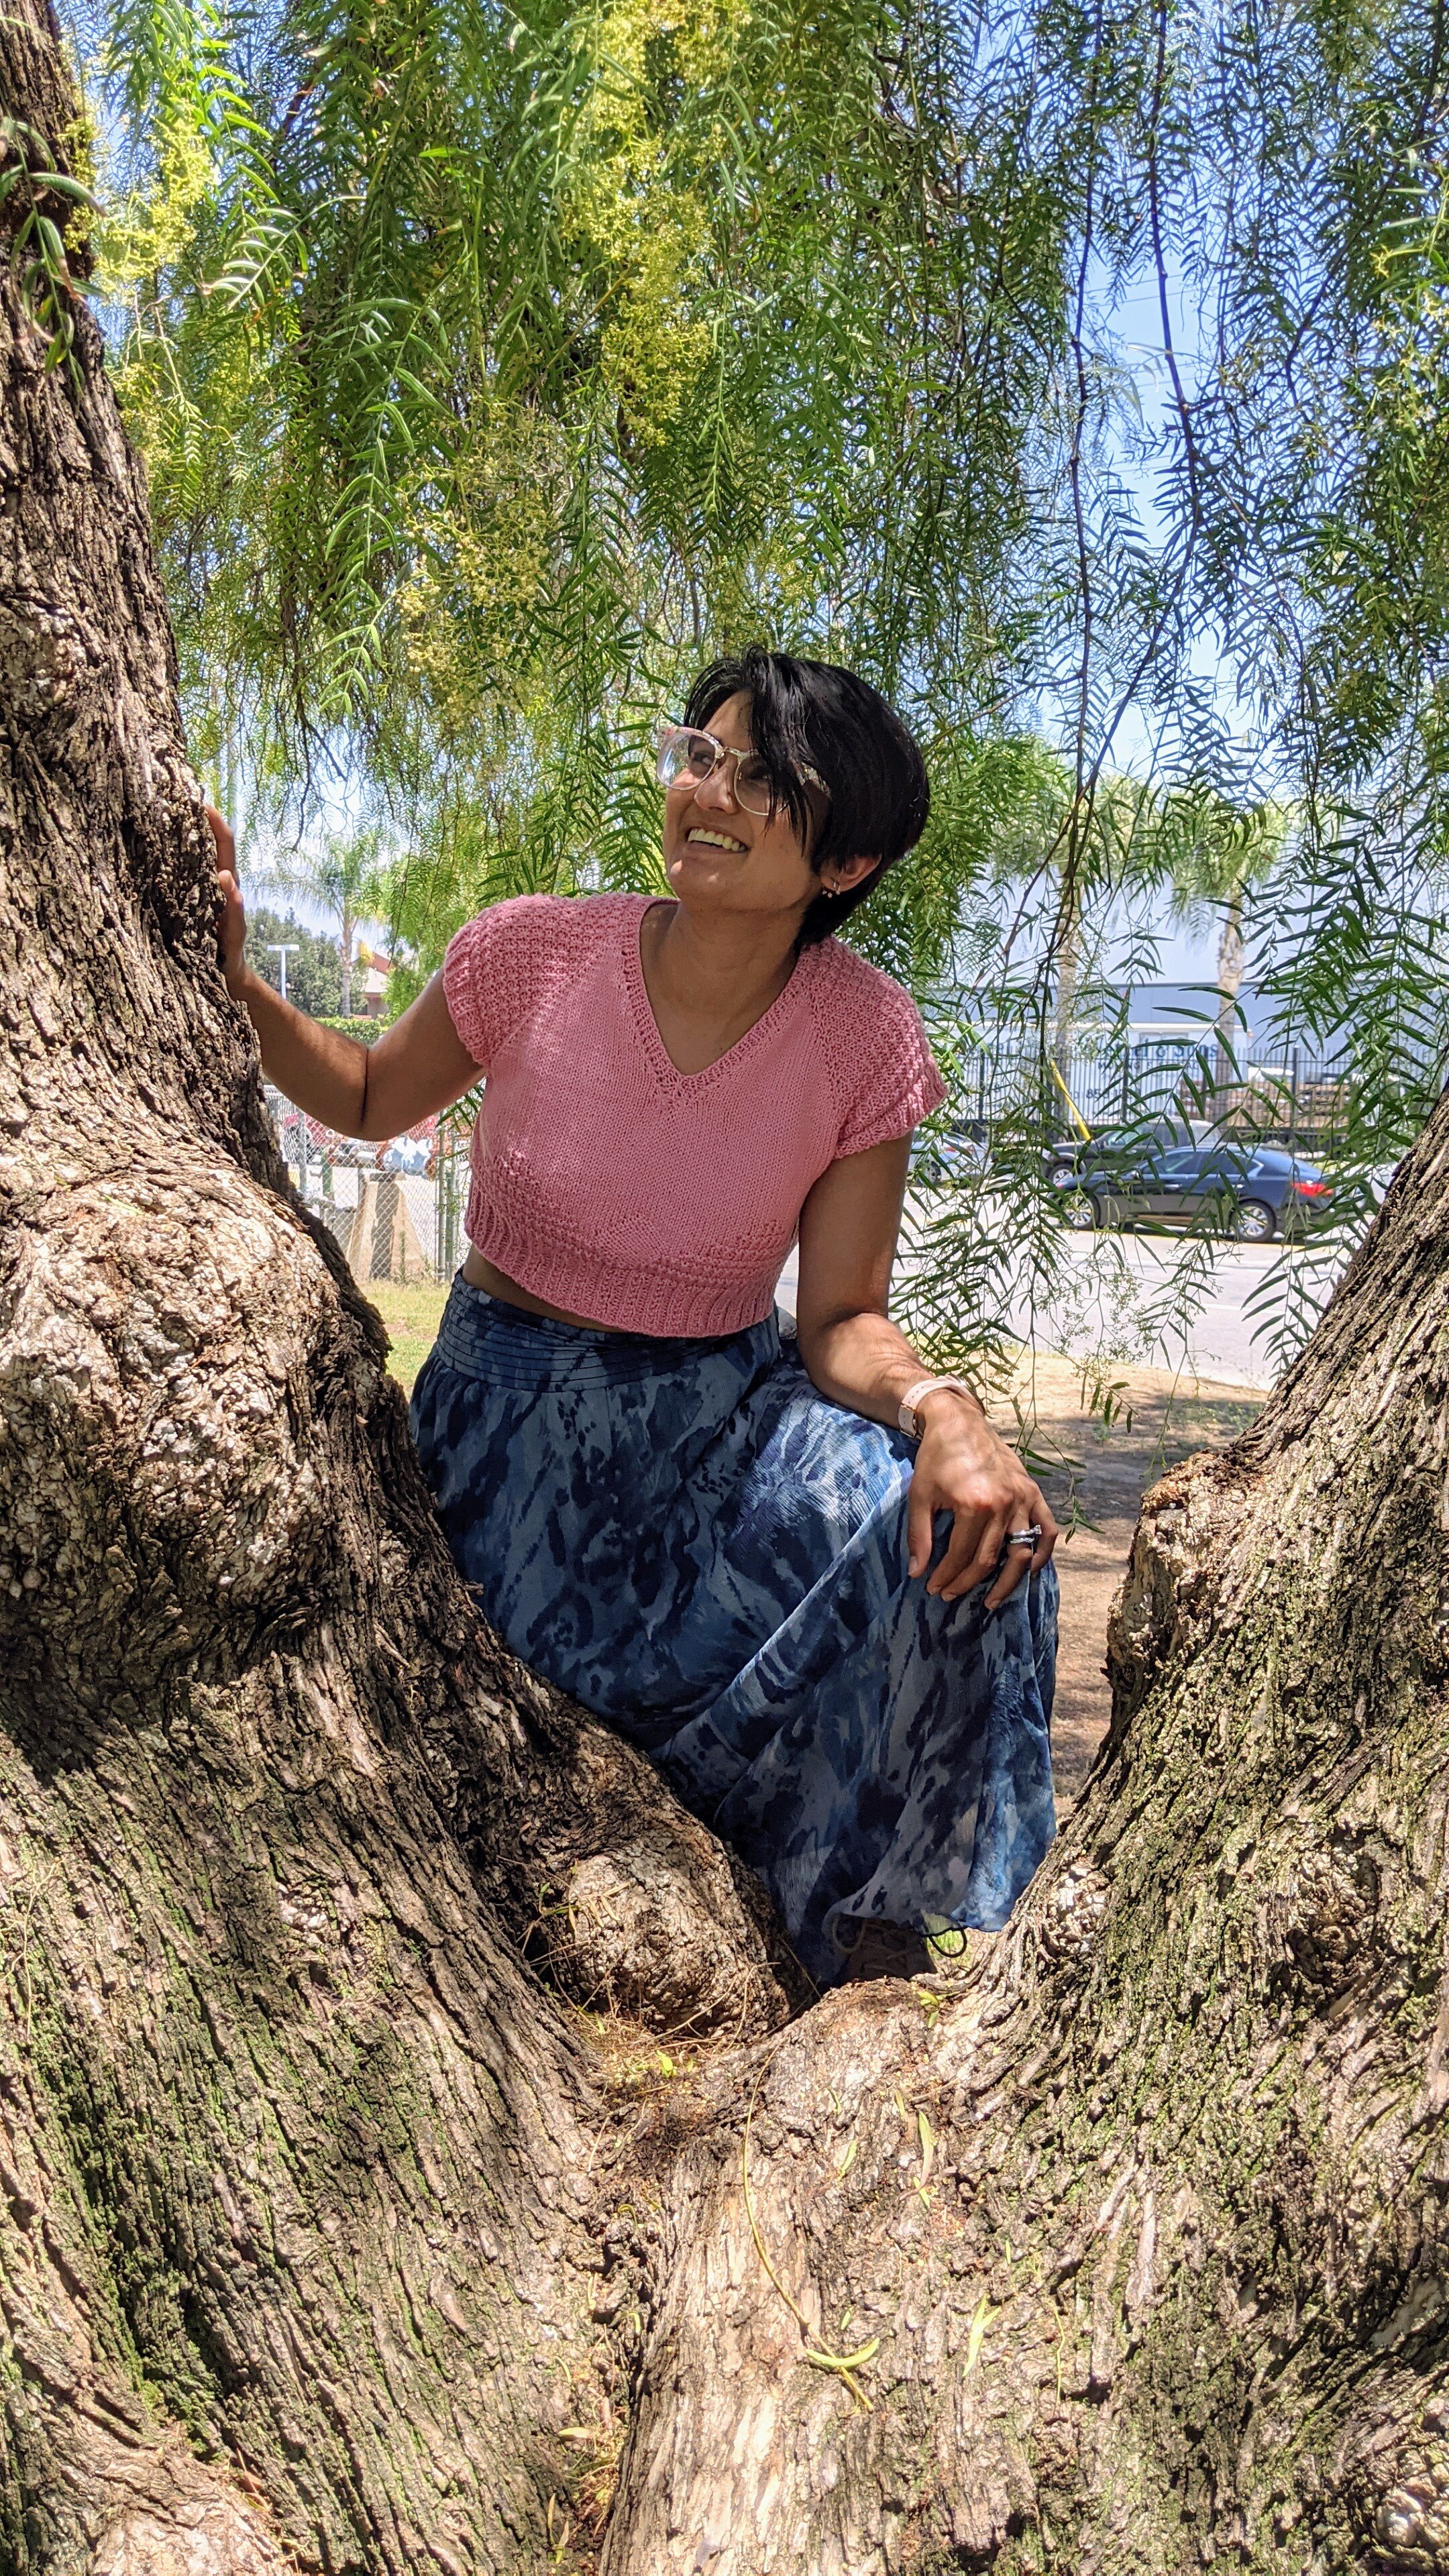
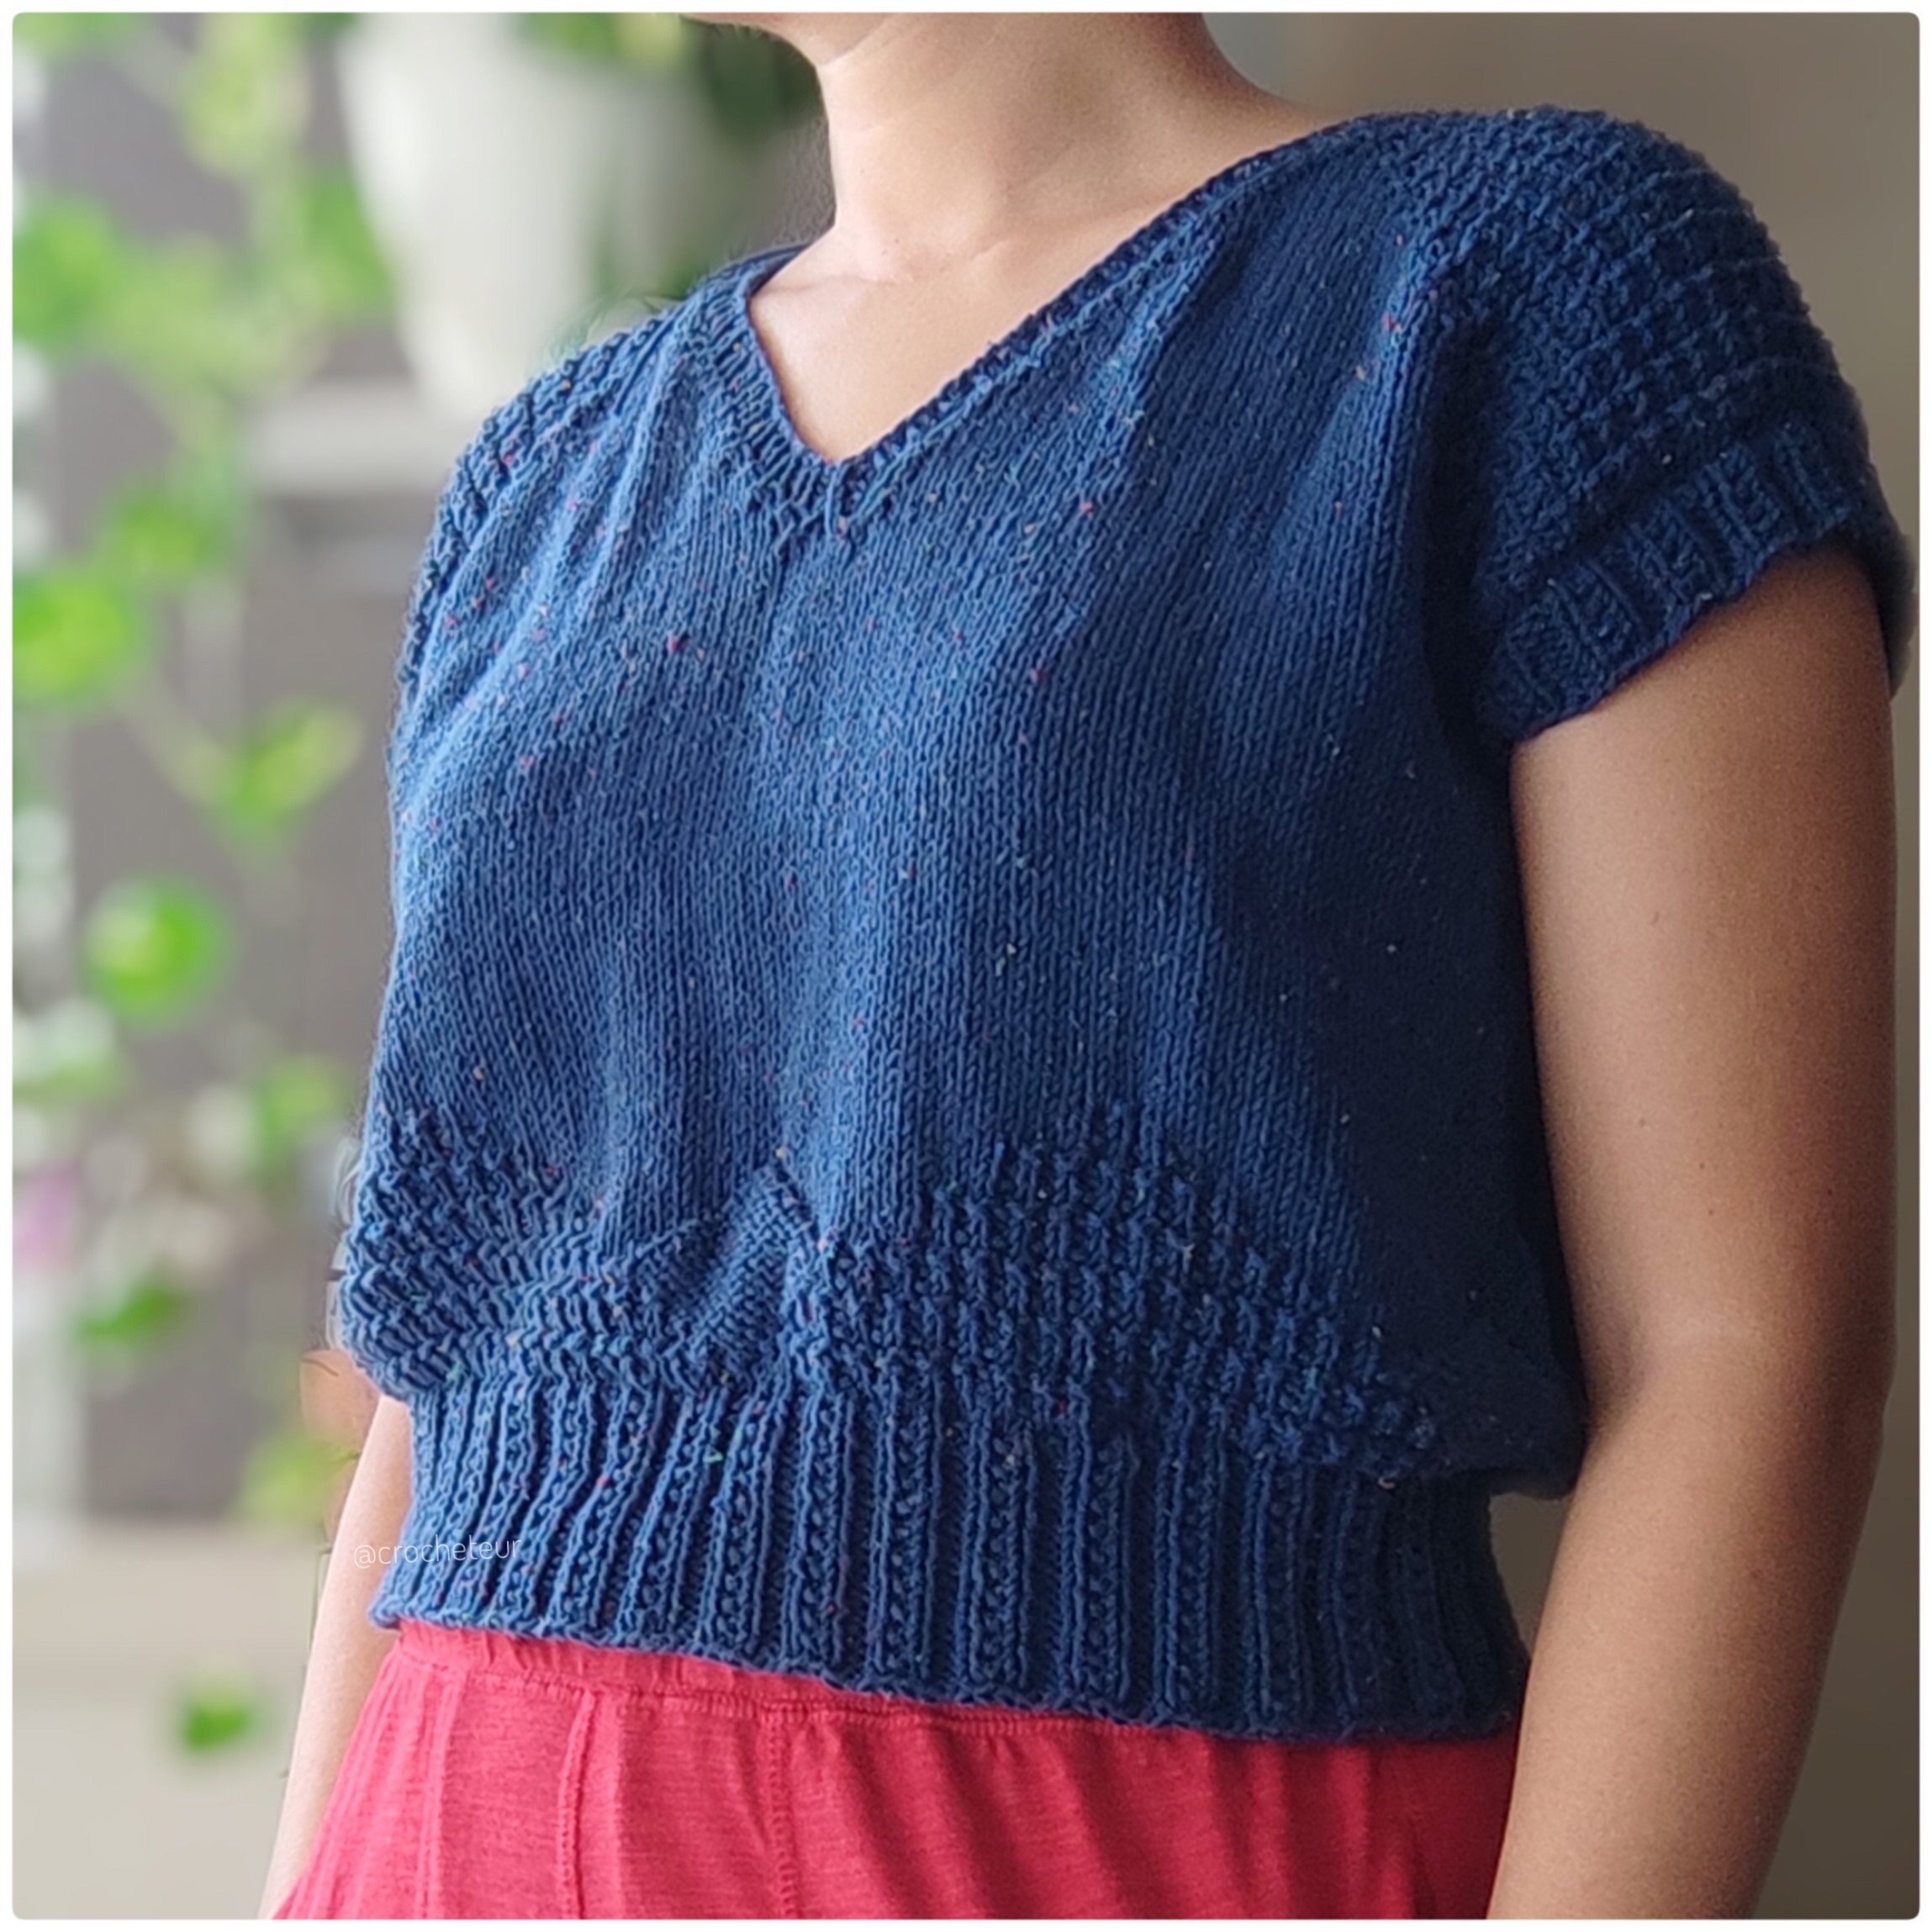
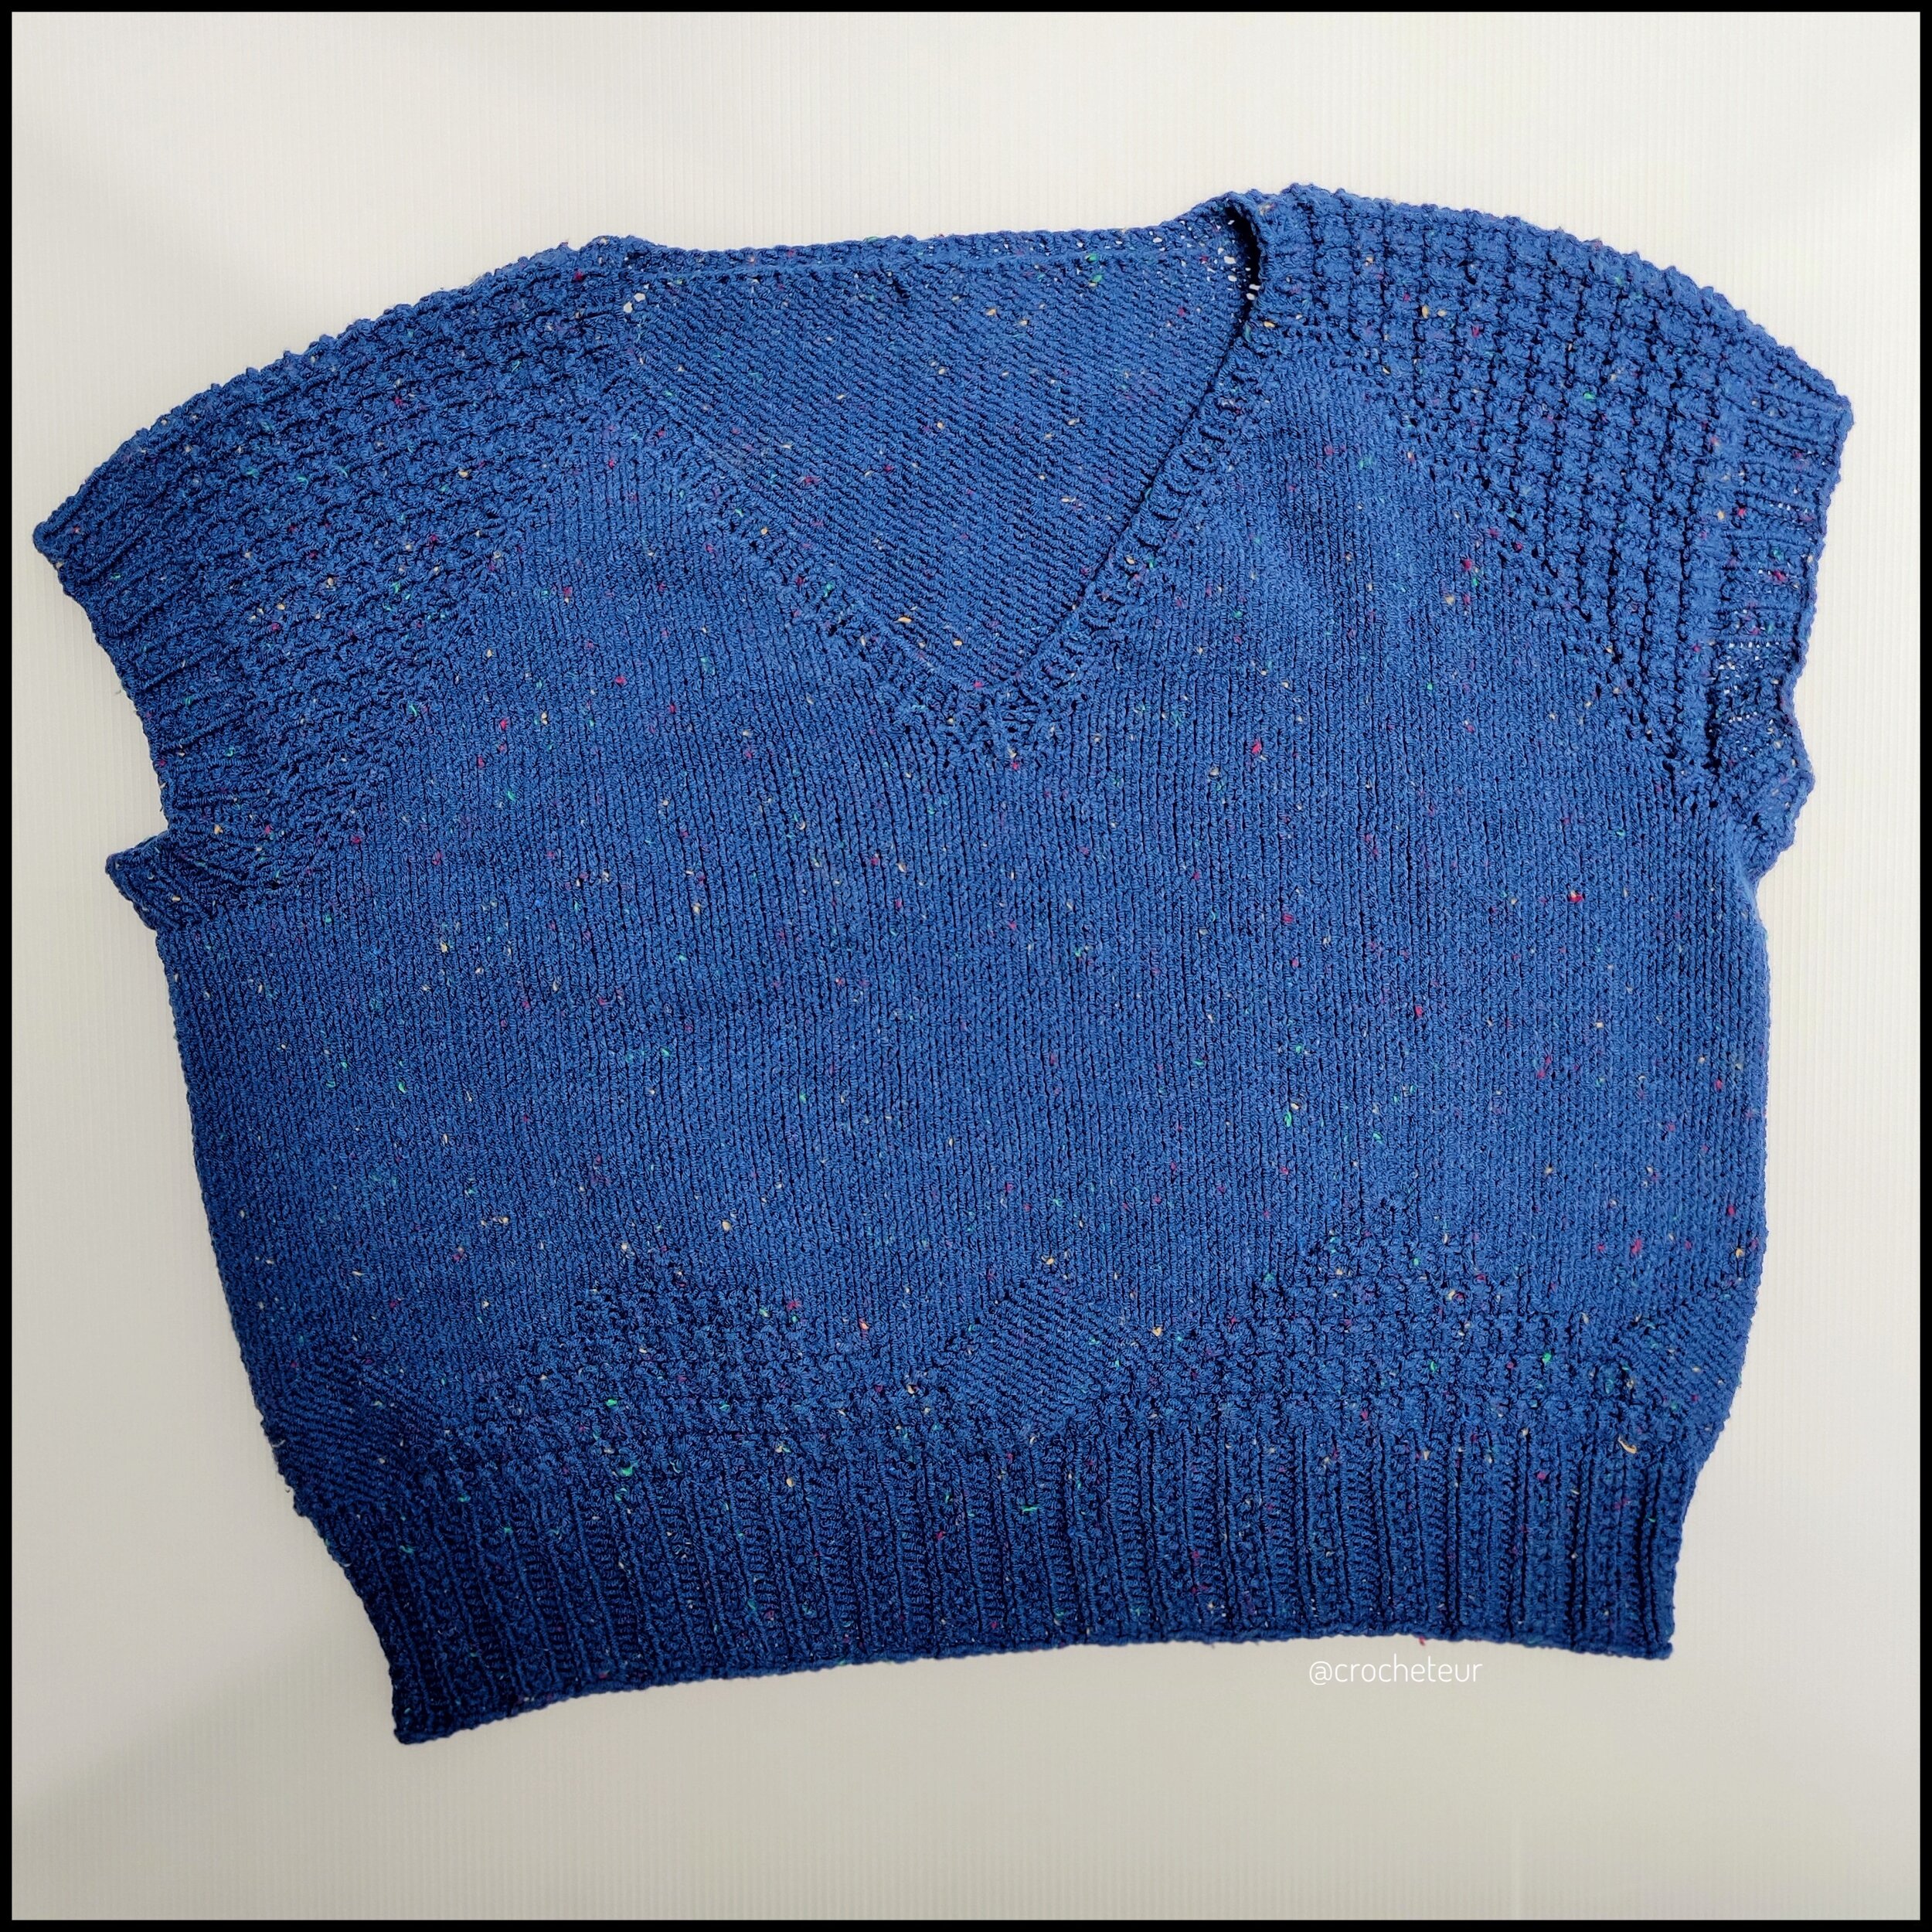
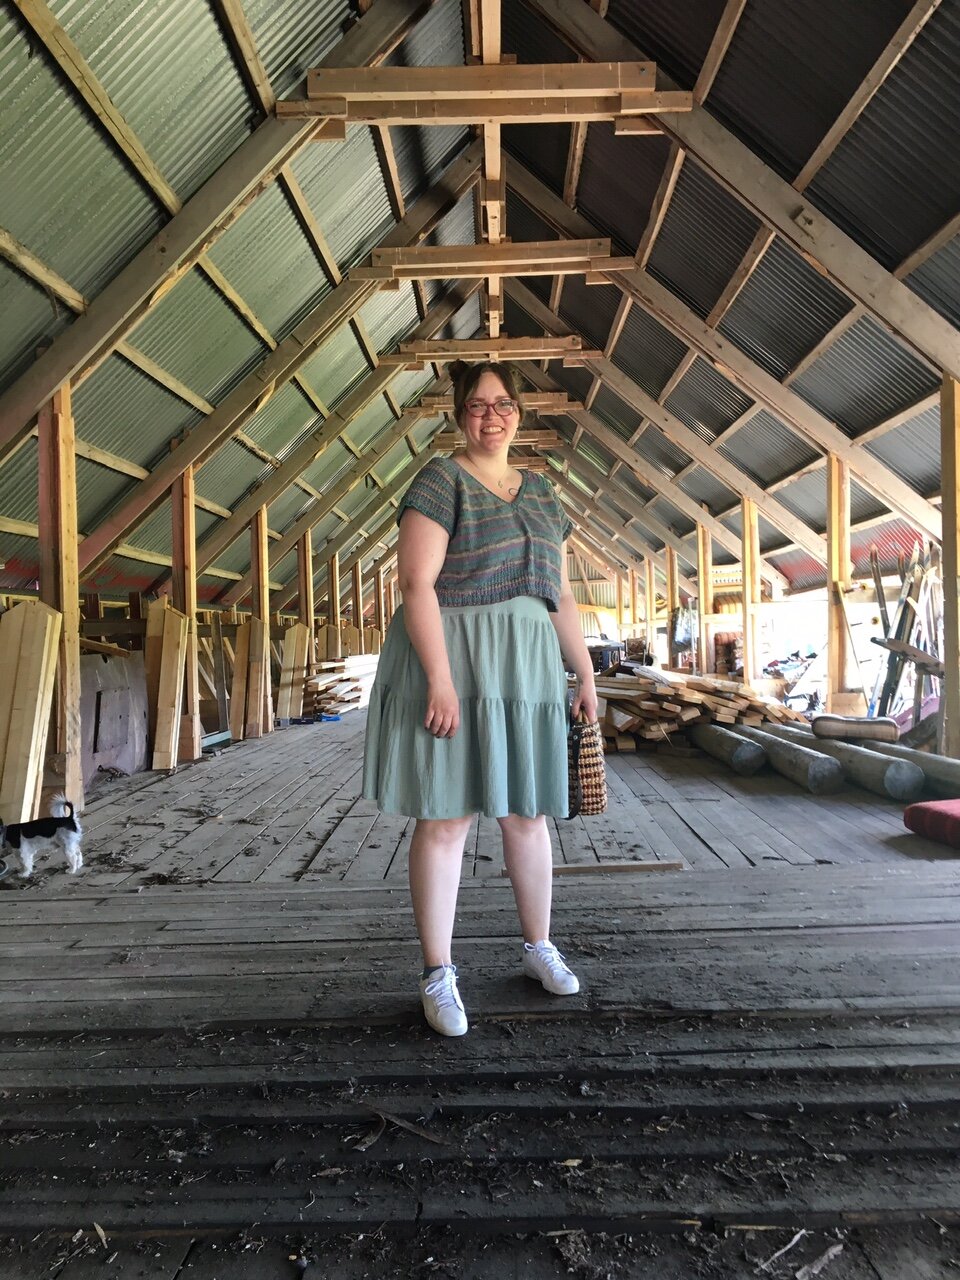
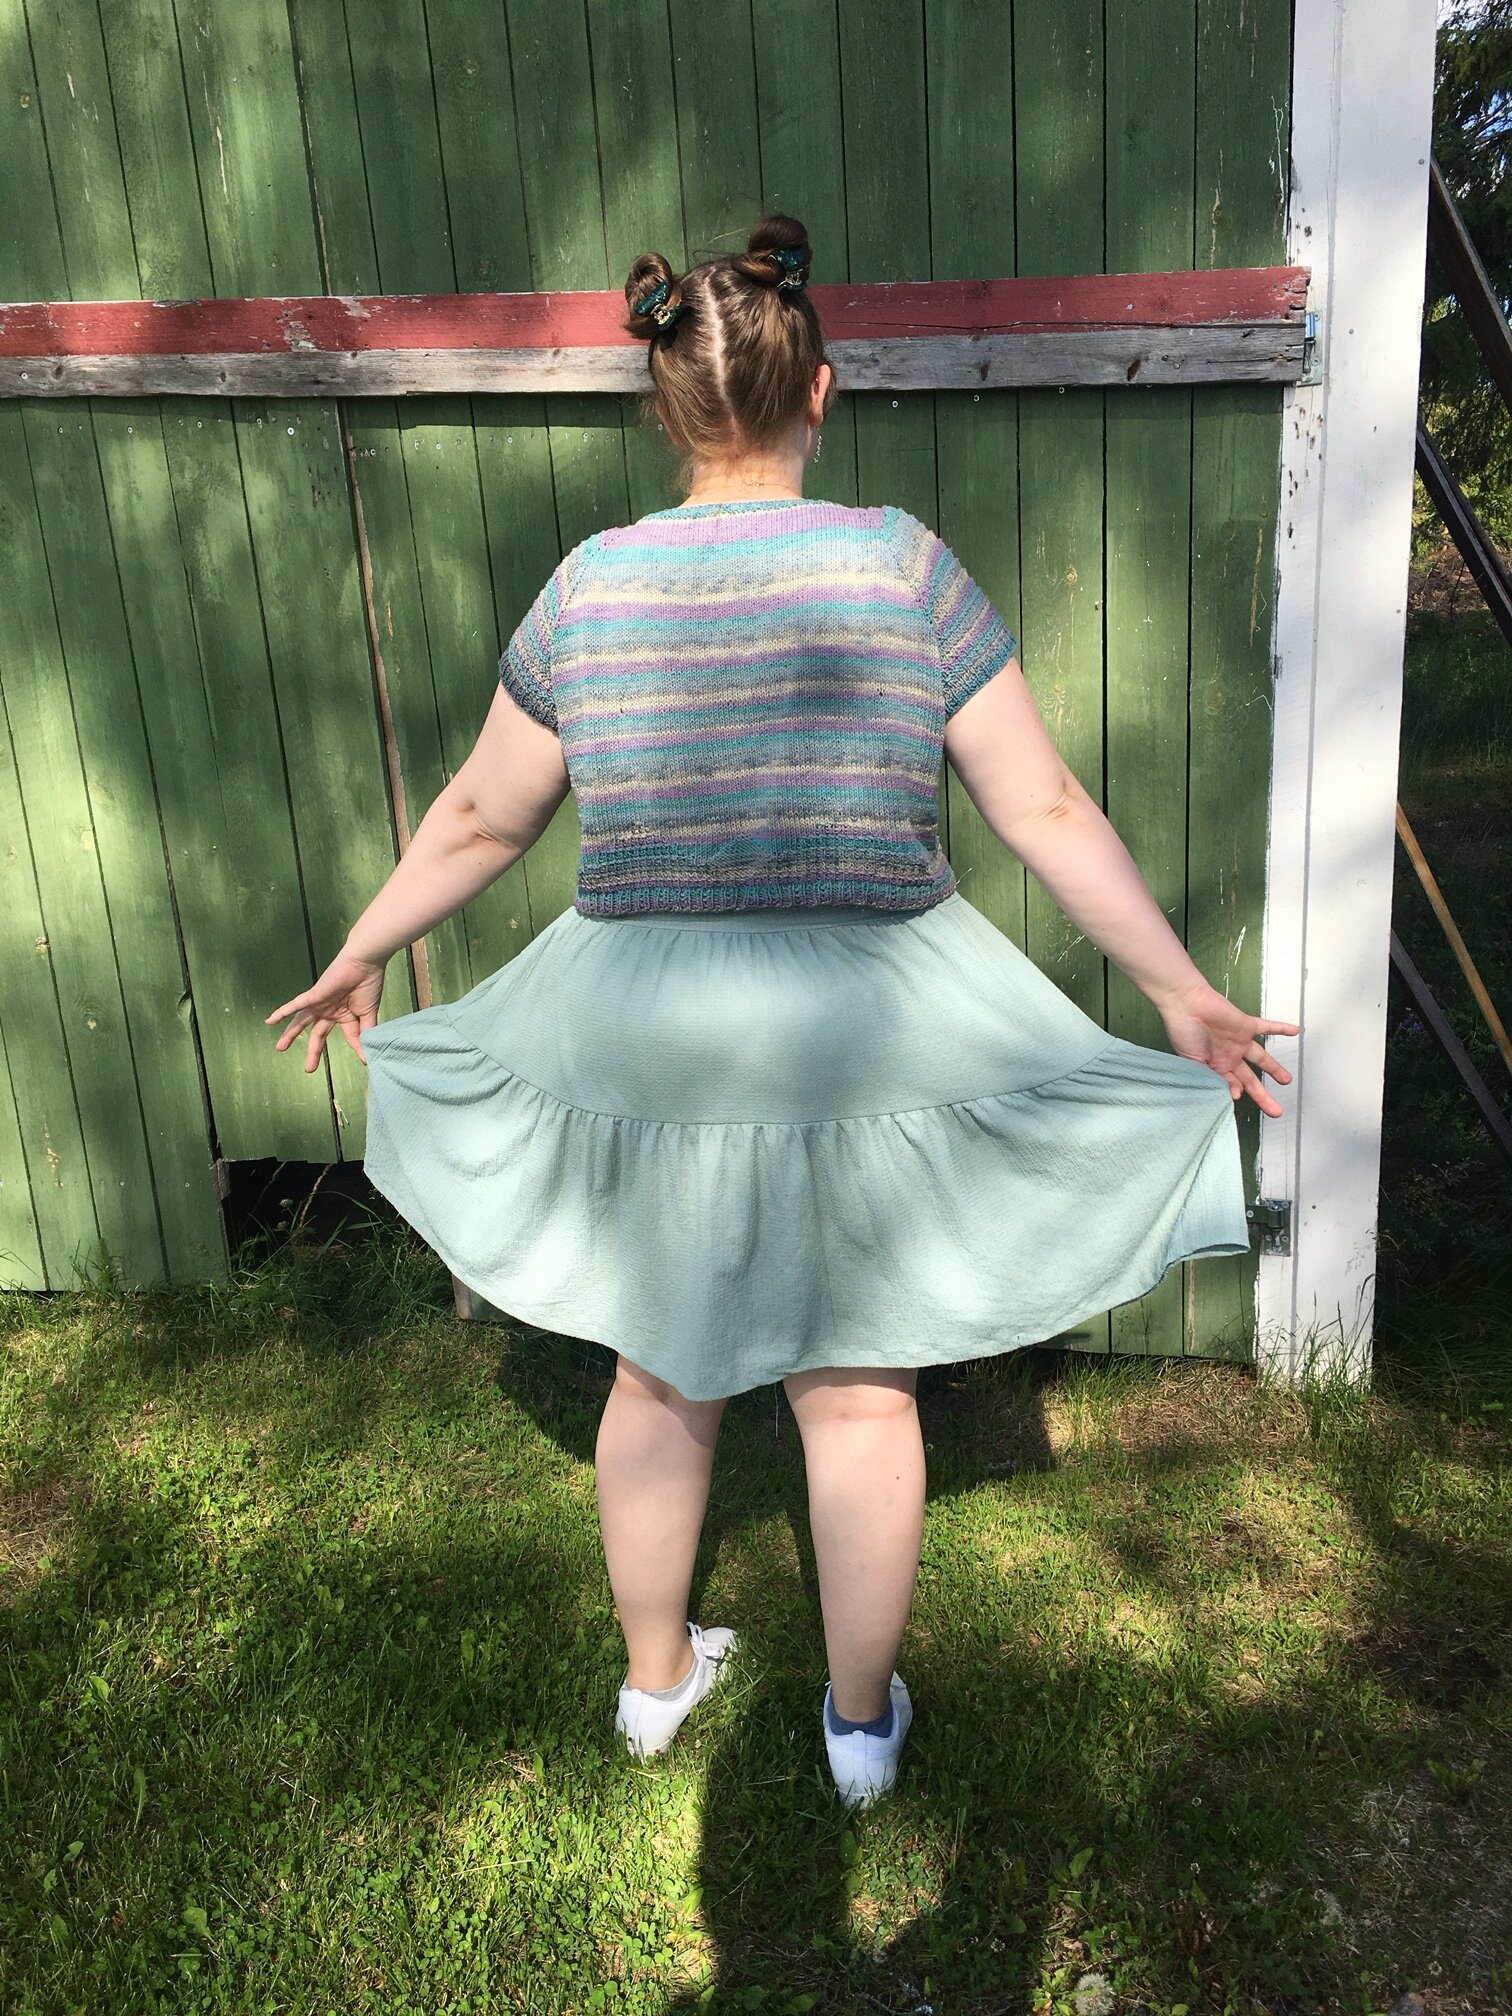
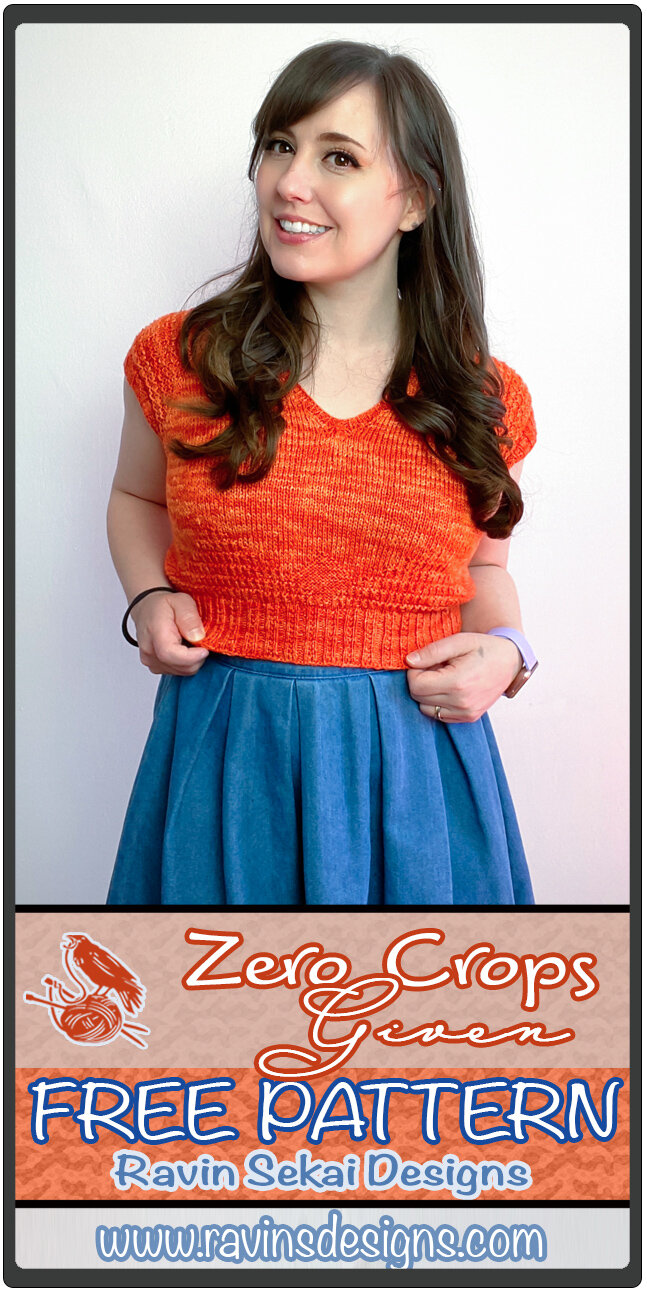
Zero Crops Given is a size inclusive cropped raglan with sizes S - 4XL. The pattern includes directions on how to make the crop the perfect length for your body. Also, we have waist shaping directions so your top fits you just right!
This top pattern is written to have +3” to -3” ease in the bust. The sample is the M size knit to have 0” of ease and a little over 15” long. Also, because I do not have a drastic difference between my bust and waist, I knit with no waist shaping. But, making adjustments for a larger bust to waist ratio is easy and explained in the pattern.
The Zero Crops Given top is knit with Sport weight 2 yarn, but knit with 4.5mm needles, which make the yarn act more like a DK weight 3. The top would look cute knit in a DK weight yarn as well, but make sure you make and block gauge swatches in order to make sure that your gauge is the same or very close to the gauge for the pattern so that you get the correct size. The yardage given for the top is for a top that will go to about each sizes natural waist.
For the top, I used Audine Wools Interlock in colorway Pigment. I wanted a top that really POPPED for summer. However, this top would look awesome in a variety of different colors, both solid and variegated.
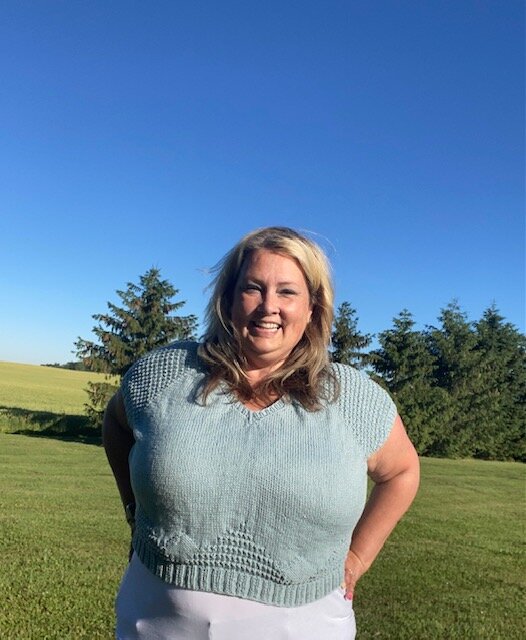
THANK YOU! to all my wonderful testers!


Pin to Pinterest
I LOVE TO SEE WHAT YOU CREATE!
Please share your creations with the community on social media tagging @ravinsekaidesigns and hashtag #zerocropsgiven
I can’t wait to see the beautiful things you come up with!
FOLLOW ME ON SOCIAL MEDIA
Facebook: Ravin Sekai Designs
Ravelry: RavinSekai
Instagram: @ravinsekaidesigns
Pinterest: Ravin Sekai Designs
Patreon: Ravin Sekai Designs

WHAT YOU NEED:
Needles: Size 4.5mm and 4mm circular needles or size needed to obtain gauge (see notes for more information)
Yarn: Sport Weight 2 yarn. Sample knit in Audine Wools Interlock 490(530, 680, 745, 880, 930, 990) yrds
Gauge: w/ 4.5mm needles: 22 st/31 rows = 4” in stockinette w/ 4mm needles: 26st/ 40 rows in Beaded Rib Stitch (gauge is after blocking)
Other: waste yarn or st holders
To Fit Bust: S: 32”-35”, M: 36”-39”, L: 40”-43”, XL: 44”-47”, 2XL: 48”-51”, 3XL: 52”-55”, 4XL: 56”-58”
Finished Garment: finished garments has about +3” to -3” ease, Bust: S: 33.5”, M: 38”, L: 41.5”, XL: 45”, 2XL: 49.5”, 3XL: 53”, 4XL: 56” Length: variable. Directions below.
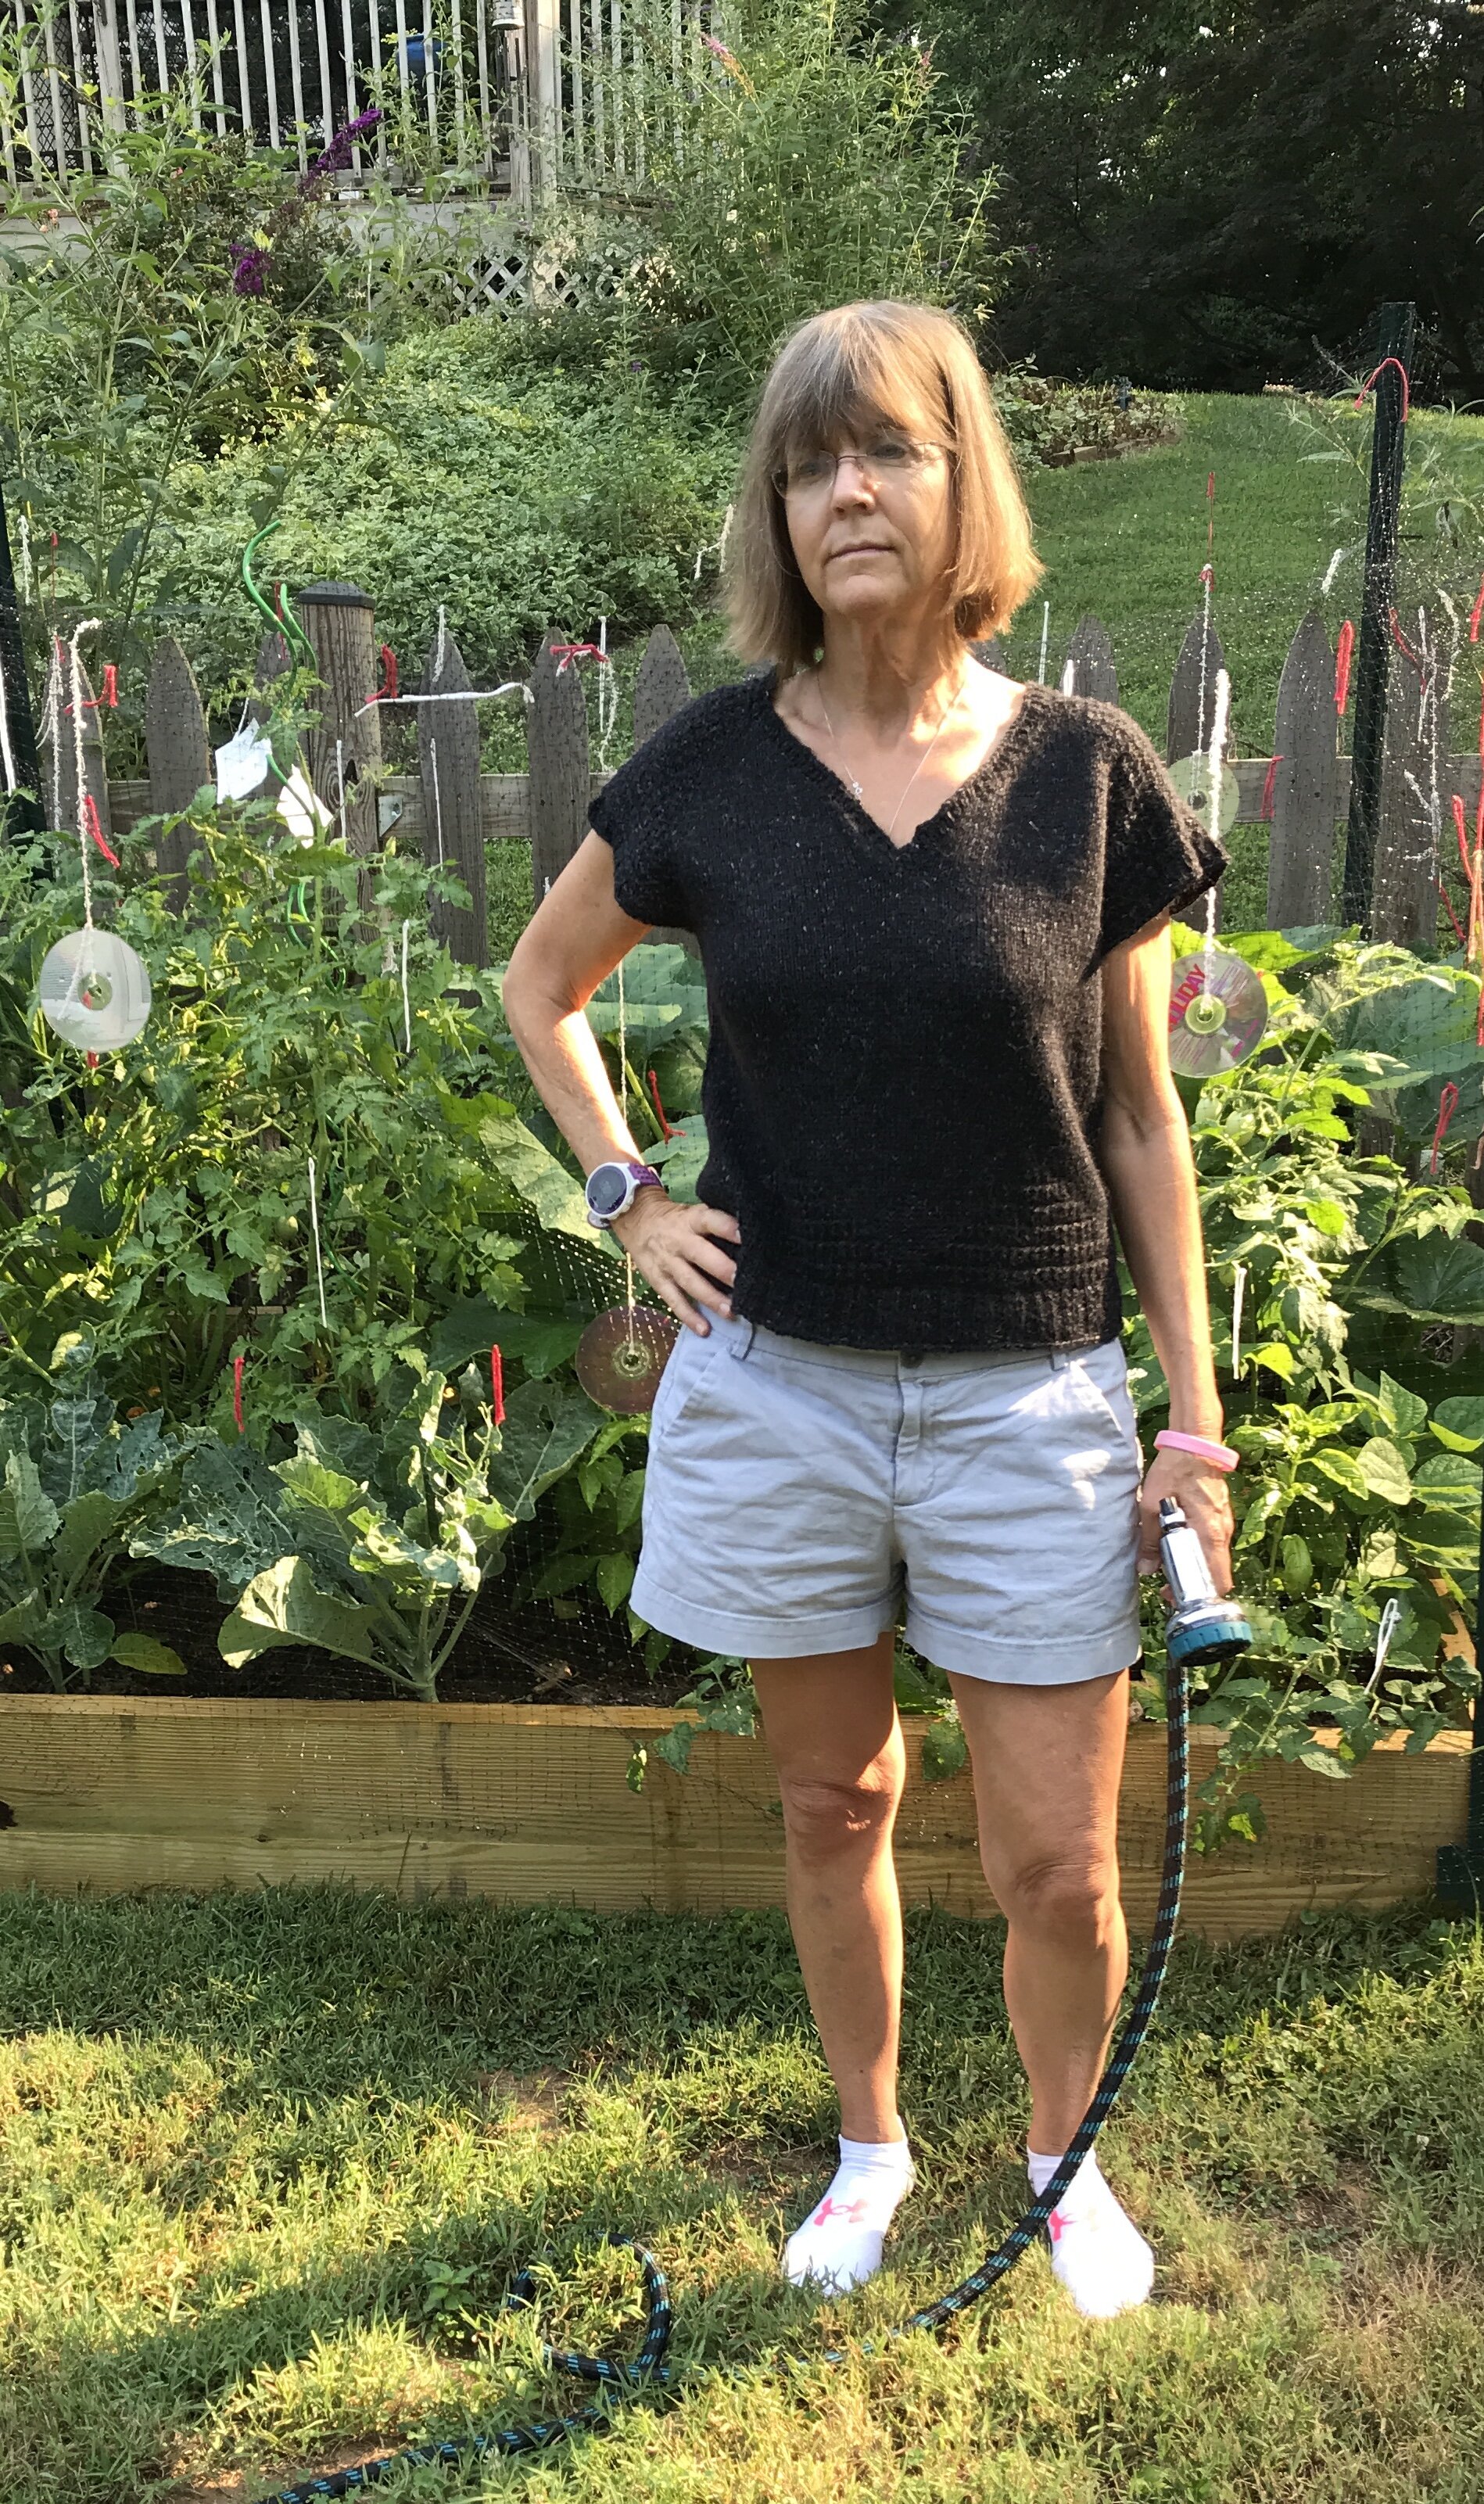
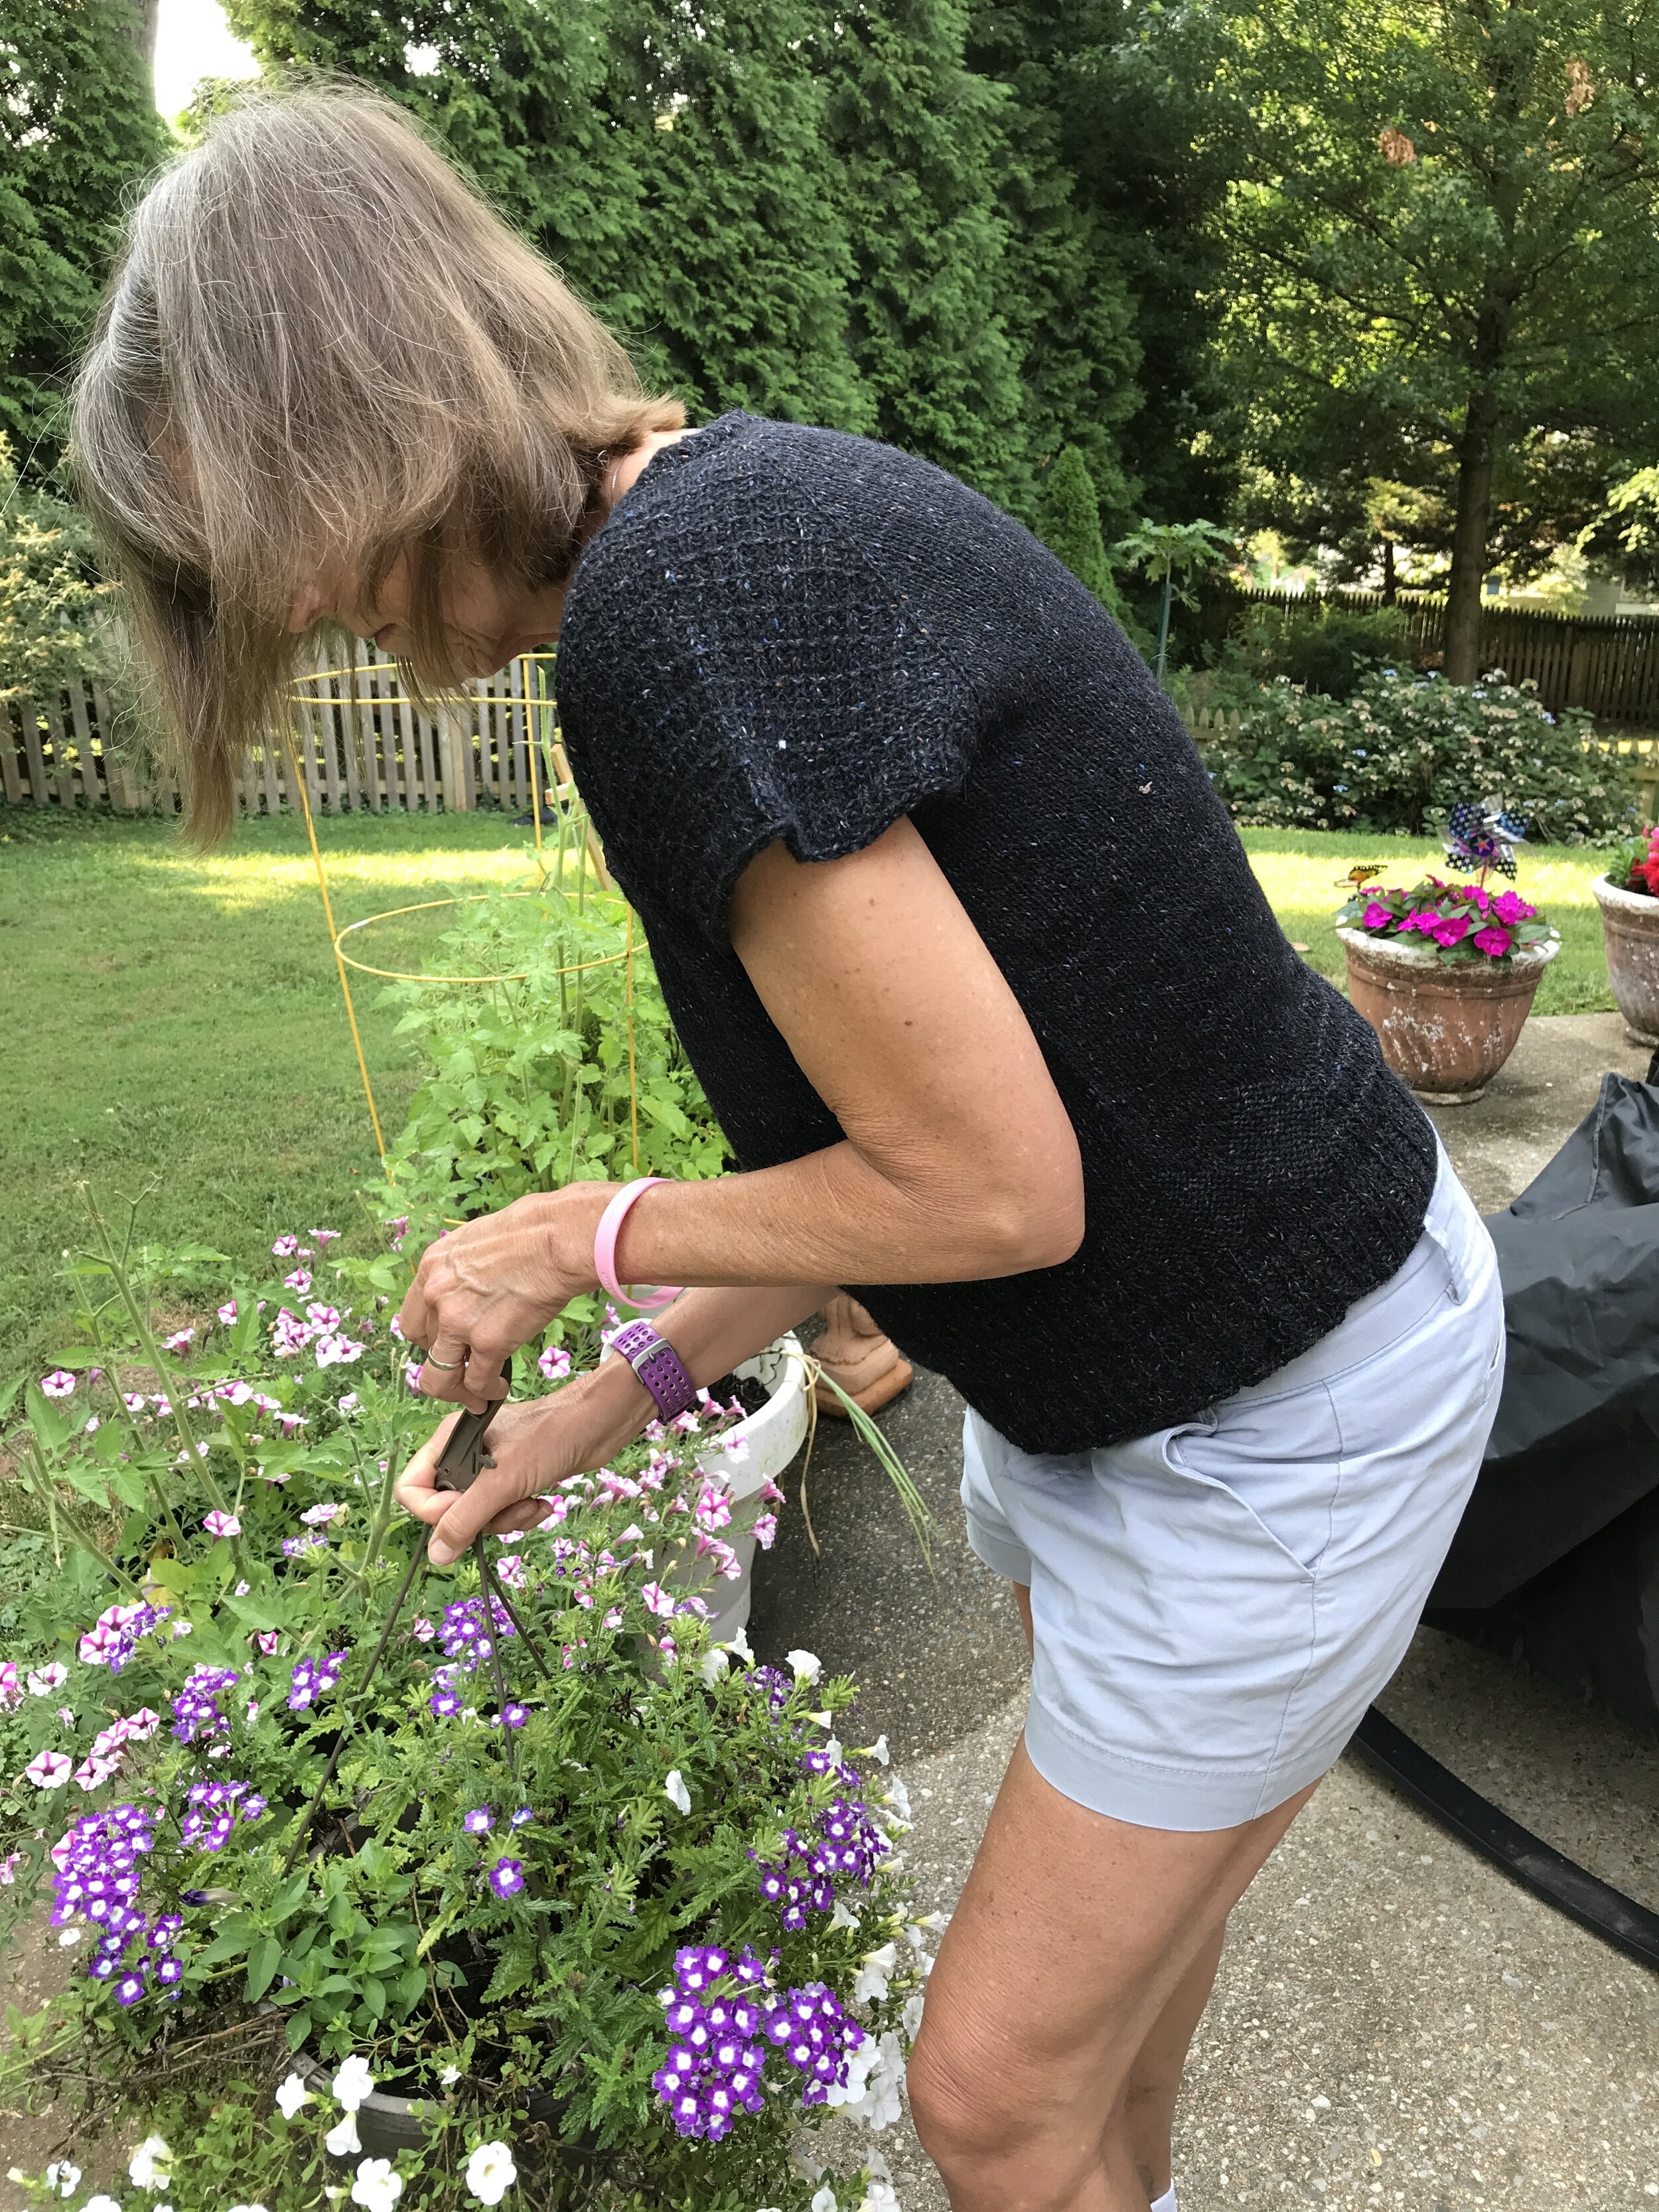
Model: model is 4’11”, 38” bust, 27.5” waist, 40” hips wearing a medium with 0” ease in bust
ABBREVIATIONS:
CO: cast on. I used the long tail CO.
RS: right side
WS: wrong side
St/sts: stitch/stitches
Inc: increase row
Pm: place stitch marker
Marker: the stitch marker that is next in pattern.
Sm: slip marker from left needle to right.
Rep: repeat
Cont: continue
K: knit
P: purl
K1fb: knit one front and back. This is an increase st. Knit the stitch as normal, but do not slip it off the left needle after knitting. Slip the right hand needle through the back look of the same st you just knitted, and knit it again. Slip the st off the needle.
Ssk: slip, slip, knit. Slip the first stitch as if to knit onto right-hand needles, slip the second stitch as if to knit, then slide the left-hand needle into the front part of both stitches and knit them together.
K2tog: knit two together
BOR: beginning of row
MD: mitered decrease. Sl next 2 sts knitwise onto your right hand needle, k the next st, sl both slipped sts over the last knitted st and off right hand needle. A good video of this is here by VeryPink Knits: https://youtu.be/jjUN_hTwbCE
BO: bind off. Make sure you bind off loosely so that the ribbing on the bottom has a good stretch.

Notes:
Basic Raglan Shaping: Raglans are created in 4 sections: The front, the back, and 2 sleeves. When you cast on, you CO 1 st for the front, the top of sleeve #1, the back of neck, the top of sleeve #2, and 1 st for the other side of the front. Then, you create paired inc (1 st on either side of each stitch marker) on every RS row and 1 st on either side of the front according to the chart below until it is time to join the front. Then, you no longer have a WS row and you continue to knit in the round.
Waist Shaping and Ease: The pattern is written without waist shaping, but there are directions on how to create a more fitted waist for this top if needed in the pdf pattern. If you want a more form fitting top, choose the size that gives you zero or a few inches negative ease. If you’d like a top that is looser, choose a size that gives you more positive ease.
Neckline: This top has a V neckline, and the neckline chart below will tell you on which rows to inc. Once you reach the number of rows/sts needed for the neckline, you will join the 2 front portions together and cont. by knitting in the round.
Bust/Sleeves/Yoke: You will cont. knitting in the round, making paired inc in both the bust and sleeves until you reach the row/number of sts needed for each section according to your size in the chart below. Bust and sleeves increases finish on different rows.
**ADVANCED: If you have proportions that are different from the stated sizes (for example: Skinny arms with a larger bust, or small bust with larger arms etc.)** You can follow the # of sts and increases for the sections of the sizes that fit you best. Try on the top as you go to see that you are getting the size you are wanting. So, for example, you can follow the st count/yoke for the XL bust and the st count for the S sleeves at the same time. This will not effect the bottom pattern of your top, as you separate the sleeves before the pattern at the bottom. Then, you can employ waist shaping to taper the waist in. Remember, if you follow multiple different increases and st counts, your st counts at the end of each section will be different than stated and the bottom pattern will have to be adjusted to the number of sts you have. If you feel confident in modifying st charts, feel free to follow make these modifications.
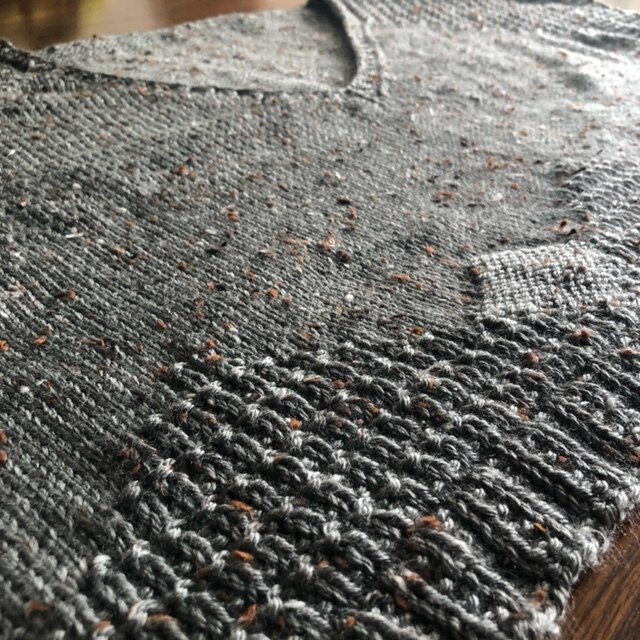
Hurdle Pattern: the Hurdle st used for the sleeves changes depending on if you are increasing the sleeves, finished increasing, or are knitting in the round. The changes in the st will be noted when necessary. Make sure you make a note of which row of hurdle st pattern you are on when the changes are made so you can cont in pattern. The basic hurdle st is as follows:
Row 1: k all sts
Row 2: k all sts
Row 3: *k1, p1* across
Row 4: *k1, p1* across
Knitting needles: Make sure you either use circular needles that are long enough that you can try your top on as you knit or that you have waste yarn you can slip the stitches onto for when it’s time to check the fit. This is key to being able to figure out the length and/or the amount of waist shaping you’d like.
Yarn: This sweater is knit with Sport weight 2 yarn and 4.5mm needles. This means that even though the yarn is weight 2, it’s gauge acts like a weight 3 DK.
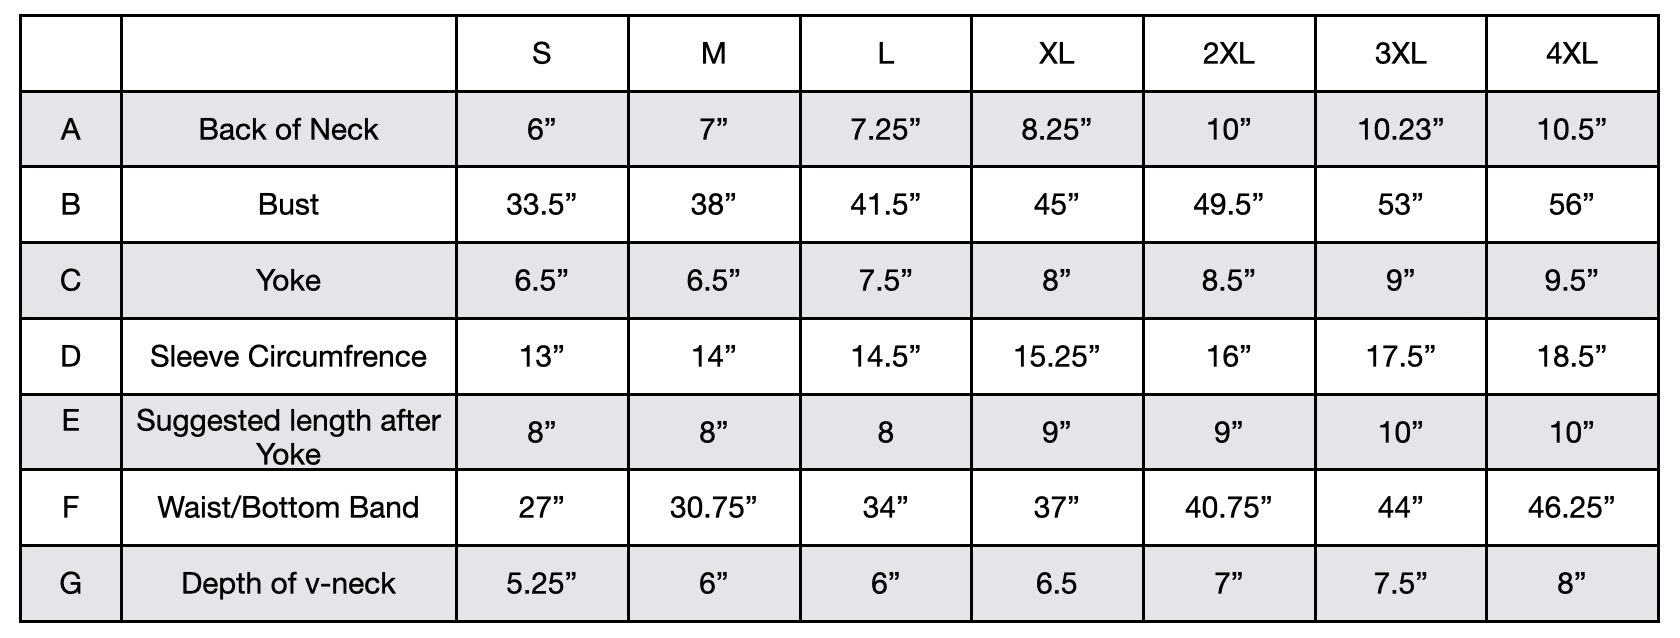
Schematic:

THE PATTERN:
For the free pattern of this garment please continue on this page. Please consider supporting me by purchasing the 100% ad-free PDF with full charts and schematics for this pattern on my Ravelry or ETSY pages. Or consider joining my Patreon for member perks.
The chart below will tell you at what row your increases for each section will finish, and also on what row you will finish the yoke and separate the sleeves from the body. Refer to this chart as you knit your sweater. Neckline increases are shown in italic.

Yoke:
With larger needles (4.5mm) CO 62(68, 74, 80, 88, 94, 96) st
Set Up Row (WS): p1, pm, p14(14,16, 16, 16, 18, 18), pm, p32(38, 40, 46, 54, 56, 58), pm, p14(14,16, 16, 16, 18, 18), pm, p1
Row 1 (RS): k1fb, sm, k1fb, k to 1 st before marker, k1fb, sm, k1fb, k to 1 st before marker, k1fb, sm, k1fb, k to 1 st before marker, k1fb, sm, k1fb [70(76, 82, 88, 96, 102, 104)sts]
Row 2: p to marker, sm, k to marker, sm, p to marker, sm, k to marker, sm, p to end
Row 3: k1fb, k1fb, sm, k1fb, *k1, p1* rep * * to last st before marker, k1fb, sm, k1fb, k to 1 st before marker, k1fb, sm, k1fb, *k1, p1* rep * * to 1 st before marker, k1fb, sm, k1fb, k1fb [80(86, 92, 98, 106, 112, 114)sts]
Row 4: p to maker, sm, *k1, p1* rep * * to marker, sm, p to marker, sm, *k1, p1* rep * * to marker, sm, p to end
Row 5: k1, k1fb, k to 1 st before marker, k1fb, sm, k1fb, k to 1 st before marker, k1fb, sm, k1fb, k to 1 st before marker, k1fb, sm, k1fb, k to 1 st before marker, k1fb, sm, k1fb, k to 2 sts before end, k1fb, k1 [90(96, 102, 108, 116, 122, 124)sts]
Row 6: p to marker, sm, k to marker, sm, p to marker, sm, k to marker, sm, p to end
Row 7: k1, k1fb, k to 1 st before marker, k1fb, sm, k1fb, *k1, p1* rep * * to last st before marker, k1fb, sm, k1fb, k to 1 st before marker, k1fb, sm, k1fb, *k1, p1* rep * * to 1 st before marker, k1fb, sm, k1fb, k to 2 sts before end, k1fb, k1 [100(106, 112, 118, 126, 132, 134)sts]
Row 8: p to marker, sm, *k1, p1* rep * * to marker, sm, p to marker, sm, *k1, p1* rep * * to marker, sm, p to end
Cont. in pattern (Rows 5 - 8), making the 8 raglan increases every other row as written (one st on either side of each st marker, increases on RS/odd rows). However, the front neckline of the sweater (the first and last increases starting on Row 3, shown in italic above) will increase independently from the raglan increases. The front neckline will cont. to increase according to the chart below.

Joining Neckline:
At the end of Row 41(45, 47, 51, 55, 57, 61), cut your yarn leaving a tail to weave in later. With RS facing you, sl all the front sts on the left needle to the right needle purl wise without knitting them until you reach the first raglan marker (these sts will now be knit at the end of the row),place a unique marker. This is your new BOR.
Front and back should have: 74(84, 88, 98, 112, 116, 120)
Sleeves should have: 56(60, 64, 68, 72, 76, 80)
Reattach the yarn and cont. knitting in pattern until you come back around to the front. Knit across the front and join the neckline when you reach it by simply knitting over it.
Cont in pattern without increasing the sleeves, but with all the body increases until the top reaches the designated number of rows for your bust/body and yoke size (see Increase Chart Above). Remember that now that you have joined to knit in the round, every row that was once a WS row will be knit opposite. (For example, knit sts will now be purls and purl sts will now be knits).
The hurdle st of the sleeves section will look like this:
Row 1: k all sts
Row 2: p all sts
Row 3: p1, *k1, p1* until last st before marker, k1
Row 4: p1, *k1, p1* until last st before marker, k1
When you reach the row that you will be separating the sleeves according to the chart above, go to “Separating Sleeves”
Separating Sleeves (end of Yoke):

At this point, your top should reach to a little bit higher than mid-bust. If it needs a couple more rows to reach, knit straight for a few more rows. We will then be placing the sts for the sleeves onto waste yarn to be finished later. Also, you will be casting on your underarm sts to complete the bust.
Row 50(50, 58, 62, 66, 70, 74): At BOR, remove BOR marker, *transfer sleeve sts onto waste yarn [56(60, 64, 68, 72, 76, 80)sts]. On the right needle, CO 8(8, 8, 8, 8, 10, 11) sts, pm (this is your new BOR marker. Use a unique marker so it’s recognizable.). [Also, mark this spot on both sides to pick up the sleeves later] CO 8(8, 8, 8, 8, 10, 11)sts, remove marker.* Join the back to the front side and continue knitting in pattern across to the next raglan marker. At the next raglan marker repeat * *. The marker you place on this side is NOT your BOR. Join the back to the front. Knit back to your BOR. 184(208, 228, 248, 272, 292, 308) sts on needles.
Go to BODY Section (part 2)
Happy knitting!
IF YOU LIKED THIS PATTERN, PLEASE SUPPORT ME ON PATREON OR BUY ME A COFFEE!

BUY ME A COFFEE
SUPPORT ME ON PATREON
I LOVE TO SEE WHAT YOU CREATE!
Please share your creations with the community on social media tagging @ravinsekaidesigns and hashtag #countryfestivaltop
I can’t wait to see the beautiful things you come up with!
FOLLOW ME ON SOCIAL MEDIA
Facebook: Ravin Sekai Designs
Ravelry: RavinSekai
Instagram: @ravinsekaidesigns
Pinterest: Ravin Sekai Designs
Patreon: Ravin Sekai Designs

Pin to Pinterest

Hi! I’m Rachel.
I’m a quirky world traveller, avid knitter, crochet lover, pattern maker, and all around nerd! I spend a lot of time clowning around, and I often have the goofiest smile on my face. This website is the landing place for my new patterns, random thoughts, and general craziness. I hope you enjoy my randomness and my yarnie goodness!
Archive
- LGBTQ+
- PRIDE
- accessories
- accessory
- asymmetrical
- autumn
- backpack
- bag
- beach
- beanie
- bias shawl
- blanket
- blog hop
- blue
- bobble
- bookbag
- boyfriend
- cardigan
- case
- celtic weave stitch
- clutch
- clutch bag
- collaboration
- color block
- color work
- cover
- cover-up
- cowl
- crochet
- crochet pattern
- crochetpattern
- crop top
- croptop
- decor
- diy
- dress
- ds case
- duster
- earwarmer
- easy
- fall
- festivaltop
- free pattern
- gauge
- ghost
- granny squares
- halloween
- handbag
- hat
- headband