free pattern | rib and gather hat

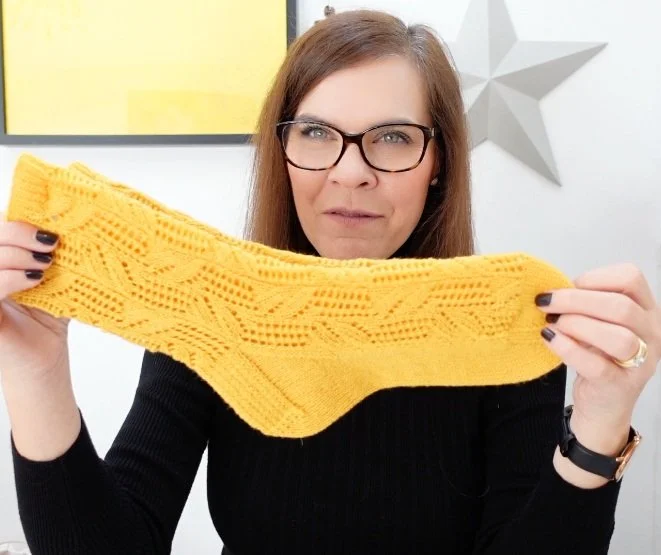
I designed this hat on a whim because I found a ball of Sirdar Jewelspun in my yarn stash and I wanted to make something with it immediately.
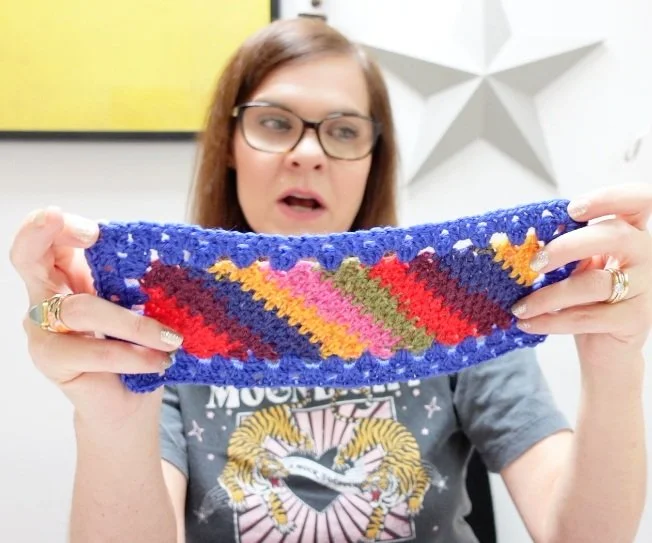
I was inspired to make a ribbed hat and I looked around for a suitable pattern but I knew that I specifically wanted to have a gathered crown - a new gathered crown era cometh - and I couldn’t find a really plain, ribbed pattern with a gathered crown.
You will need:
1 x 200g Sirdar Jewelspun in Sandstone Sunset colourway (708), 100% acrylic, 500m per 200g - alternatively any 100g of aran weight yarn will work with this pattern.
4.5mm, 40cm circular needle - alternatively you can use a longer wire and work the pattern in magic loop
stitch markers - you will need a main BOR stitch marker plus a further 8 for the decrease section
yarn needle
This pattern is one size only which fits most sized heads, my 9 year old, my husband and myself have all tried these hats on and they look great on all of us although I think I’m going to try it in a slightly smaller size for Betsy.
Note added 11/11/21 - if you want to make it smaller, for I do have a big head, just reduce your stitches to 84 and work all decrease stitches as k2tog.
The version without a bobble weighs 65g and the version with a bobble weighs 80g.
Abbreviations:
k, knit; ptbl, purl through the back loop; st(s), stitch(es); s, slip, skk, slip the next 2 sts as if to purl, then insert left-hand needle into the front of these 2 sts and k them together (to decrease 1 st); k2tog, knit 2 sts together (to decrease 1st); bor, beginning of round.

//PATTERN STARTS//
Cast on 96sts with 4.5mm needles. Join if you want to but I just start knitting in the round without a join and be careful not to twist your stitches.
Round 1. *k1, ptbl*
Work Round 1 until your work measures 25cm.
Note added 11/11/21 - if you are a beginner and/or if this is your first knitting project swap out the ptbl stitch for a plain p1 so your entire hat will be worked in k1, p1 ribbing instead.

Decreases
Divide your stitches into groups of 12 and mark with stitch markers.
Round 1. **ssk, k1, *ptbl, k1 * to last st in group, ptbl, sm, k2tog, k1, *ptbl, k1* to last st in group, ptbl, sm** - repeat between ** and ** all the way round.
Round 2. Knit the knit stitches, ptbl the purl stitches, noting on the 1st, 3rd and 5th decrease round you will start each repeat with 2 knit stitches.
Round 3. **ssk, *k1, ptbl* to next stitch marker, sm, k2tog, *k1, ptbl* to next stitch marker, sm** - repeat between ** and ** all the way round.
Round 4. knit the knit stitches and ptbl the purl stitches around, noting on the 1st, 3rd and 5th decrease round you will start each repeat with 2 knit stitches.
Repeat rounds 1-4 a total of three times dropping your stitch markers on your last Round 4.
You should have decreased six times now and you should have 48sts on your needle.
If you need further clarification for these instructions, watch the video below.

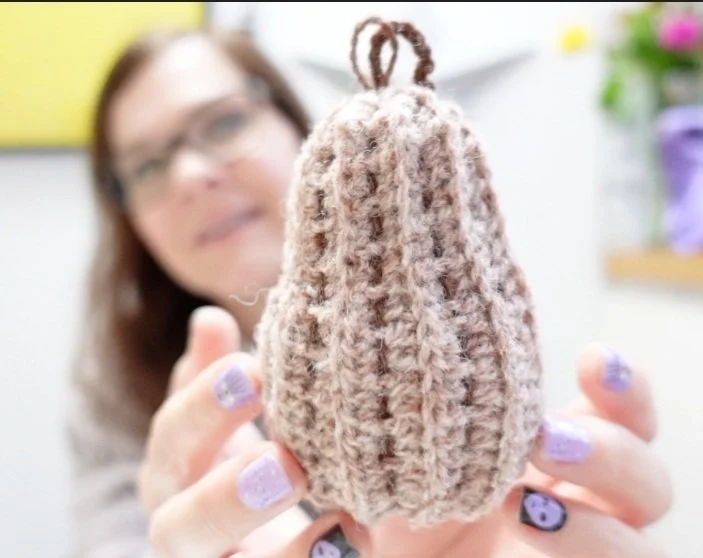
Now cut your yarn leaving a long end to thread through a yarn needle and drop your live stitches off onto the yarn needle, pulling tight as you go. When you get to the last stitch, pull the stitches tight and sew to keep the hole closed. The top of your hat should be gathered nicely together at the crown.
Pompoms are entirely optional but why wouldn’t you??
Happy knitting peaches.