Tutorial Series: How To Slip Knot

Cast on for knitting or a foundation chain for crochet all start with a slip knot. The first stitch in knitting is the slip knot. The slip knot in crochet is the loop for the first foundation chain. Therefore, how to make a slip knot is the first step in learning how to knit or crochet. There are many ways to make a slip knot. How to slip knot differs for knitters and crocheters. The video below shows how I make a slip knot to start a crochet foundation chain.

How to Slip Knot (slow motion):


Written Instructions for How to Slip Knot:

  • Wrap the yarn around index and middle finger of the left hand going from top to bottom (clockwise)
  • Bring the yarn across and between the two fingers
  • With the right hand, bring the strand of yarn in and through the ring formed by the wrapped yarn
  • Pull and tighten the ring holding the strand of yarn to form the slip knot
  • Insert a crochet hook into the slip knot and tighten it around the hook

~coffeeteaknits.com

The Patchwork Petal Scarf Pattern


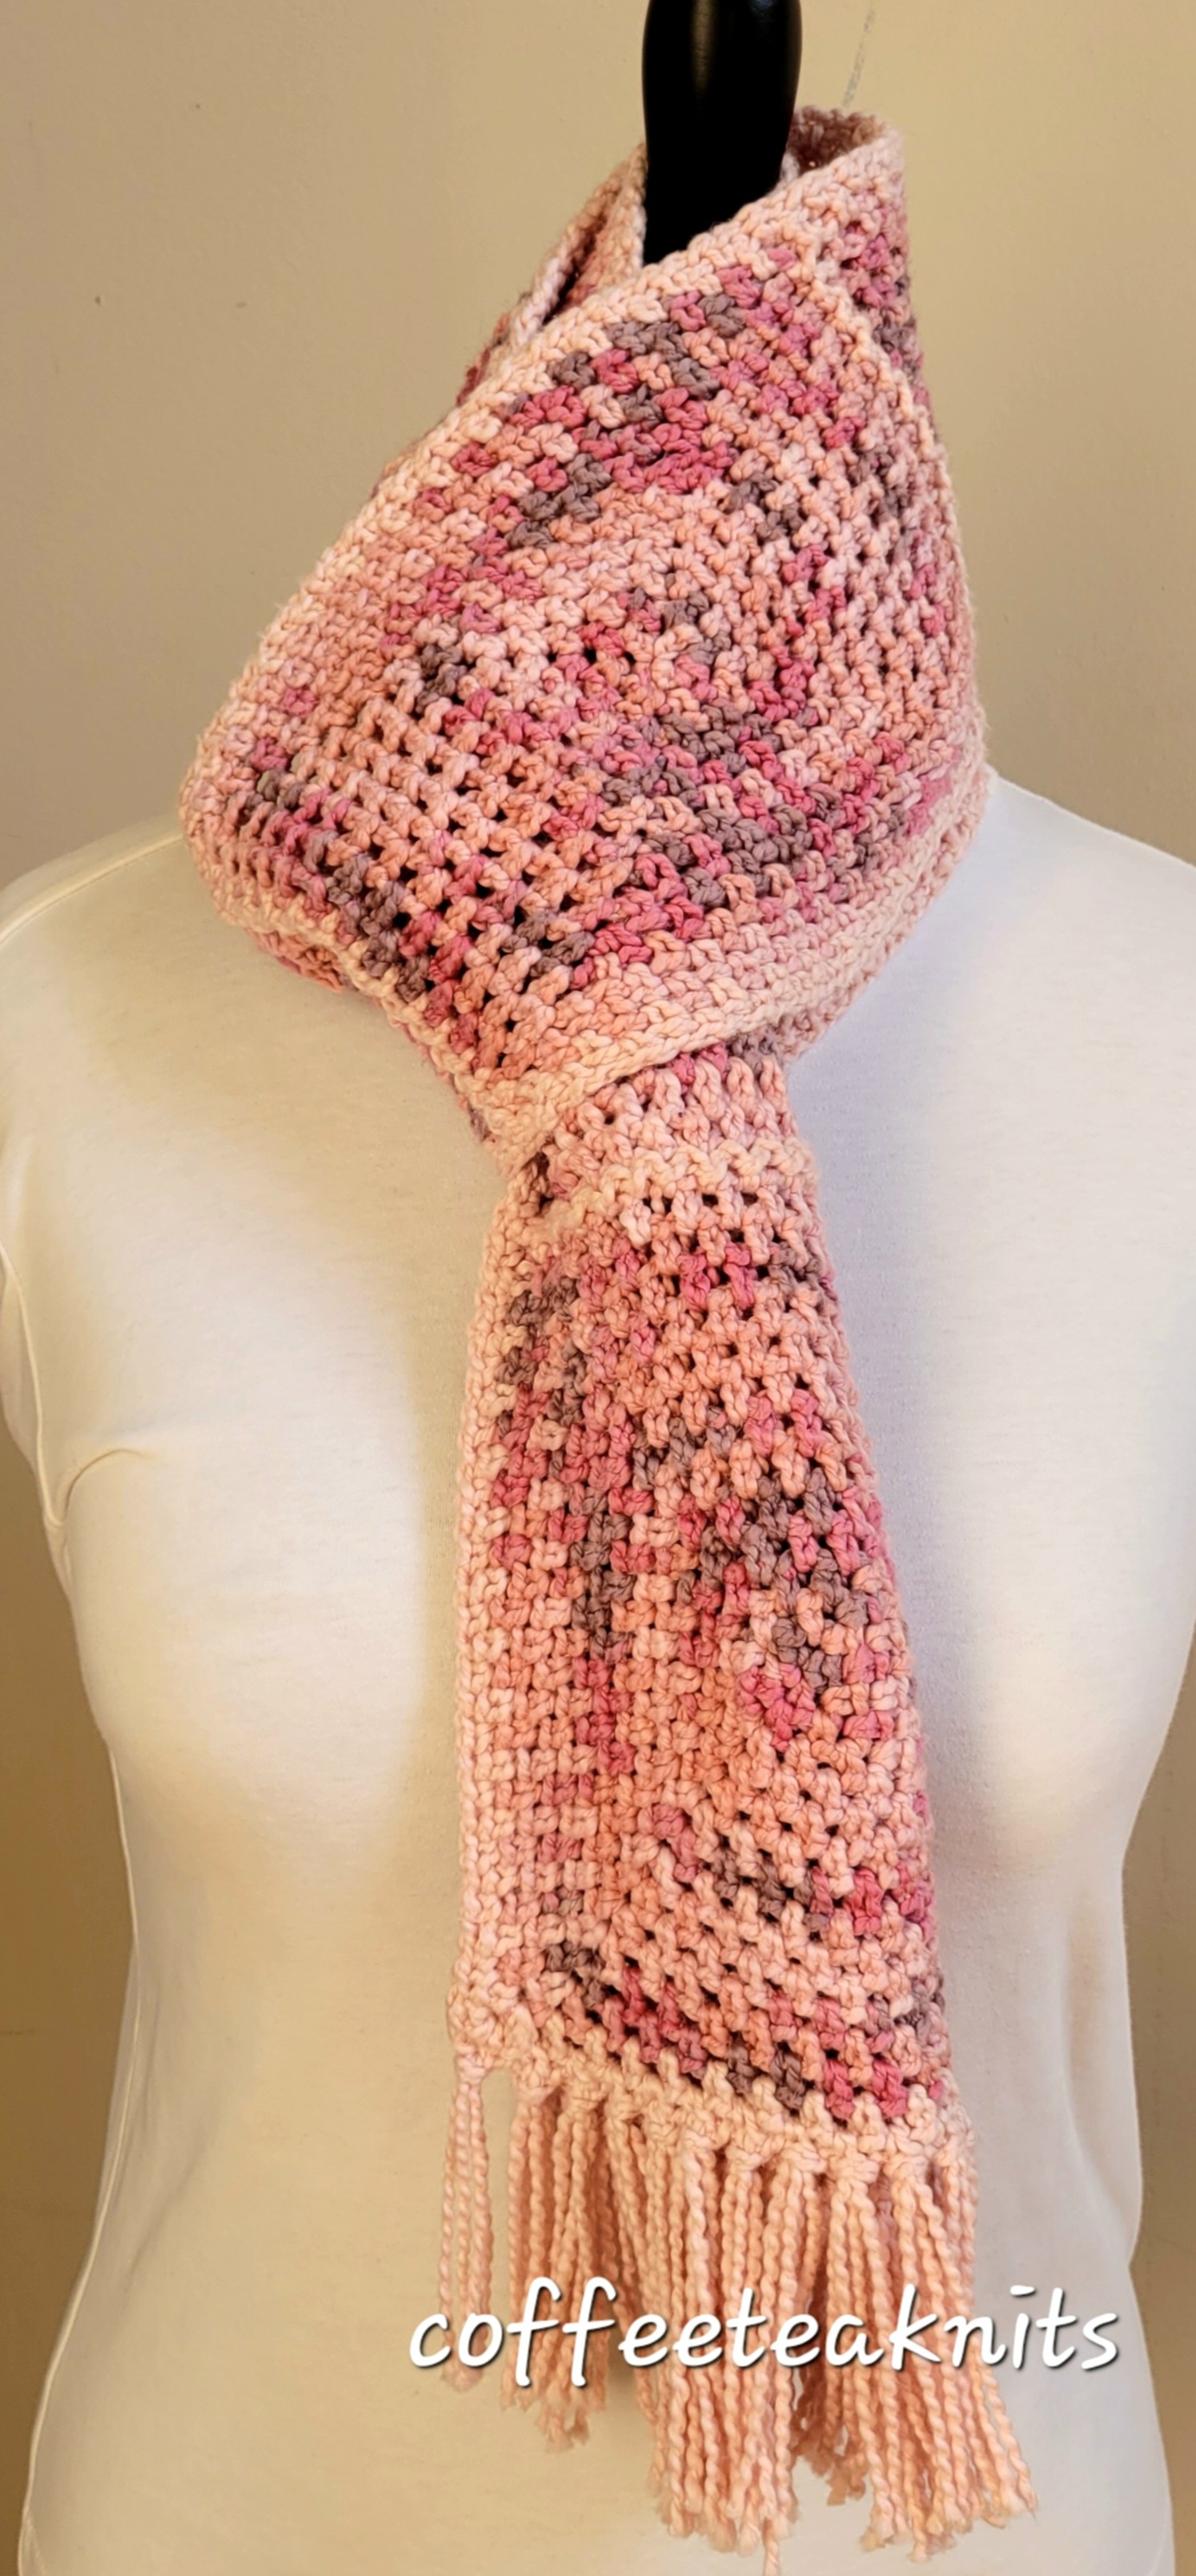
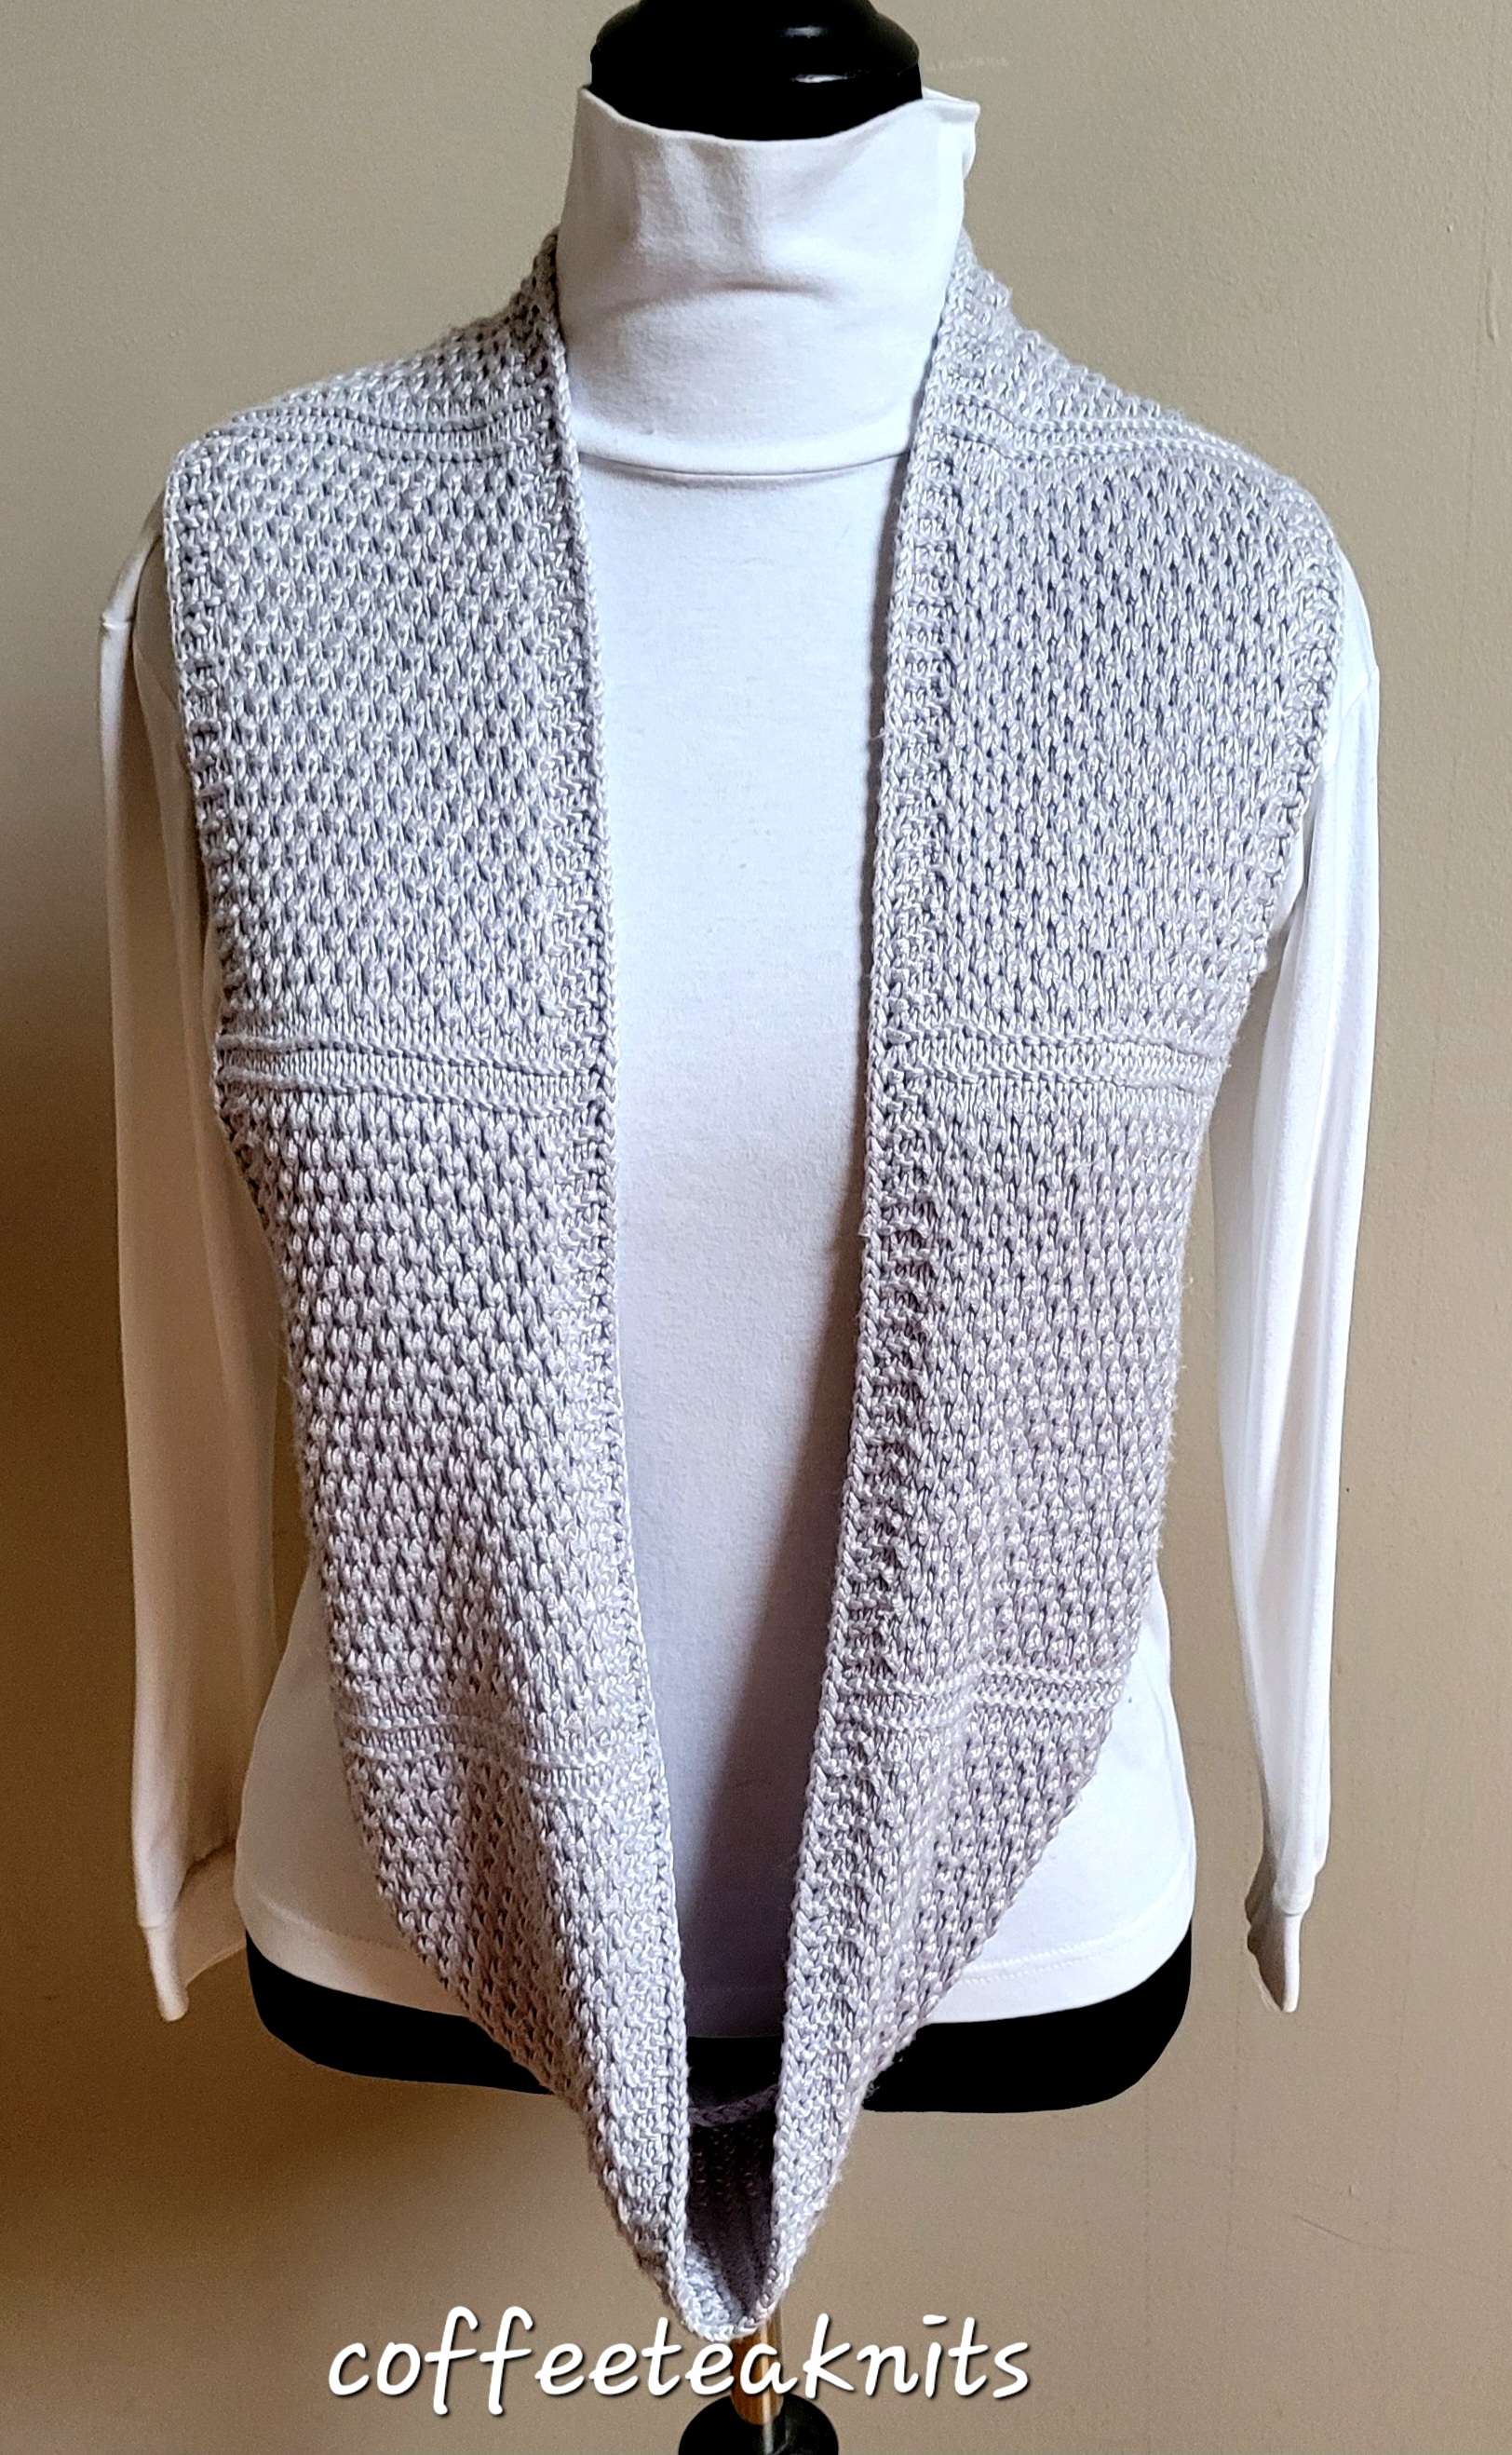
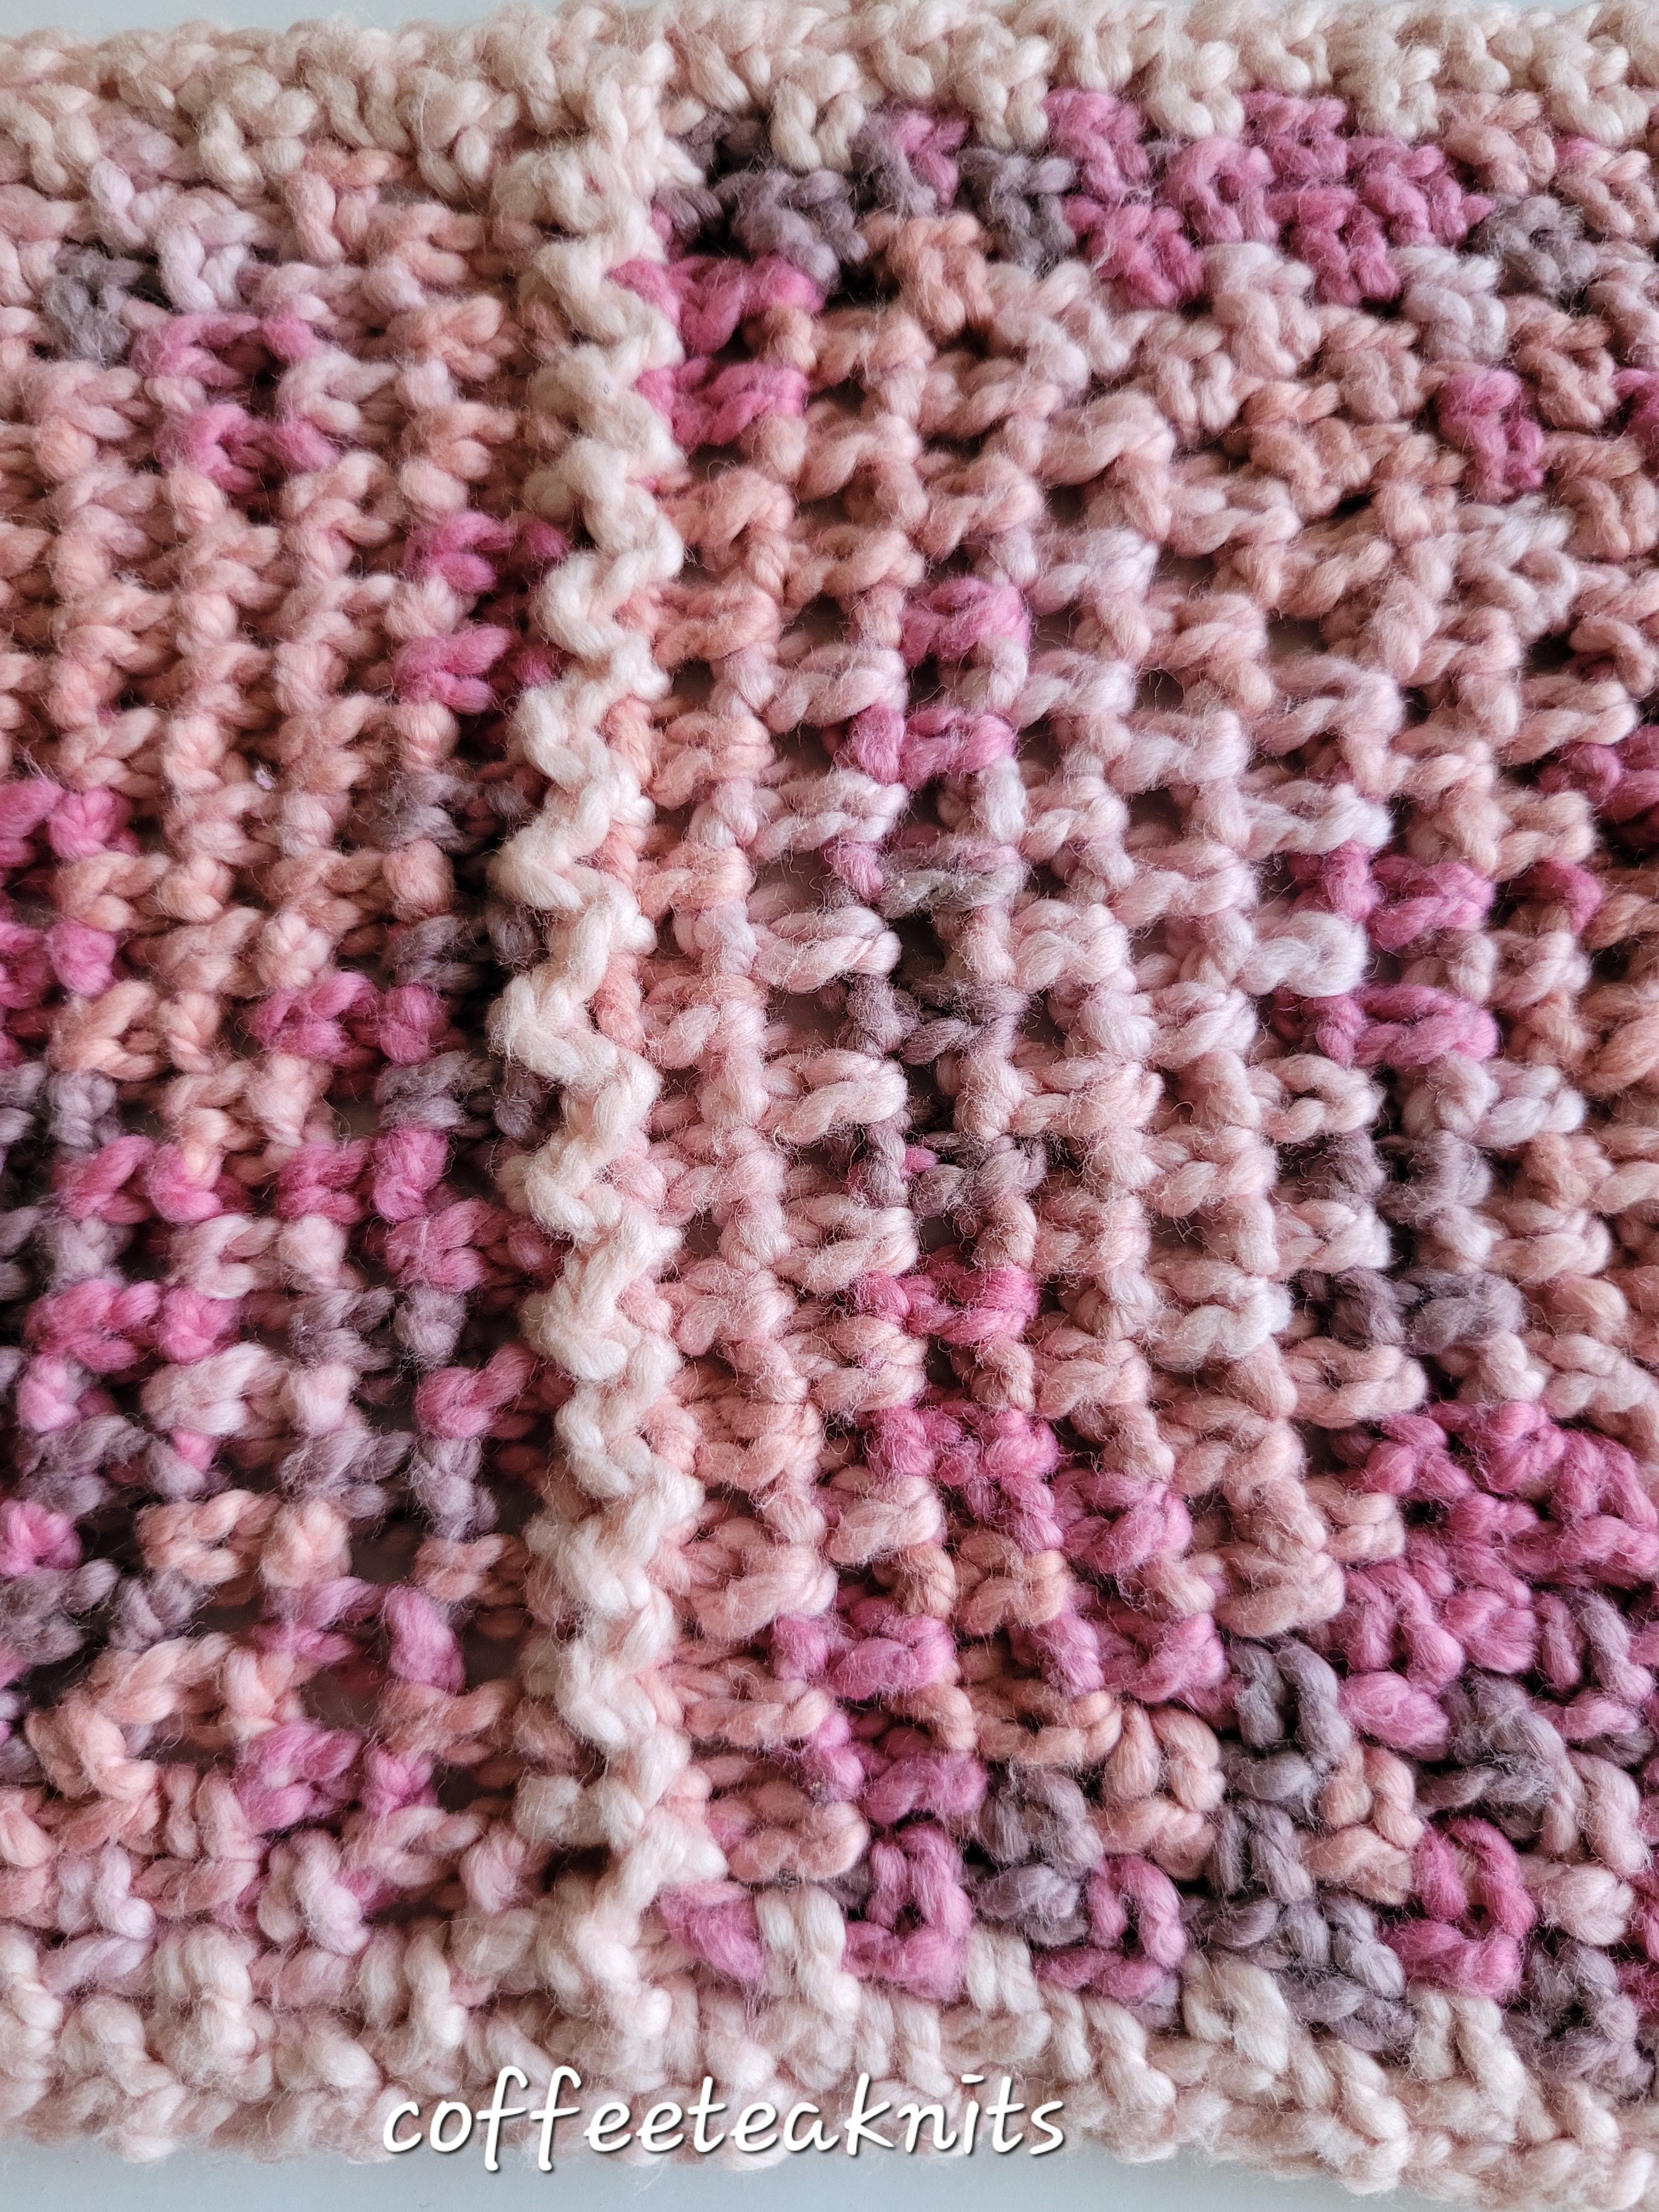
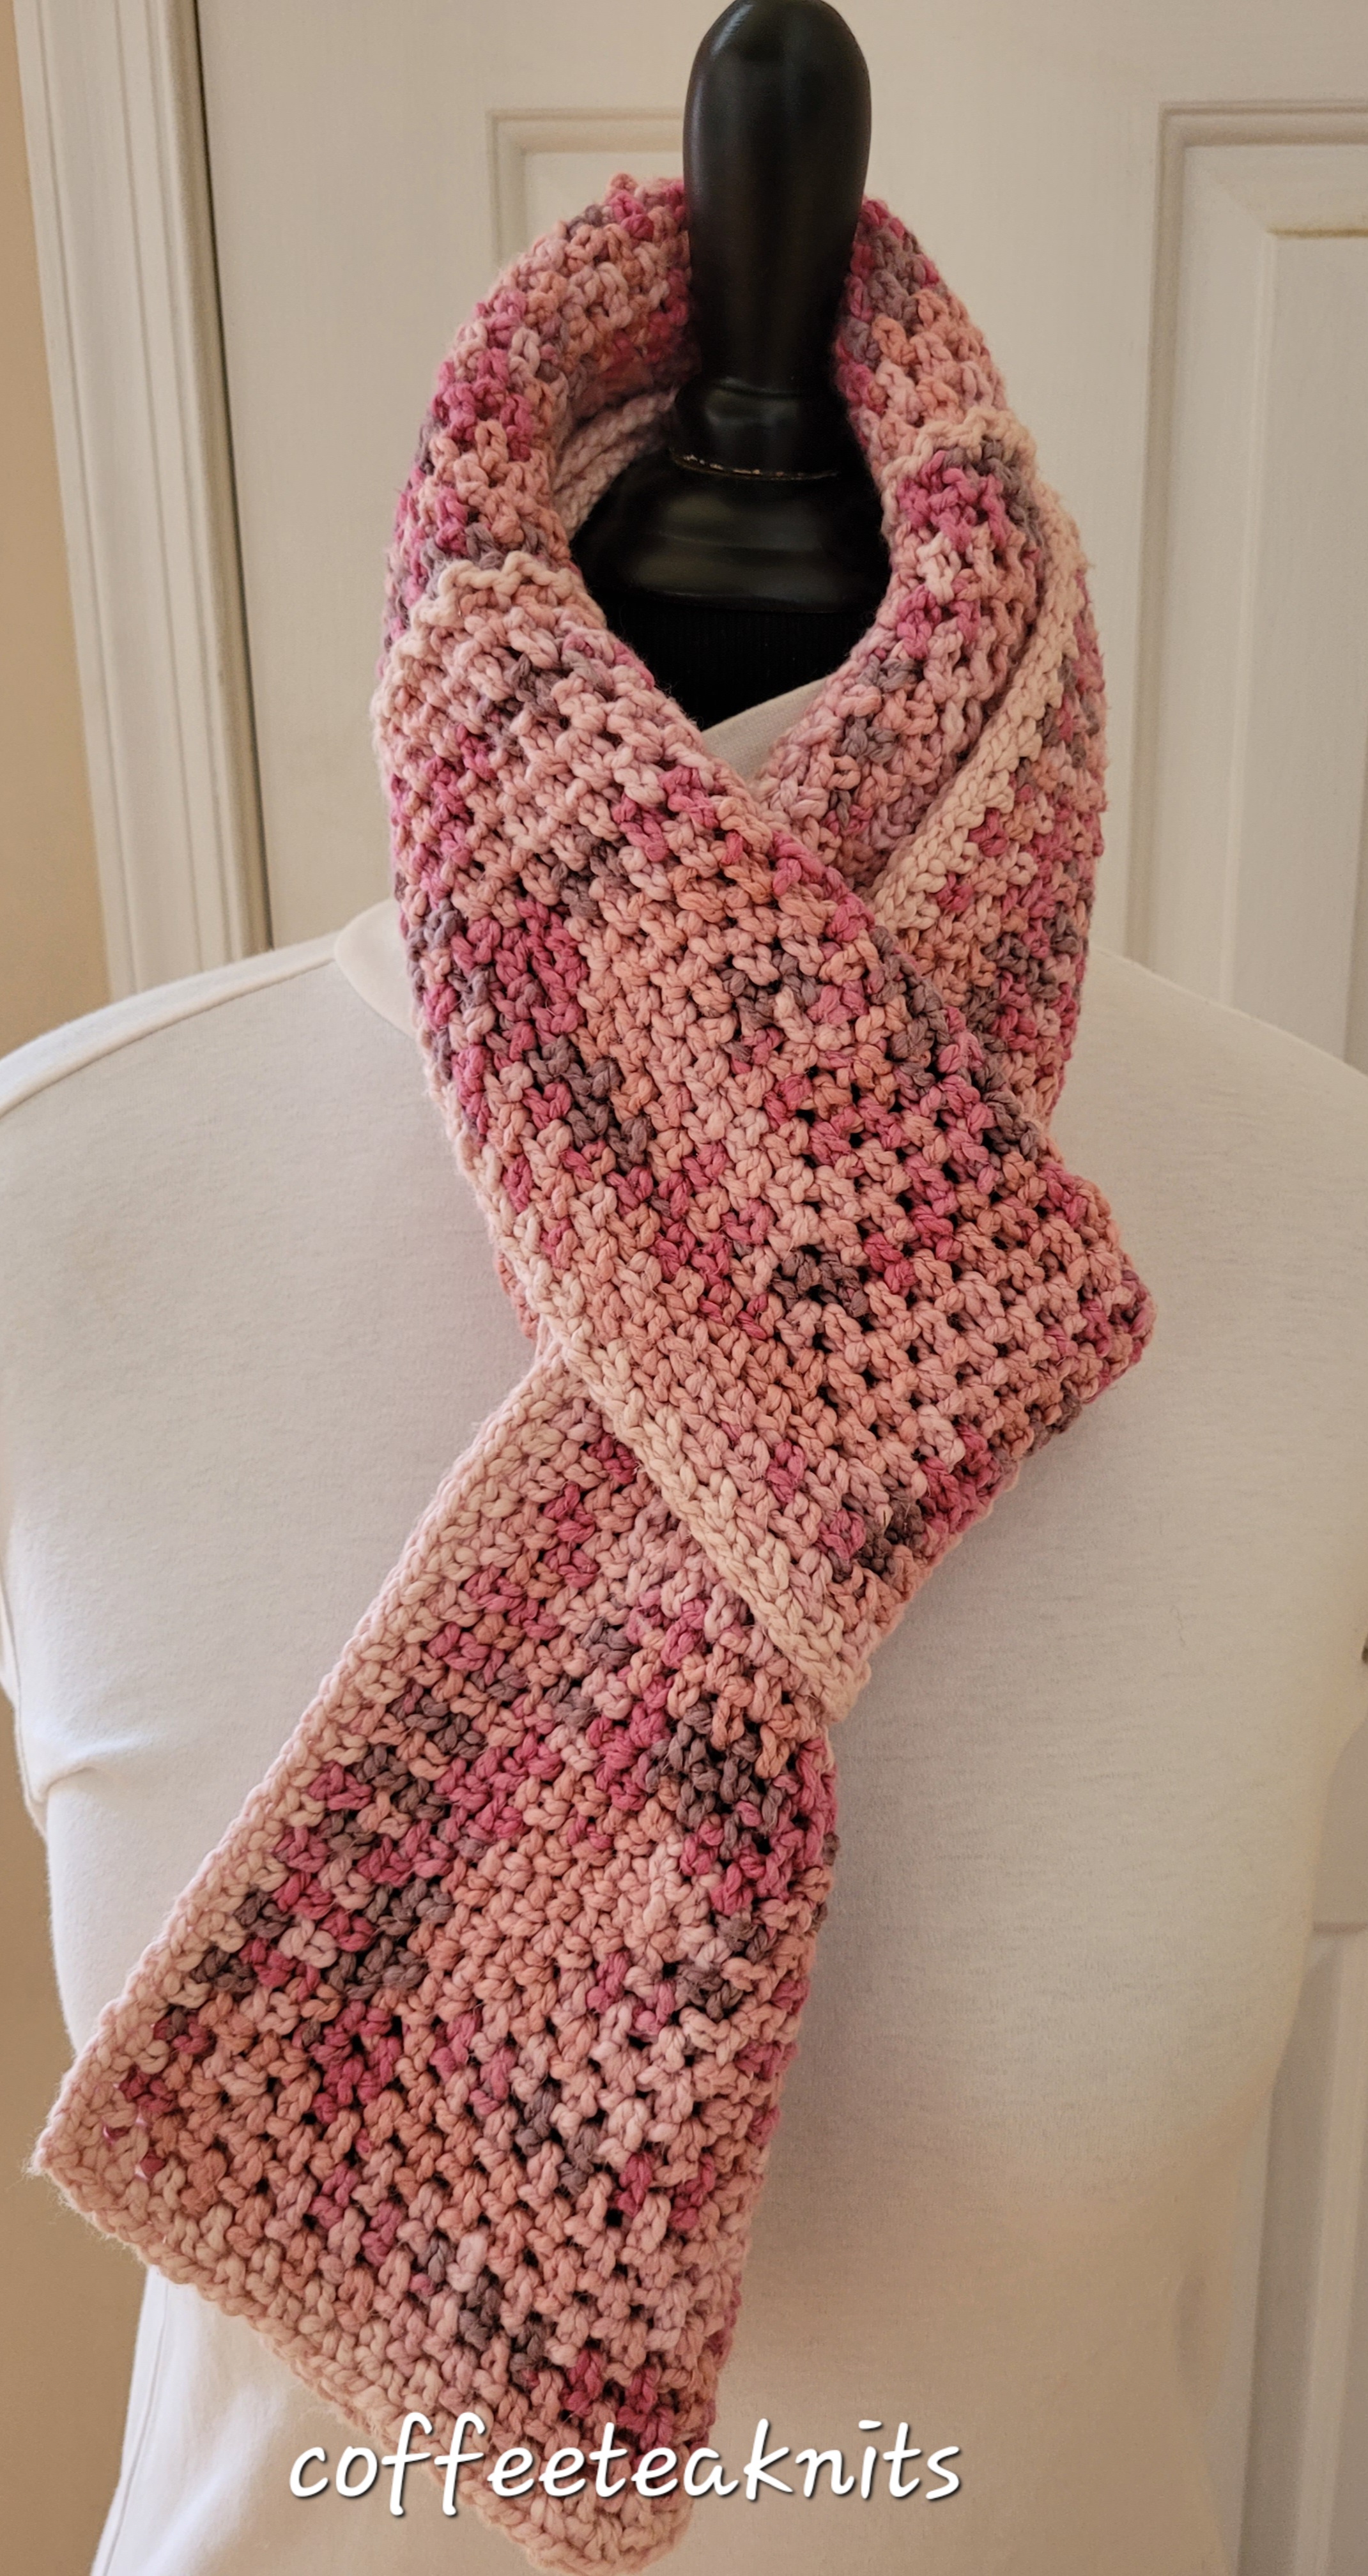
Although early Spring flowers have appeared and so have the birds, winter has not yet left us. Below freezing temperatures and cold winter air still lingers. Nevertheless, I will make items with Spring weather in mind. The Patchwork Petal Scarf uses cotton yarn more suitable for pleasant weather. It’s made up of eight center out crochet moss stitch squares which are then joined using the zig zag slip stitch crochet join method. Two rounds of crochet moss stitch are used for the border edge of the joined squares. Fringes are added to the Patchwork Petal Scarf.


The Patchwork Petal Scarf Pattern (text and images for personal use only)

Materials Needed:

Yarn: YarnspirationsTM Caron Cotton Funnel Cakes yarn in the Rose Petal and Primrose colorways. The yarn may not be currently available. I got this yarn at Michaels a few years ago. Any other worsted cotton yarn can be used for this project
Tapestry needle to weave in ends
Gauge: Not really needed since the center out crochet moss stitch squares can be customized to any size.
Crochet hook: US size H-8 or 5.0 mm for the crochet moss stitch squares
Abbreviations:
sc: single crochet
[…]: pattern repeat

Eight Center Out Crochet Moss Stitch Squares:

  • A crochet moss stitch square starts with a crochet magic ring using the Rose Petal yarn colorway and US H-8 crochet hook (a step by step photo tutorial on how to make a crochet magic ring can be found in the pattern post for The Summertime Market Bag)
  • In a crochet magic ring, pull up a stitch with the US H-8 (5.0 mm) crochet hook, sc once into the ring, chain 2, place marker, sc into the ring, chain 2, place marker, sc into the ring, chain 2, place marker, sc into the ring, chain 2, place marker, and sc. Pull on the yarn tail to tighten the gap
  • Round 1: Insert the crochet hook into the chain 2 space of the first marker and sc, chain 2, sc, chain 1 all in the same chain 2 space. Remove the first marker and place it as the beginning of the round marker. [Insert hook and sc, chain 2, sc, chain 1 into the chain 2 space of the second marker. Remove second marker]. Repeat […] this for the third and fourth marker in their chain 2 space
  • Round 2: [Sc, chain 2, sc, chain 1 all in the same chain 2 space of the first corner with the beginning of the round marker. Sc in the next chain 1 space between the first and second corner, chain 1]. Repeat […] for the second, third and fourth corners till the beginning of the first marker
  • Repeat the Round 2 till preferred size is reached ending with a sc in the chain 2 space at the beginning of the round. For the Patchwork Petal Scarf, Round 2 was repeated eleven more times.

Cut the working yarn and pull through the sc stitch.

Make seven more of the center out crochet moss stitch squares.

Joining the Eight Squares:
With Primrose yarn colorway and H-8 (5.0 mm) crochet hook, join the squares together using the zig zag slip stitch crochet method. 
March2024_crochetjoin


The video below shows the zig zag crochet join method used for the Four Section Blanket Pattern


Two Rounds of Crochet Moss Stitch Border Edging:

With H-8 (5.0 mm) crochet hook and the Primrose yarn colorway –

  1. Insert hook with slip knot into the chain 2 space at one corner edge of the joined squares (beginning of the round), chain 2, insert again into the same corner edge stitch and sc, chain 1
  2. [Go into the chain 1 space of the next stitch, sc, chain 1], repeat […] till the next corner edge stitch
  3. At the next corner edge chain 2 space, sc, chain 2, sc, chain 1
  4. [Go into the chain 1 space of the next stitch, sc, chain 1], repeat […] till the next corner edge stitch
  5. Repeat Steps 3 and 4, two more times
  6. Insert hook into the chain 2 space at the beginning of the round corner edge, chain 2, sc, chain 1 into the same beginning of round corner edge chain 2 space
  7. Repeat Steps 2 to 5 once more ending at the beginning of round corner edge chain 2 space
  8. Sc and cut the working yarn (about 6 inches)
  9. Pull through the sc stitch
  10. Weave in the ends, wash and block the Patchwork Petal Scarf

March2024_scarfnofringes


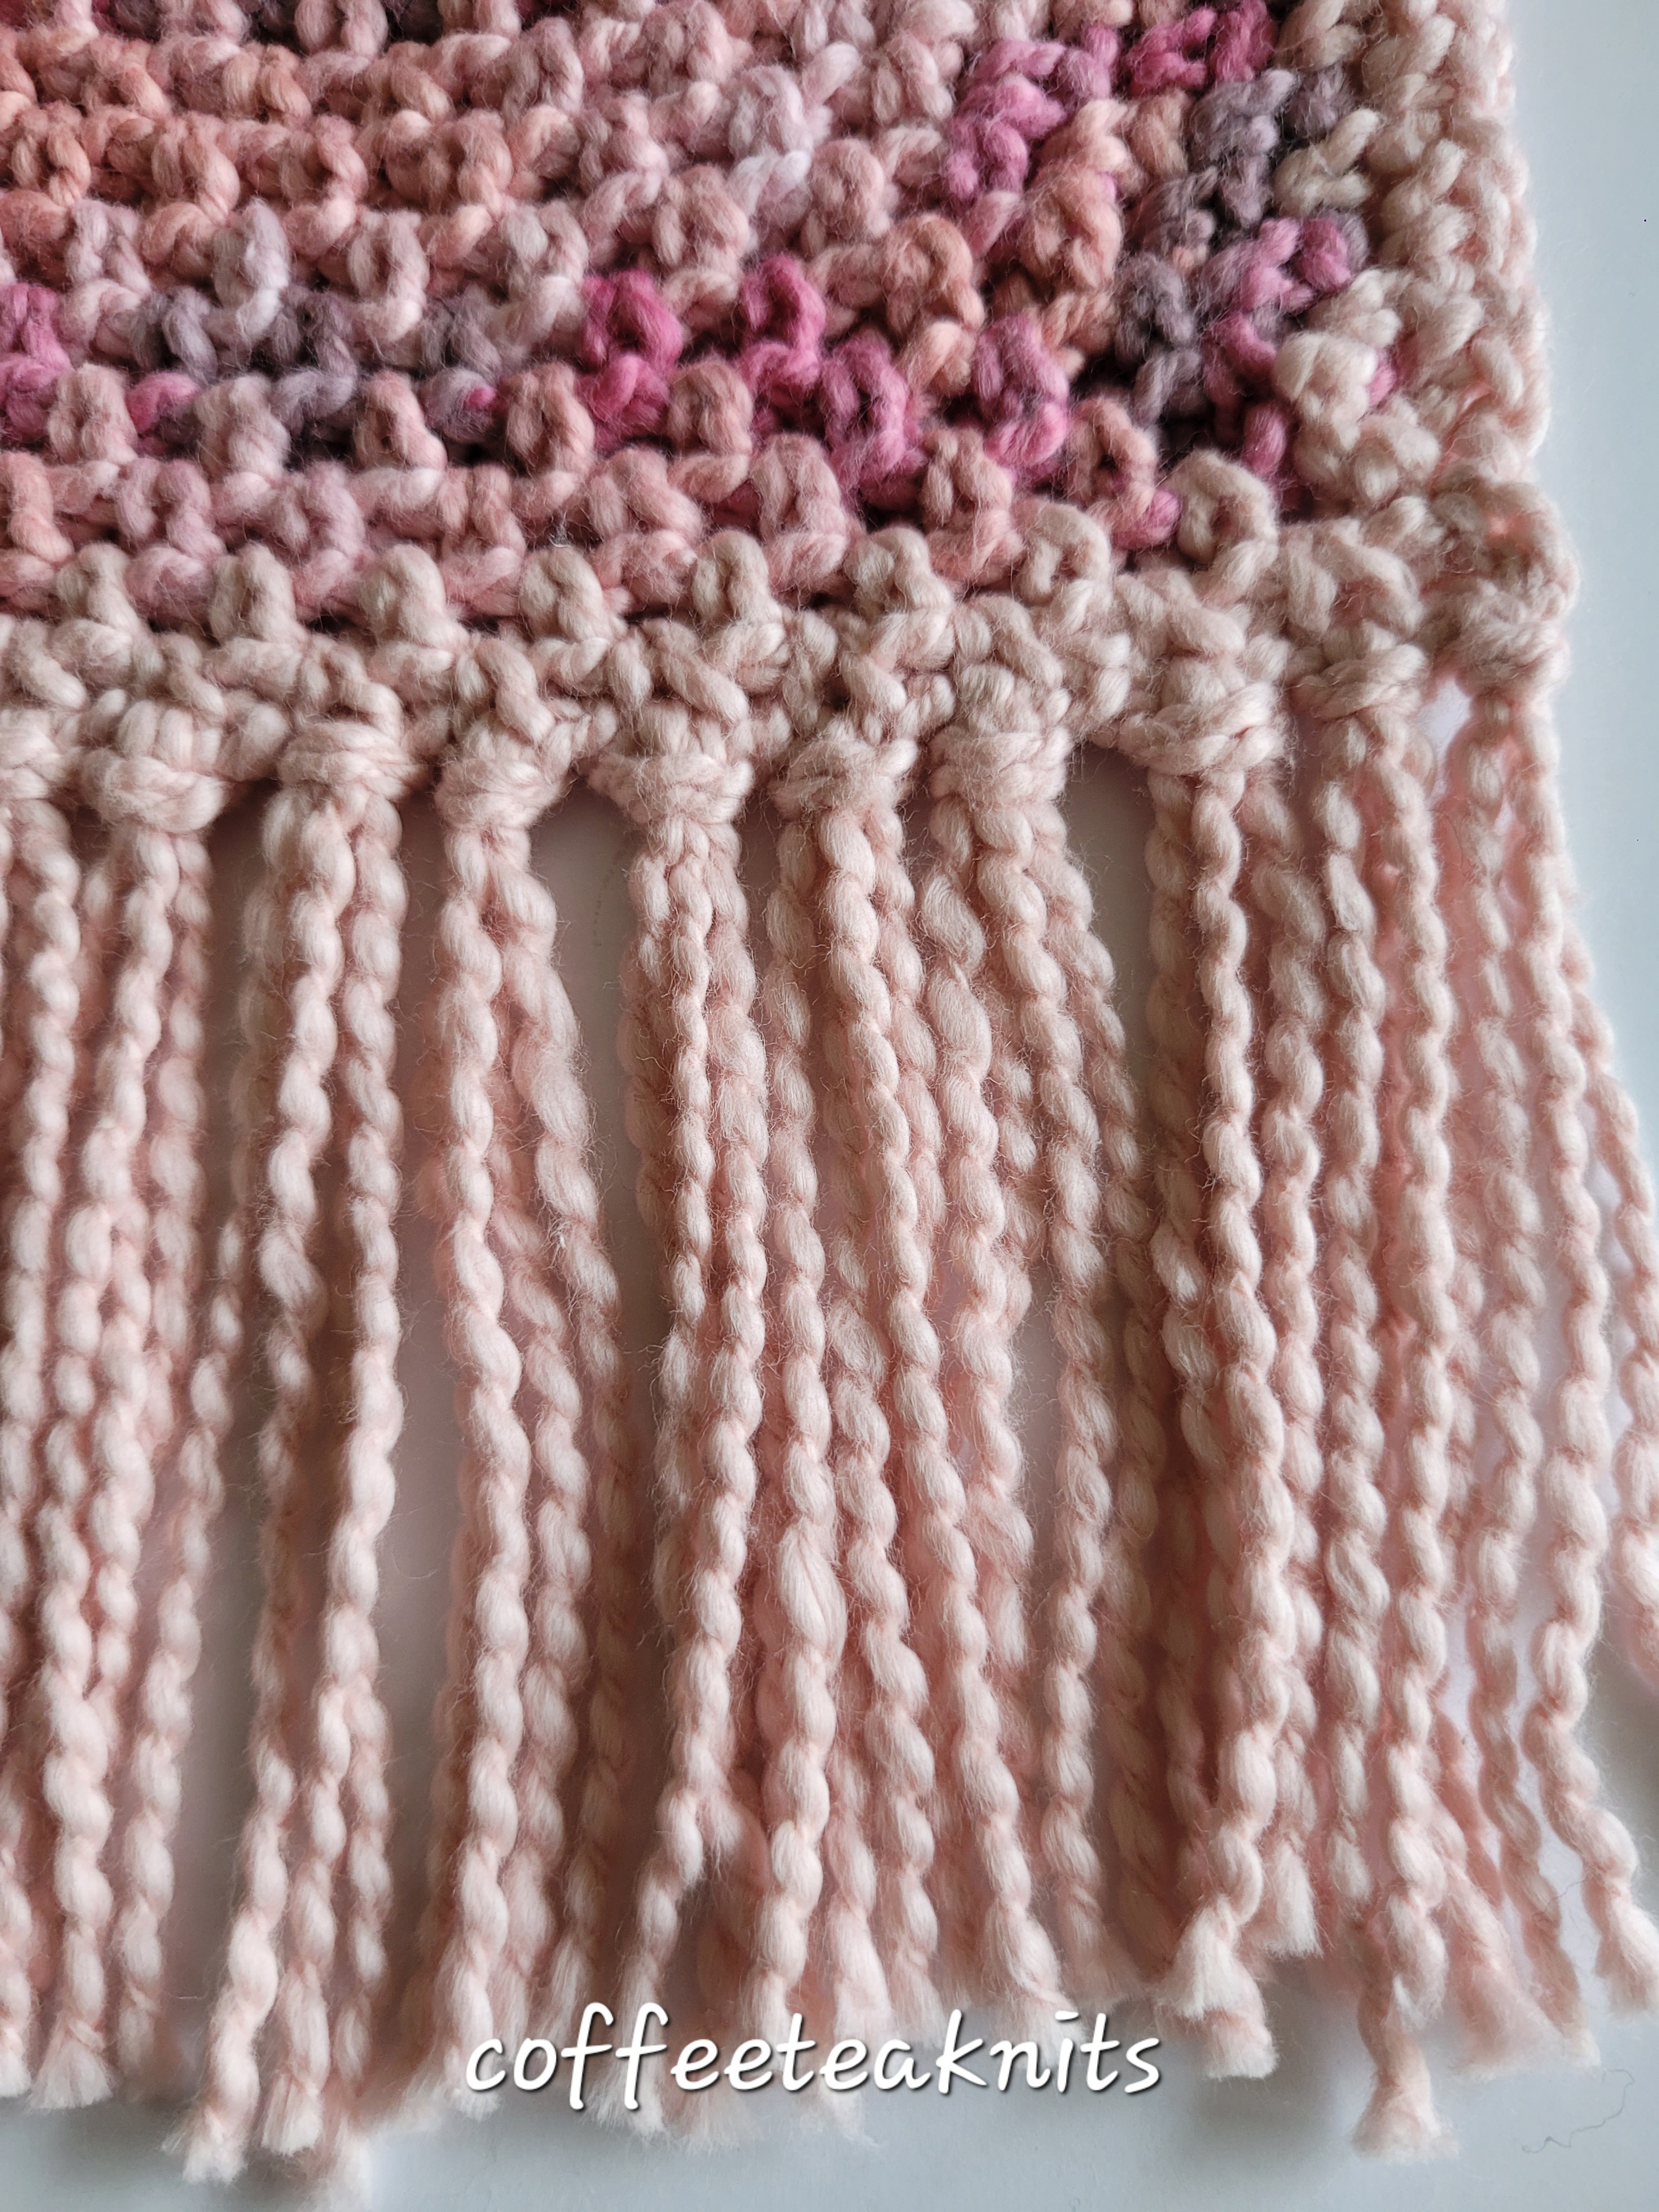
Adding Fringes (Optional):

Fringes were made with two strands (about 10 to 15 inches long) of Primrose yarn colorway. There are several helpful video tutorials on YouTube on how to add fringes. For the Patchwork Petal Scarf, sixteen fringes were added to each of two ends.

March2024_fringes

Trim the fringes to preferred length


~coffeeteaknits

The Swirling Hot Pad/Trivet Pattern


The Swirling Hot Pad/Trivet is knit holding four strands of yarn together. It is a flat circle that is knit in the round moving towards the center from the cast on edge by a series of decreases. It is similar to The Striped Spiral Hotpad/Trivet but differs in where the series of decreases is placed. The cast on edge of the Swirling Hot Pad/Trivet is finished with a slip stitch, chain one crochet border.

Materials Needed for The Swirling Hot Pad/Trivet:
Yarn:  Patons® Classic Wool Worsted™ in Natural Mix and Heath Heather colorway – 2 strands of each colorway yarn held together
Knitting Needles: US #9 (5.5 mm)16-inch circular needles and US#11 (8 mm) needles for cast on
Crochet Hook: H – 8 (5.0 mm)
Tapestry needle to weave in ends
Knitting skill level: Beginner to Advanced Beginner
Gauge: 3.5 stitches per inch in the garter stitch pattern with US #9 knitting needles after blocking
Size: about 9.5 inches in diameter

Abbreviations:
K: Knit
P: Purl
BOR: beginning of round
pm: place marker
sm: slip marker
rm: remove marker
K2tog: Knit the two stitches on the left needle together
[…]: stitch pattern repeats

The Swirling Hot Pad/Trivet Pattern (text and images for personal use only)

Holding 2 strands of Natural Mix colorway and 2 strands of Heath Heather colorway, cast on 81 stitches with US #11 knitting needles
Transfer the stitches to US #9 16-inch circular needles, slip a BOR marker, join round and knit as follows:

  • Round 1: [Knit 9 stitches, pm], repeat […] 7 more times, knit 9 stitches, slip BOR marker
  • Round 2: [Purl 8, K1, sm], repeat […] 7 more times, P8, K1, slip BOR marker
  • Round 3: [Knit to 2 stitches before maker, K2tog, sm], repeat […] 7 more times, knit to 2 stitches before maker, K2tog, slip BOR marker 
  • Round 4: [Purl to 1 stitch before marker, K1, sm], repeat […] 7 more times, purl to 1 stitch before marker, K1, slip BOR marker (72 stitches remaining)
  • Round 5: Repeat Round 3
  • Round 6: Repeat Round 4 (63 stitches remaining)
  • Round 7: Repeat Round 3
  • Round 8: Repeat Round 4 (54 stitches remaining)
  • Round 9: Repeat Round 3
  • Round 10: Repeat Round 4 (45 stitches remaining)
  • Round 11: Repeat Round 3
  • Round 12: Repeat Round 4 (36 stitches remaining)
  • Round 13: Repeat Round 3
  • Round 14: Repeat Round 4 (27 stitches remaining)
  • Round 15: Repeat Round 3
  • Round 16: [P1, K1, rm], repeat […] 7 more times, P1, K1, slip BOR marker (18 stitches remaining)
  • Round 17 K2tog till BOR marker, slip BOR marker
  • Round 18: Knit all the stitches (9 stitches remaining)

Cut 6 inches of the working yarn (2 strands of each colorway), thread it onto a tapestry needle and weave the yarn through the remaining 9 stitches. Pull on the working yarn to tighten and close the gap. Secure the working yarn on the opposite side.

Slip Stitch Crochet Edging:

  1. With a H-8 crochet hook and 4 strands of Heath Heather colorway yarn, make a slip knot and pull it under the V of the first stitch at the cast on edge
  2. Chain 1
  3. Insert crochet hook under the V of the next stitch at the cast on edge and slip stitch into the stitch on the crochet hook
  4. Chain 1
  5. Repeat steps 3 and 4 for all the other stitches
  6. Slip stitch into the first stitch chain 1 at the cast on edge. 
  7. Cut yarn and weave in the ends

Weave in the all the other ends, wash and block the Swirling Hot Pad/Trivet


~coffeeteaknits

Tutorial Series: The Knotted K2tog Bind Off

A decorative bind – off method that I used in The Cozy Season Shrug is the Knotted K2tog bind – off. It gives a nicer looking finished edge for shawls, shrugs etc. that can be added to a garter stitch pattern border.

The written instructions and video below on how to do the knotted K2tog bind – off is shown for right handed knitting.

Abbreviations:

  • K: Knit
  • K2tog: Knit the two stitches on the left knitting needle together
  • wyif: with the working yarn in front

The Knotted K2tog Bind Off:

Knotted K2tog Bind Off: (written intructions)

  1. To begin the bind off row/round: K2, wyif slip the 2 knitted stitches on the right knitting needle back onto the left knitting needle
  2. Wrap the working yarn in front of the 2 stitches on the left knitting needle
  3. Insert the right knitting needle into the wrapped stitches on the left knitting needle and knit those 2 stitches together.
  4. Knit the next stitch on the left knitting needle. There are two stitches on the right knitting needle
  5. Pass the second stitch on the right knitting needle over the first stitch on that needle
  6. K1, wyif slip the 2 knitted stitches on the right knitting needle back onto the left knitting needle
  7. Repeat steps 2 to 5
  8. Repeat steps 6 and 7 till one stitch left in the bind off row/round
  9. Cut and pull working yarn through the last remaining stitch and weave in the end

~coffeeteaknits

The Drapes Well Scarf Pattern

The Drapes Well Scarf is a rectangular infinity scarf that is knit flat and then joined at the cast on and the bind off edges. The scarf is knit with 2 strands of yarn held together in a combination of the garter stitch and the brioche honeycomb stitch patterns. The brioche honeycomb stitch pattern is a combination of slipped stitches and yarnovers in one row and knit 2 togethers in the next row. The yarn (Lion Brand® Yarn TruBoo) is smooth and silky that drapes well making it ideal to knit this infinity scarf. The 2 strands of yarn held together in the Drapes Well Scarf adds extra warmth around the neck making it an accessory suitable for cold weather.  

Materials Needed for The Drapes Well Scarf:
Yarn: Lion Brand® Yarn TruBoo in Silver – 2 strands of yarn held together
Knitting Needles: US #8 and US#10 for cast on
Crochet Hook: G-6 (4.0 mm)
Tapestry needle to weave in ends
Knitting skill level: Beginner to advanced beginner – slipped stitches, yarnovers (see tutorial here) and three needle bind off
Gauge: 5 stitches per inch in the brioche honeycomb stitch pattern with US #8 knitting needles after blocking and without stretching
Size: Fits most adults. Length can be increased or reduced to preferred size 

Abbreviations:
K: Knit
P: Purl
sm: slip marker
pm: place marker
RS: right side
WS: wrong side
YO: yarnover
K2tog: Knit the two stitches on the left needle together
wyif S1: with working yarn in front slip 1 stitch purlwise
S1 wyib: slip 1 stitch purlwise with working yarn in the back
[…]: stitch pattern repeats

The Drapes Well Scarf Pattern (text and images for personal use only):

With 2 strands of yarn held together, cast on 32 stitches with US # 10 knitting needles

With US #8 knitting needles and 2 strands of yarn held together knit the following:

BLOCK 1 (The Drapes Well Scarf is divided into 8 blocks or sections of pattern repeats):

  • Row 1 (RS): K1, pm, K2, pm, K26, pm, K2, pm, wyif S1
  • Row 2 (WS): K1, sm, K2, sm, knit till marker, sm, K2, sm, wyif S1
  • Row 3 (RS): Repeat Row 2
  • Row 4 (WS): K1, sm, K2, sm, [YO, S1 wyib, K1] repeat […] till marker, sm, K2, sm, wyif S1 
  • Row 5 (RS): K1, sm, K2, sm, [K1, K2tog] repeat […] till marker, sm, K2, sm, wyif S1 
  • Row 6 (WS): K1, sm, K2, sm, K1, [YO, S1 wyib, K1] repeat […] till 1 stitch before marker, K1, sm, K2, sm, wyif S1
  • Row 7 (RS): K1, sm, K2, sm, K2, [K2tog, K1] repeat […] till marker, sm, K2, sm, wyif S1 

Repeat Rows 4 to 7, nine more times
Repeat Row 2, 4 more times ending in RS row

BLOCK 2:

  • Repeat Rows 4 to 7, ten times
  • Repeat Row 2, 4 more times ending in RS row

BLOCK 3 to BLOCK 7:

  • Repeat BLOCK 2, five more times (Block repeats can be reduced or increased if preferred)

BLOCK 8:

  • Repeat Rows 4 to 7, ten more times
  • Repeat Row 2, 2 times ending in RS row

Three Needle Bind off Joining the Cast on edge:

  1. Bring the Cast on edge with the WS (wrong side) facing out. With another US #8 needle pick up one leg of the V right below the cast on edge stitches. Pick up 32 stitches. 
  2. Insert right needle into the first stitch on the first left knitting needle and then insert it into the first stitch on the second needle.
  3. Knit the two stitches together on the needle
  4. Insert right needle into the second stitch on the first left knitting needle and then insert it into the second stitch on the second needle.
  5. Knit the two stitches together
  6. Pass the first stitch on the right needle over the second stitch to bind off.
  7. Repeat steps 4 to 6 for the three needle bind off. 

Crochet Border:

  1. Starting on the RS (right side) of the three needle bind off edge, make a slip knot with G-6 (4.0 mm) crochet hook and pull it under the V of the the edge stitch and chain 2.
  2. Insert hook under the V of the next edge stitch and pull the loop through the edge stitch and slip stitch it to loop on the hook, chain  1
  3. Repeat Step 2 around one side edge of the scarf
  4. Slip stitch the last stitch on the hook into the beginning chain 1 stitch 
  5. Repeat Steps 1 and 2 for other side of the scarf

Weave in ends, wash and block the Drapes Well Scarf


~coffeeteaknits