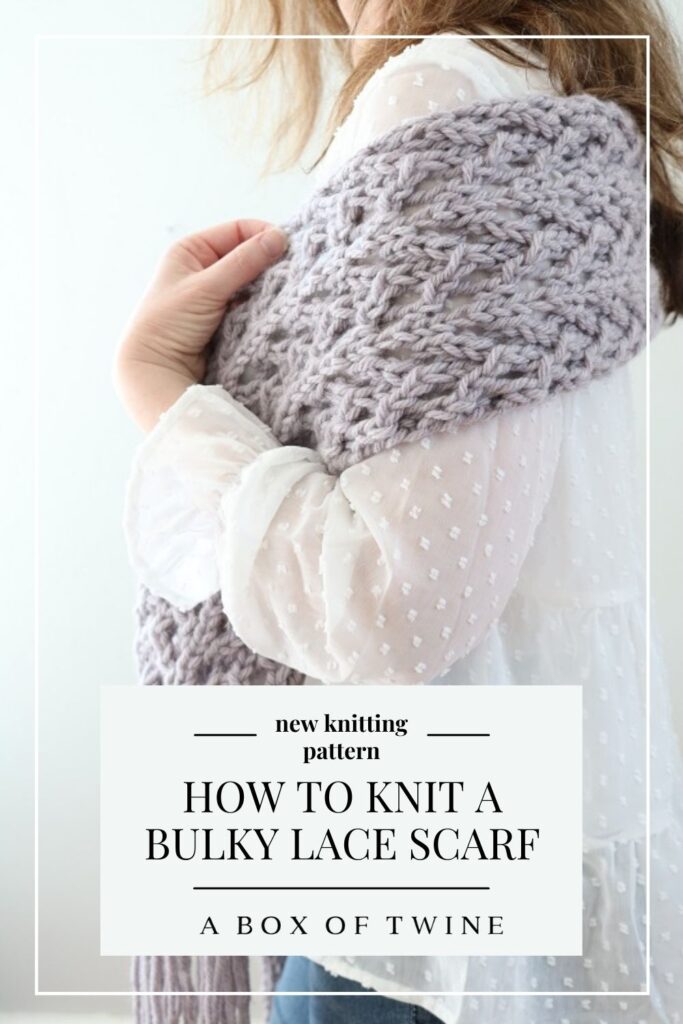
How to Knit a Bulky Lace Scarf {FREE Pattern!}
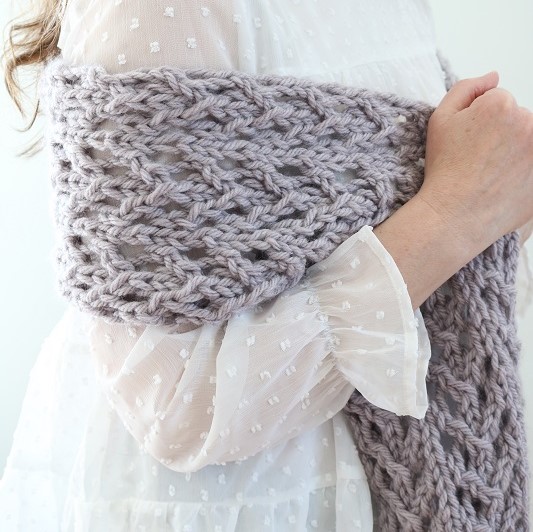
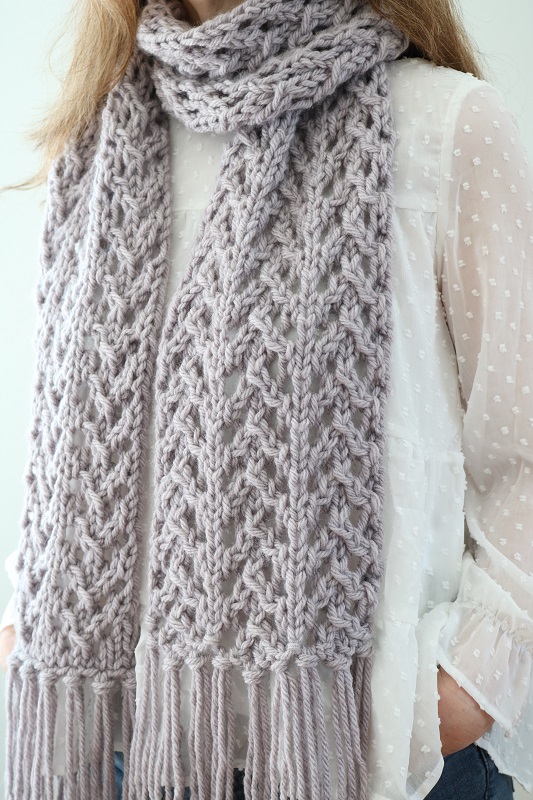
I love the look of lace scarves, don’t you? Something about the texture of the lace patterns is just striking. Would you love to learn how to make a bulky lace scarf using just 4 repetitive rows? I have a lovely lace pattern for you today that uses bulky yarn, so it works up more quickly than thinner yarns. You can expect to take about 5.5 hours knitting this scarf – not bad! If you love Hue and Me bulky yarn patterns, you will really enjoy the color and texture of this one. The color is called ‘Haze’, and it is quite a pretty lavender. The Easter holiday can be chilly depending where you live, so this scarf may be just what you need that day. I know I plan to grab it for my spring attire, but it would also be lovely in the fall or winter.

This post may contain affiliate links. That means if you click and buy, I may make a commission at no cost to you. Please see my full disclosure policy for more details.
FREE BULKY LACE SCARF KNITTING PATTERN
How to knit a chunky lace scarf
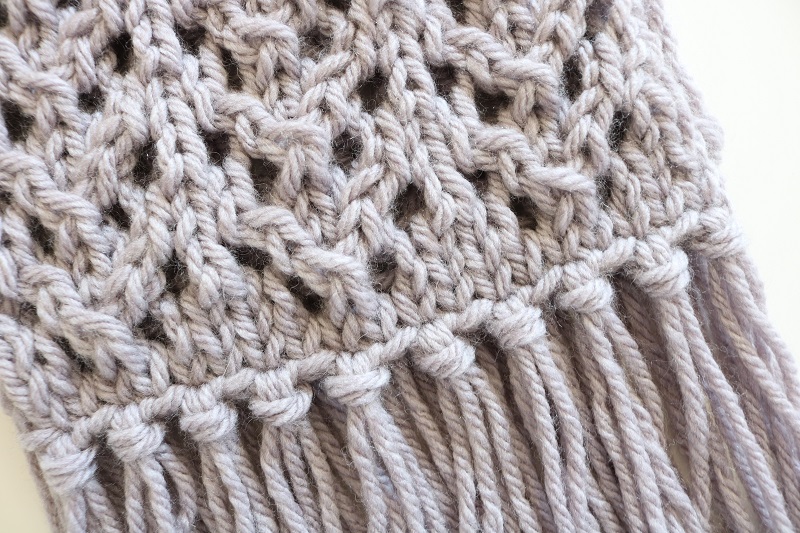
The chunky scarf knitting pattern is easy to work once you master a repeat of 4 rows. These 4 rows contain stitches for selvage (finished side edging), and increases & decreases that create the lace texture. Don’t worry – the increases and decreases cancel each other out so that you will always have the same amount of stitches per row: 21.
You will simply repeat the 4-row pattern many times until you reach 64″ (or your desired length if you have enough yarn). Lastly, add fringe for a modern look! The lavender color of this Hue and Me yarn scarf is one of my favorites, and is perfect for spring or fall.
You will need the following supplies to make the lace scarf:
Supplies
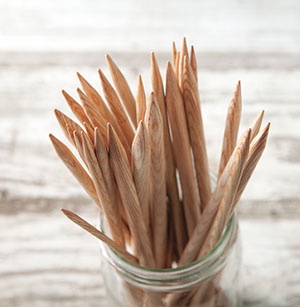
- Size 13 (9 mm) knitting needles
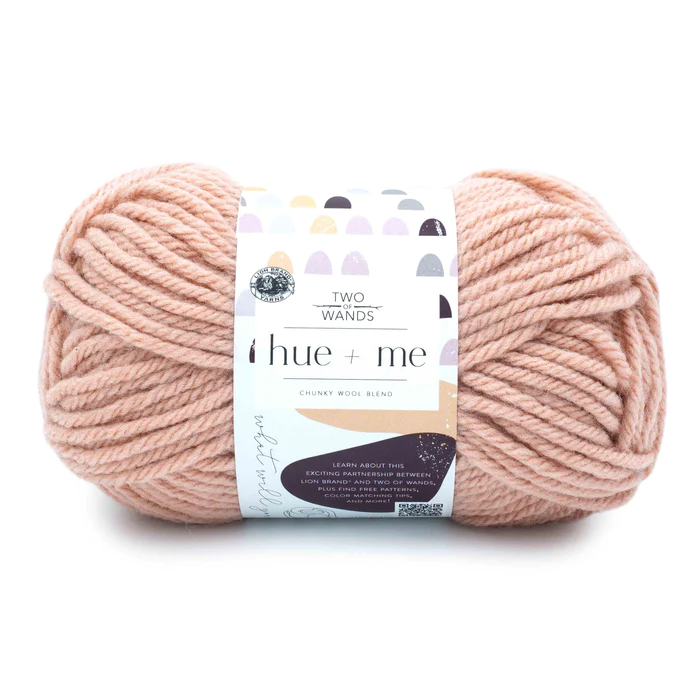
- approx. 205 yards of size 5 Bulky yarn. I used LION BRAND’S HUE + ME in color HAZE (2 skeins).
- scissors, tapestry needle, crochet hook for optional fringe
Abbreviations
K – knit stitch K2tog – knit 2 together
P – purl stitch sts – stitches
Yo – yarn over Rep – repeat
RS – Right Side (side that faces you when finished)
Special Knitting Stitches:
SKP – slip 1 knitwise, knit 1, pass slip stitch over knit stitch; (single left-leaning decrease)
SK2P – slip 1 knitwise, knit 2 together, pass slip stitch over knit 2 together; (double left-leaning decrease)
PATTERN INFORMATION
The free pattern for the bulky lace scarf is provided below.
- but you can also get the ad-free, printable pdf pattern for the BULKY LACE SCARF in the ETSY SHOP! The pdf has step-by-step tutorial photos included, which will help you work the special decrease stitches.
Before we begin, are you a brand new knitter? You may be interested in taking my knitting class first, to master the basics…
——————————————————————————————————————–
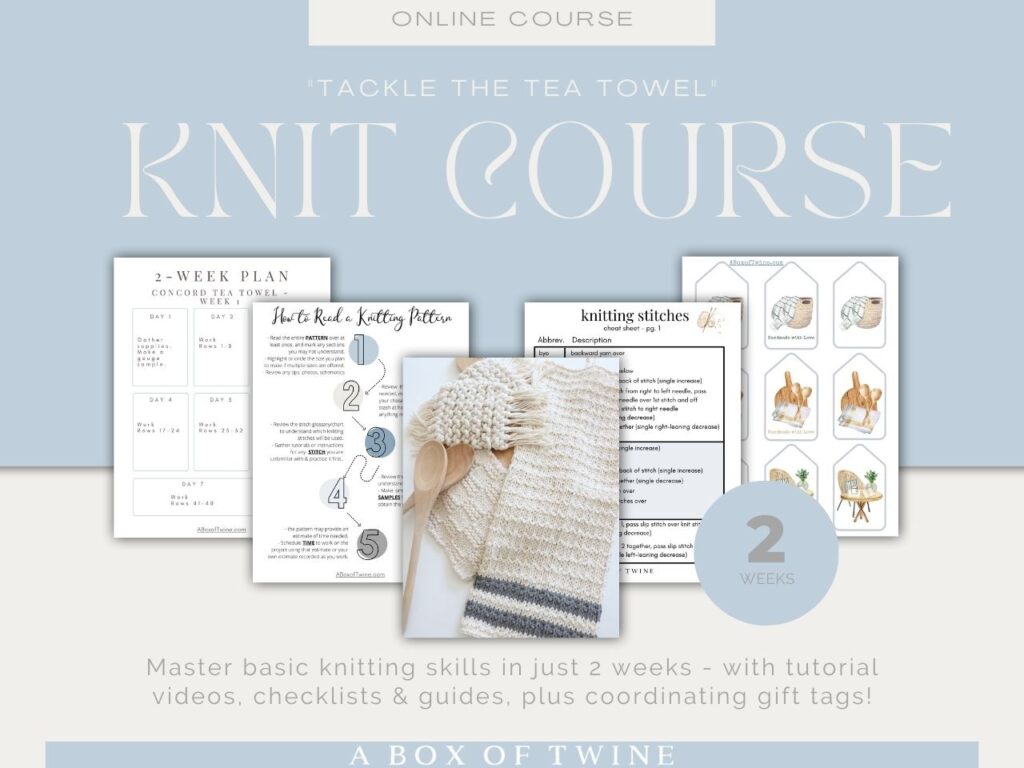
Do you wish you could really learn how to knit beautiful things?
Click here to master basic knitting skills in under 2 weeks – even if you are a complete beginner, intimidated by mistakes, and lack design coordination!
KNITTING COURSE —>
——————————————————————————————————————–
EASY CHUNKY KNIT SCARF PATTERN
Gauge: 4″ (10cm) square = 10 sts by 13 rows (in pattern)
How do you make a bulky scarf?
Follow instructions as follows…
Beginning with the Size 13 knitting needles, cast on 21 stitches with your BULKY YARN.
Lace Scarf Pattern
Row 1 (RS): Slip st knitwise, k1, *yo, skp, k1, k2tog, yo, k1; repeat from * to last st, k1. (21 sts for every row throughout)
Row 2: Slip st purlwise, purl to end.
Row 3: Slip st knitwise, k2, *yo, sk2p, yo, k3; repeat from * to end.
Row 4: Rep Row 2.
Rows 5-188: repeat Rows 1-4 forty-six times (until scarf measures close to 64”)

Finishing the Scarf
Bind off knitwise.
Weave in all loose ends.
Important Tips for Knitting your scarf
Some things to keep in mind as you knit the scarf are:
- The Right Side (RS) is always facing you as you knit odd rows, while the Wrong Side (WS) faces you as you purl even rows.
- Try to count your stitches after Rows 1 and 3 in the pattern to ensure you didn’t lose or add a stitch. You should always have 21 sts per row.
- If you have plenty of yarn, feel free to make the scarf longer to suit your preferred length.
Block your Scarf
The next step is to block your scarf to ensure it lies flat. I did this by pinning the scarf flat to a towel, then spraying it lightly with water. Next, I allowed the scarf to dry before unpinning.
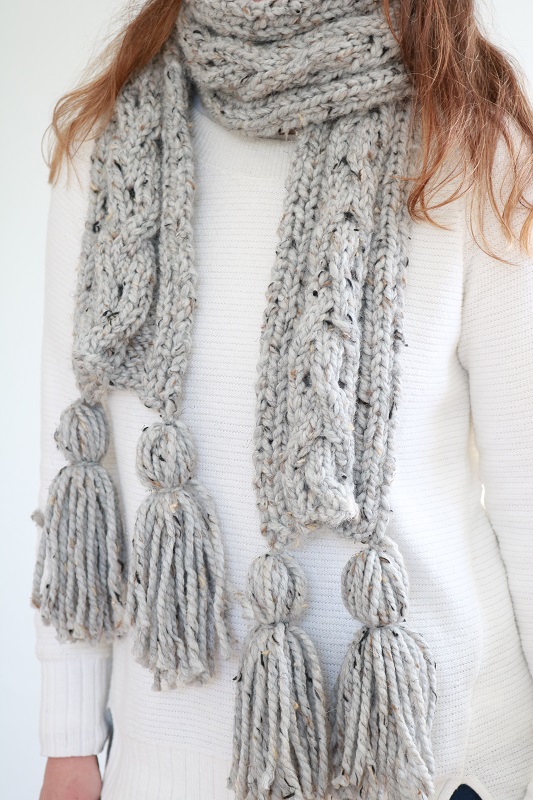
Optional – Add fringe to short ends
You can choose to leave your scarf as is if you don’t want fringe.
Alternatively, you can add long fringe to the short ends for added effect and weight. Follow these steps:
- Cut 40 strands of 16” yarn (it’s quicker to do this by wrapping yarn around 8” width thin piece of cardboard 40 times, then cut the bottom yarn).
- Pair two strands together and fold in half, forming a loop.
- Using a crochet hook, pull the loop through a stitch at the bottom corner of your scarf (from front to back), then pull the loose strands through the loop. Tug to tighten the fringe.
- Repeat these steps to add fringe onto every other stitch. There should be 10 fringe knots per each short side.
- Lastly, trim ends to even out the fringe.
Find visual steps for adding fringe in my article “How to add Fringe to a Scarf”.
Finished Size
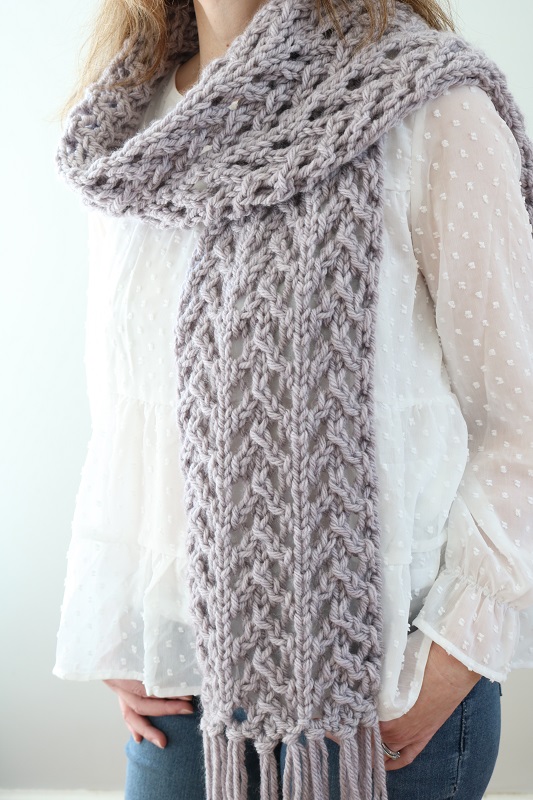
The finished lace scarf (without fringe) measures approximately 64″ length by 8.5″ wide after blocking. The fringe adds about 6-7” to each short side.
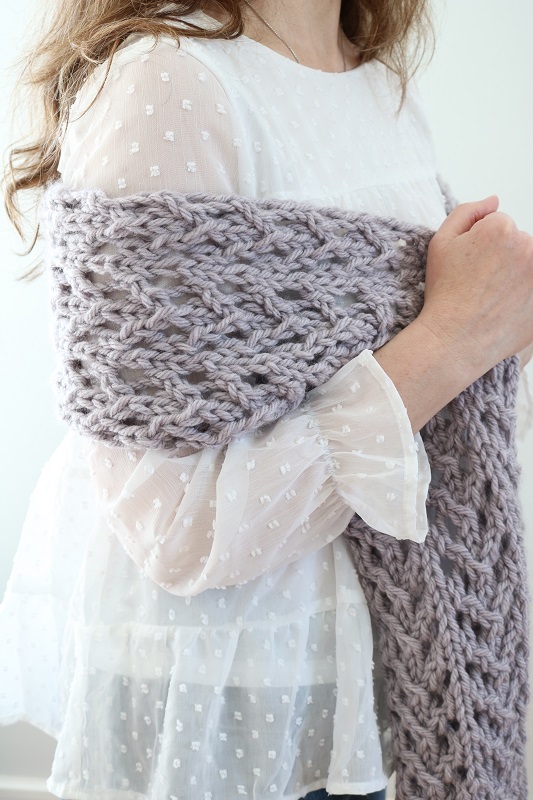
Wearing your Bulky Lace Scarf
Now it is time to enjoy wearing your finished knit scarf! It’s warm enough for spring or fall, and the lavender color will look gorgeous with a pretty blouse.
Get ready for the compliments on your lacy stitches!
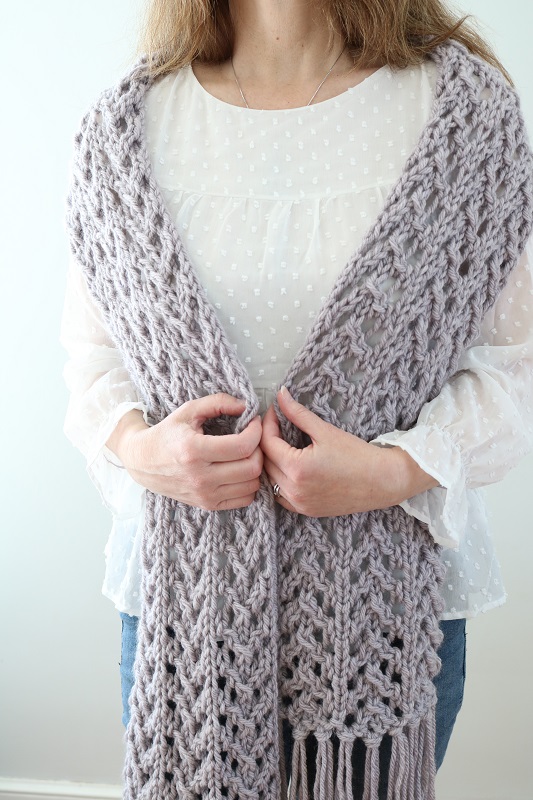
You can wrap the scarf around your shoulders, toss one end to the back, or wrap all around your neck.
What do you think of this chunky lace scarf knitting pattern? Are you intimidated to try it if you are a beginner? Don’t be!
Once you get the hang of rows 1-4, the project will become repetitive and simple. I know you can handle the increase (YO) & decrease (SKP, SK2P) stitches if you are a beginner. This is a great project to practice those skills on. Just remember to count stitches on your needle after finishing a Row 1 or Row 3.
Don’t forget that this knit pattern for Hue and Me yarn is also available in a pdf pattern. The pdf has helpful photo tutorials for the decrease stitches (SKP & SK2P). Grab the BULKY LACE SCARF pdf pattern in my Etsy shop.
Love scarves? Check out these other FREE knit scarf/cowl patterns…
===> Remember to PIN for later! <===


6 Comments
Nicole
Hello, love this pattern, thanks for posting! Im a beginner knitter but have tried numerous times to get the pattern however have been unsuccessful as in row 1, I end up with 22 stitches, I have utubed the heck out of yo, SKP and SK2P and appears I am doing it correctly (but obviously not). Any helpful hints as to what I may be doing wrong for this beginner?
Susan
Hello Nicole,
I’m so glad you like the pattern and that you want to give it a try as a beginner. Yes, you should always end up with 21 stitches on your needle after every row.
Perhaps it would help if I walked you through Row 1 and Row 3:
Row 1: The first two stitches are always the same. You will slip a stitch from left needle to right, knitwise (without ‘working’ it). You will knit the next stitch. After that, you will work the ‘repeat’ pattern to make 6 stitches, for a total of 3 times (to make 18 stitches total). The last stitch is a simple knit stitch, which will bring you to 21 total. Let’s focus on the 6-stitch repeat pattern in the middle (the 18 stitches). For those, you will yo, skp, k1, k2tog, yo, k1. This repeat pattern will always create 6 stitches. Here is how that works:
yo – simply wrap the working yarn over the right needle (1 stitch created)
skp – slip one stitch from the left needle to the right, knit the next stitch, then pass the slipped stitch over the knit stitch you just worked (1 stitch created)
k1 – knit the next stitch (1 stitch created)
k2tog – knit the next two stitches together (1 stitch created)
yo – simply wrap the working yarn over the right needle (1 stitch created)
k1 – knit the next stitch (1 stitch created)
So you see that each of these steps creates one stitch for a 6-stitch repeat.
Row 3: The first three stitches are always the same. You will slip a stitch from left needle to right, knitwise (without ‘working’ it). You will knit the next 2 stitches one at a time. After that, you will work the ‘repeat’ pattern to make 6 stitches, for a total of 3 times (to make 18 stitches total). That will bring you to 21 total. Let’s focus on the 6-stitch repeat pattern at the end (the 18 stitches). For those, you will yo, sk2p, yo, k3. This repeat pattern will always create 6 stitches. Here is how that works:
yo – simply wrap the working yarn over the right needle (1 stitch created)
sk2p – slip one stitch from the left needle to the right, knit the next 2 stitches together, then pass the slipped stitch over the knit stitch you just worked (1 stitch created)
yo – simply wrap the working yarn over the right needle (1 stitch created)
k3 – knit the next 3 stitches (3 stitches created)
I hope that helps. Let me know if you need additional help.
Best,
Susan
Linda Collard
can you make this wider so its a wrap
Susan
Sure! I think you could cast on 33 or 39 stitches instead of 21, then follow the pattern as written (replacing the 21 sts with the number you cast on). Just make sure to add a multiple of 6 when adding stitches. 33 stitches should make your wrap about 13″ wide and 39 stitches should make your wrap about 15.5″ wide. Remember you will need more yarn if you choose to do this. Enjoy!
Trish
Hello Susan,
I have been looking at this pattern; it makes a very pretty scarf with a not too complicated pattern.
The interesting thing is that I normally don’t think of bulky yarn when I think of a lace scarf but this is very appealing!
Winter has just returned here (again) so we have snow, wind and frozen-over ponds at -15 degree Celcius temperature. Last week we had 3 days at + 11 degrees Celcius. So, it appears that Easter will be cold and I will certainly need a scarf like this. I know that I won’t have time to knit this before Easter but autumn will be back soon enough so that means I can choose one of my favourite colours and have it made before frosty September days.
Thank you for sharing this pattern.
Susan
Thanks so much Trish! I love working with bulky yarn, as it knits up quickly. 🙂