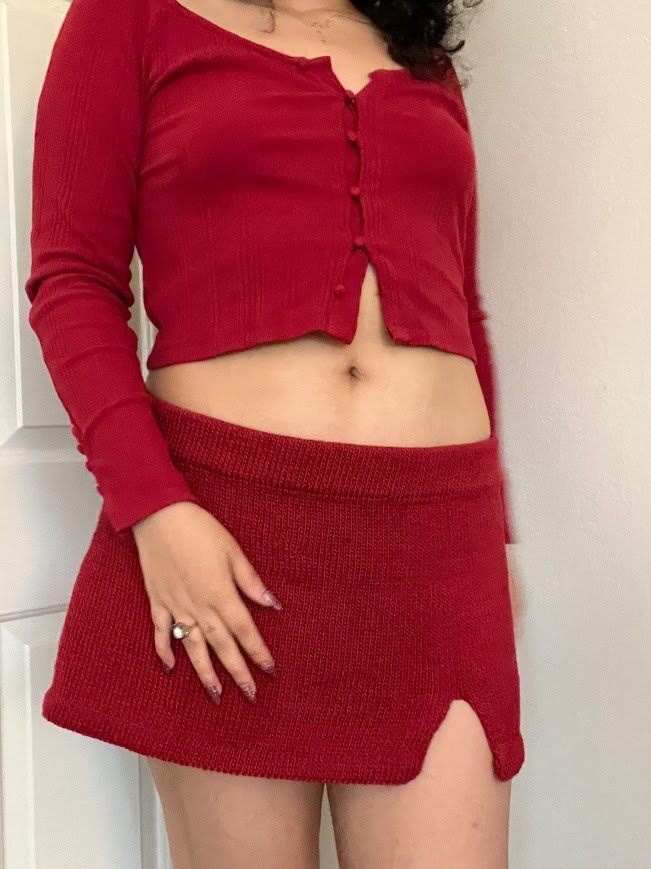
Bitchin’ Skirt: A Free Knitting Tutorial
I asked, y’all voted, and here you have it! The first pattern in my “Bitchin’” series of free tutorials to help you learn and grow some fundamentals of knitting and self drafting patterns.
Frankly, I’m very happy that y’all voted on skirt because its one of the easiest garments to learn to self draft! I’ll teach you some of the basics here and give you some tips on how you can modify this basic skirt into different shapes and styles.

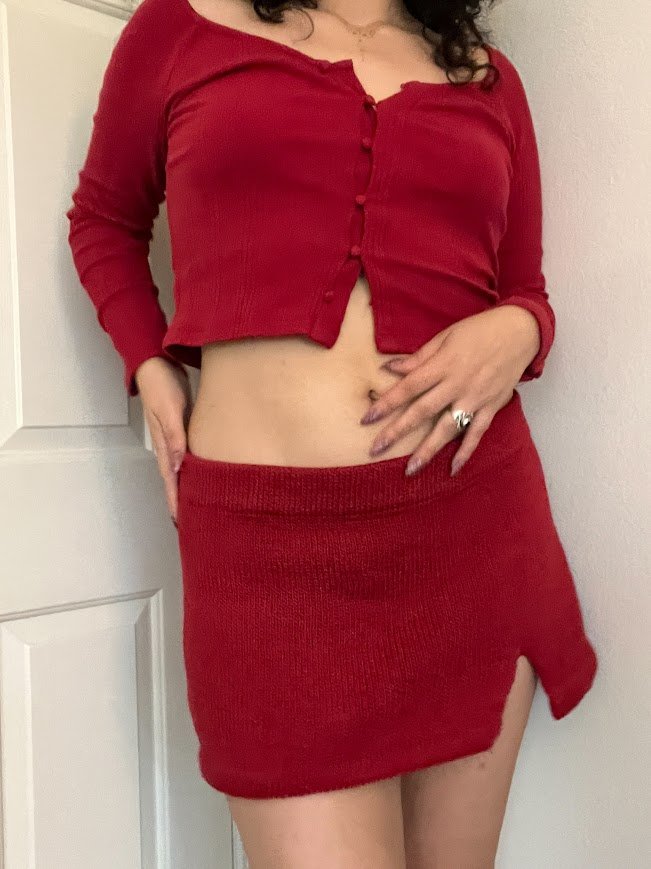
This skirt is a simple column skirt with basic shaping and a folded waistband with elastic inserted throughout it to help support the weight of the skirt and to keep it well fitted.
You can knit this skirt with any weight of yarn at any gauge. But no fear, I’ll be giving you some guidelines I like to keep in mind while knitting a garment like this.
Before You Start…
Choosing your Gauge
When choosing gauge and yarn for a project there are 2 main things to keep in mind
How do I want this garment to look? - This one is pretty straight forward, do you want an open breezy gauge the brings to mind the beach? a heavier knit for a cozy sweater look? Keeping this in mind while making your swatch will save you a lot of heartbreak from making a garment that just doesn’t have the “feel” you were going for when you spend all the time and money knitting it.
What function do I want this garment to serve? - Do you want this garment to be your everyday, easy to pull on skirt that you don’t have to worry about wearing the right underwear in? Do you want this to be the perfect slinky date night skirt that makes you feel like the most ethereal version of yourself? Or is this the beach skirt that you pull on that barely qualifies as a coverup?
Now that you’ve answered these questions, its time to select your fiber! Here are some general guidelines for selecting the right fiber for your project, paired up with some keywords that they evoke for me
“Dainty”, “Summery” - For garment with this feeling, I suggest you stick to a dk weight yarn or smaller.
“cozy”, “homey” - I suggest something worsted/aran weight. I generally avoid bulky+ yarns for skirts as a personal preference, but those weights would definitely fit the bill for these keywords!
“drapey”, “elegant”, “fancy” - fibers that give that richness and sheen are some obvious things like silk. But more affordable alternatives include bamboo/rayon/tencel (which are all almost the same thing), or even mercerized cotton, which is cotton that has been treated to smooth the fibers and give them a bit of a shiny finish.
“everyday”, “comfy”, “breathable” - If these are the words that come to your head, there is nothing that can outshine a classic cotton. Not all cottons are equal though! Take some time to go to your LYS or go through reviews/ravelry to find a cotton that has a nice soft feel/drape and avoid cottons that are marketed for “crafting”, as these tend to be rougher and are intended for things such as potholders, coasters, etc, and not for garments.
“form-fitting”, “durable”, “year-round” - Now this is definitely where I fall in and where I get to recommend my favorite fiber of all time… wool <3. Wool naturally has elastic properties that help it maintain its shape overtime. The lanolin naturally found in wool is anti-microbial and has a “self-cleaning” effect, meaning that you won’t have to wash it as much. Lightweight wools are also quite breathable (not all wool is a heavy sweater!) and if you pick the right blend , a wool skirt truly can be worn year-round depending on your climate.
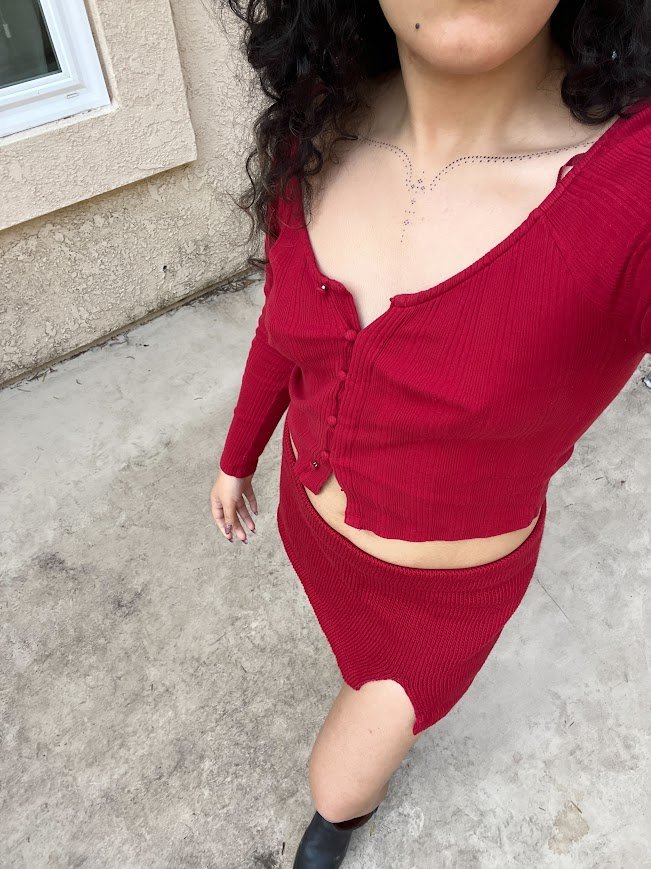
So now that we’ve gone over that you’re probably wondering what I’ve chosen to knit my skirt with. Personally, I want my skirt to serve the function of a quick and easy daily wear skirt, I want it to be comfy and breathable, but still have a good amount of drape. I also don’t want to spend a ton of time knitting it. So I’ll be knitting my skirt out of Berroco Modern Cotton, which is a 60/40 cotton/rayon blend and light worsted weight. Which I will be knitting on 4.5mm needles for a tight gauge that’ll definitely cover my underwear but won’t take forever to get some good length on.
MATERIALS
Yarn of your choice - I will be using some Berroco Modern Cotton that I had in stash
Corresponding needle choice for your desired fabric - I’ll be using 4.0 mm circular needles for a tight gauge that’ll hold up wear. You will want a cord length that is smaller than your waist. I’ve also listed my recommended needle size based on your yarn weight
Fingering - 3mm-3.5mm
Sport/DK weight - 3.5mm - 4mm
Worsted/Aran - 4.5mm-5mm
Bulky - 5.5mm - 6mm
Scissors/tapestry needle
stitch markers (locking & non-locking)
measuring tape
Patience and self-confidence! You’ve got this!
GAUGE: Your gauge will be dependent on what your yarn/needle combo is, but not to fear! I will be teaching you how to use whatever gauge you have and your measurements to make all the calculations you need. For this project, my gauge is
22st x 28rows - 4” X 4”
SKILLS NEEDED (abbreviations in parenthesis)
Not familiar with one of these techniques? Just click to open a video tutorial!
VERY basic hand sewing skills (literally so basic you’ll be fine)
ABBEVIATIONS
K - knit
P - purl
BORM - beginning of row marker
st - stitch
SM - stitch marker
k2tog - knit 2 together
M1L/M1R - make one left, make one right
Overview
You can think of this skirt as coming together in 3 main parts.
Elastic Casing - First you will prepare a loop of elastic to fit where you want the skirt to sit. Then we will knit in the round until the fabric is about twice as wide as the elastic is. Finally, pick up stitches along the cast on edge and knit together with the live stitch to form a casing.
Hip Shaping - Once the elastic casing is ready to go we will move into shaping the skirt around your hips. This will be done via raglan-style increases. I’ll show you how to calculate the rate of these increases and how many increases you need to do!
Skirt - At this point you can knit straight with no increases for a column/straight fit skirt or continue to make increases less frequently for a more a-line shape. Bind off and you’re done!
Measurements
The measurements and calculations for this skirt are pretty straightforward! But, if you for whatever reason don’t want to do them yourself or if you want to show support for me, I’ve created a spreadsheet to do the work for you! Just plug in your measurements (in inches) and gauge, then everything else will be calculated. You can find it available for purchase here, this spreadsheet is designed for use alongside this post :)
MEASUREMENTS NEEDED
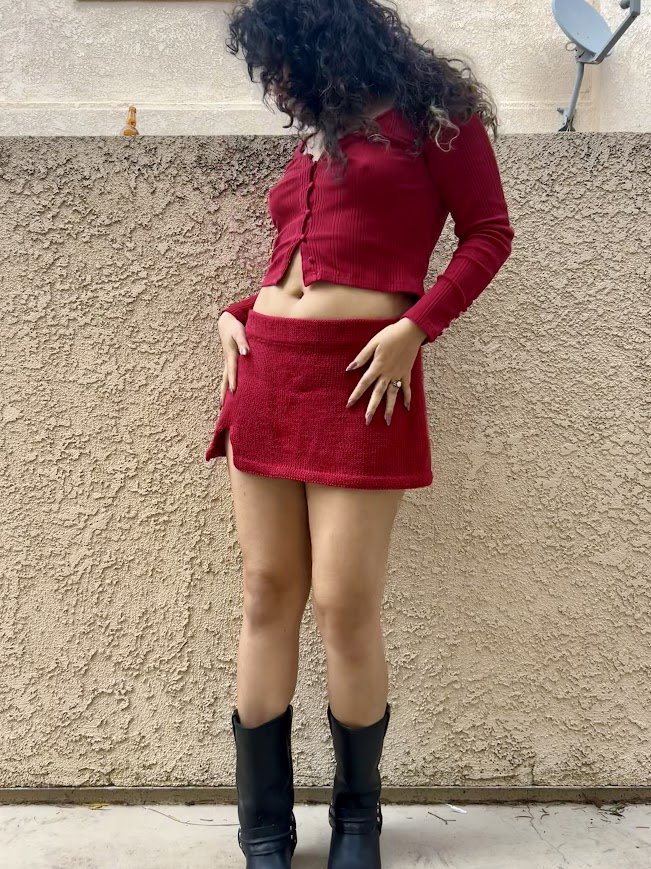
Waist/where you want the skirt to sit - The circumference of where you want your skirt to sit, whether that’s your natural waist, low waisted, or anywhere in between. I went for a low-mid rise fit for my skirt!
Full Hip - The circumference of the fullest point of your hips (around your butt!)
Distance between waist and full hip - The vertical distance between where your skirt is sitting and your full hip measurement. I recommend you take this measurement along the front of your body.
Start Pattern
ELASTIC
Before we jump into the knitting, let’s prep your elastic! I recommend you use at LEAST 3/4” wide elastic. No elastic thread or anything like that here! We need this elastic to support the weight of the skirt and to stay put, the only way to do that is to use a wider elastic. Cut a length of elastic the same measurement as your waist + 1”. Overlap the edges about 3/4” and sew together.

Now to sew the elastic together!
Sew the overlapped elastic together in this shape. First sew a square (or rectangle) around the overlapped parts and then an X through the square. You can do this with a sewing machine or by hand. If you’re doing it by hand I recommend you use a backstitch or running back stitch at the minimum. When you’re done, give it a good tug to make sure it feels secure.
1. ELASTIC CASING
Let’s get into the knitting! First, we’ll start by calculating how many stitches you’ll need to cast on. Take your waist measurement and follow this formula
(waist measurement/4) x (stitches in gauge) -> round to the nearest multiple of 4
For me, this ended up being 200 st. Cast on and join in the round, placing a stitch marker in the first stitch. Knit in the round until your fabric measures roughly 2.25x the width of your elastic. You can calculate the exact number of rows with this formula
((width of elastic x 2.25)/4) x (rows in gauge) -> round to nearest whole number
Or about 25 rows for me while using a 1.5” elastic band.
To form the casing, we will be picking up a stitch from the cast on edge and knitting it together with the corresponding live stitch to form a tube. To get started, place the elastic loop so that it’s touching the wrong side of your fabric. Bring the cast on edge up to the needles so that the elastic is sandwiched inside. Then use the following steps to knit the edges together
Insert your right needle into the first stitch of the cast on edge (should have a stitch marker in it).
Pick up a stitch and slide it onto the left needle
K2tog
Repeat for all stitches
You can find a video tutorial for this technique (minus the elastic) HERE
Once the casing is complete, knit 2 rows of stockinette, placing a second stitch marker halfway through (for me, 100 stitches over). The beginning of row marker and the second marker you just place are where we will be working the hip shaping.
2. HIP SHAPING
Ok! Here’s where the math gets fun ;) Let’s walk through a few calculations first…
Number of Hip Stitches = (hip measurement/4) x (stitches in gauge) -> round to the nearest multiple of 4 (232 st for me)
Number of Hip Shaping Rows = (waist to hip measurement/4) x (# of rows in gauge) -> 42 rows for me. You may not use this exact number (I didn’t) but it gives you a good guideline.
Since we’re working these increases “raglan style” we will be increasing 4 stitches for each increase row, so let’s find out how many increase rows we need!
(# of Hip Stitches) - (# of Waist Stitches) = # of stitches to increase / 4 = # of increase rows
Ex. (232 St) - (200 St) = 32 St / 4 = 8 increase rows
To figure out how often you need to work these increase rows use the following calculation
(# of Hip Shaping Rows) / (# of increase rows) -> round to the nearest whole number
Ex. 42 / 8 -> round to nearest whole number = 5
This means that in every set of 5 rows, I will be working 1 increase row followed by 4 non-increase rows for a total of 40 rows (just a tad under what we calculated!)
Work these increase rows in the following manner
Starting at BORM, slip marker, k1, M1L
Knit until 1 st before marker, M1R, k1, slip SM, k1, M1L
Knit until 1 st before BORM, M1R
Follow with however many knit rows you need based on your calculations
3. SKIRT
Think of this as the “choose your own adventure” part of the pattern! There are 2 main ways to shape the skirt and I’ll be showing you how to add a slit to either one.
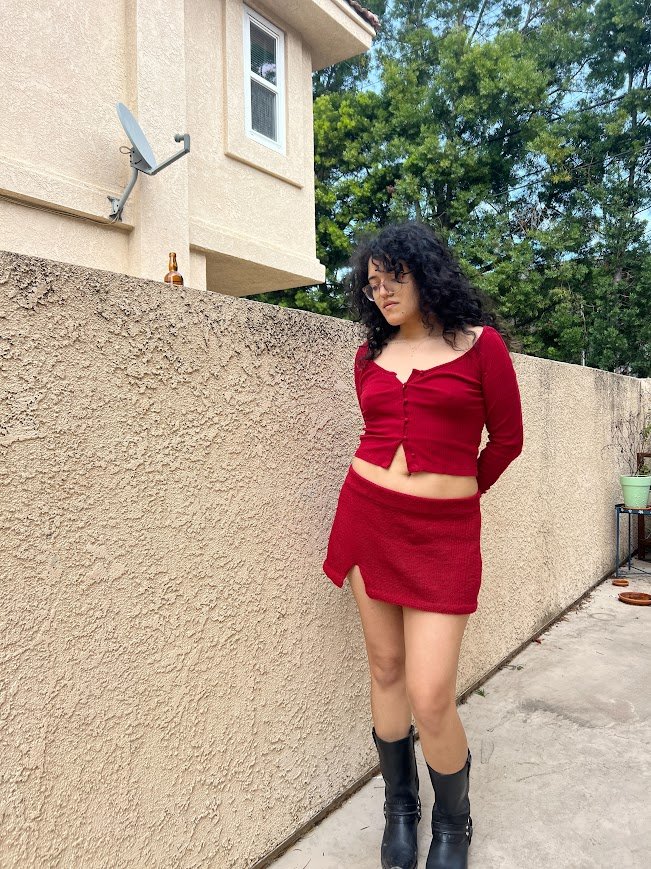
Column/straight skirt - Now that the skirt shaping is complete, work til your desired final length with no more shaping along the SM. For any skirts of this style longer than knee-length, I recommend adding a slit somewhere for ease of walking
A-line skirt - You will continue to work increases along the stitch markers in the same manner but you will work them less frequently. Now, double the non-increase rows between increase rows. For example, since I knit 4 stockinette rows after an increase row, I will now knit 8 stockinette rows! You can also have more stockinette rows in between for more subtle shaping. Since you’re creating extra room in the skirt, you may not need a slit for ease of walking.
To create a slit in the skirt, knit until your skirt is the length where you want your slit to start. Then, follow these instructions…
Place your stitches on tubing/scrap yarn/some other way to hold stitches, and try on the skirt. Using a SM, mark where you want your skirt slit to be.
Place stitches back on needles. Starting at the BORM, slip stitches purlwise until you reach the marker for your skirt slit. Cut your yarn, leaving a 6” tail, insert your needle into the next stitch and attach yarn. This is your new beginning of row. Knit until you reach marker again, turn work, purl across.
Work stockinette stitch flat until you reach your desired final length.
TIP: Slip the first stitch of each row for a neat edge!
BIND OFF
For my skirt, I decided to go with a folded-over and sewn finish. This gives the edge a clean look and helps it lay flat as well. I’ll outline how I did this bind-off and a few other options I would recommend. You can find a video tutorial linked for each one :)
FOLD OVER AND SEW - For this bind-off method, work until you reach the desired final length of your skirt ending on a purl row. Purl across (forming a purl row on the right side of the fabric. Continue in stockinette stitch for about 1”. Bind off with a standard bind-off and cut your yarn leaving a tail 4x the length of the hem. Whipstitch the bind-off edge to the fabric.
TUBULAR BIND-OFF - This is the perfect choice for a stretchy and super neat bind-off! My favorite way to work this without the obvious ribbing look is to knit 1 or 2 rows of 1x1 ribbing as set-up rows and then bind off using with the tubular bind-off. The downside to this technique is that you will likely still have some kind of curling. Depending on the fiber, you may be able to block this so it lays flat.
JENNY’S SURPRISINGLY STRETCHY - This bind-off is exactly what it sounds like! Super stretchy and quick to work up, this bind-off essentially works by adding extra yarn to the edge by adding yarn overs, giving it more space to stretch. The main thing to look out for is that this technique can often cause a flared edge due to all that extra yarn. To prevent this, you can either size your needles down (usually recommended 2-3 sizes), or only work the yarn overs every other stitch.
Once you’re done with your bind-off, go ahead and block the way that best suits your fabric/the way you blocked your swatch. For me, that’s steam blocking!
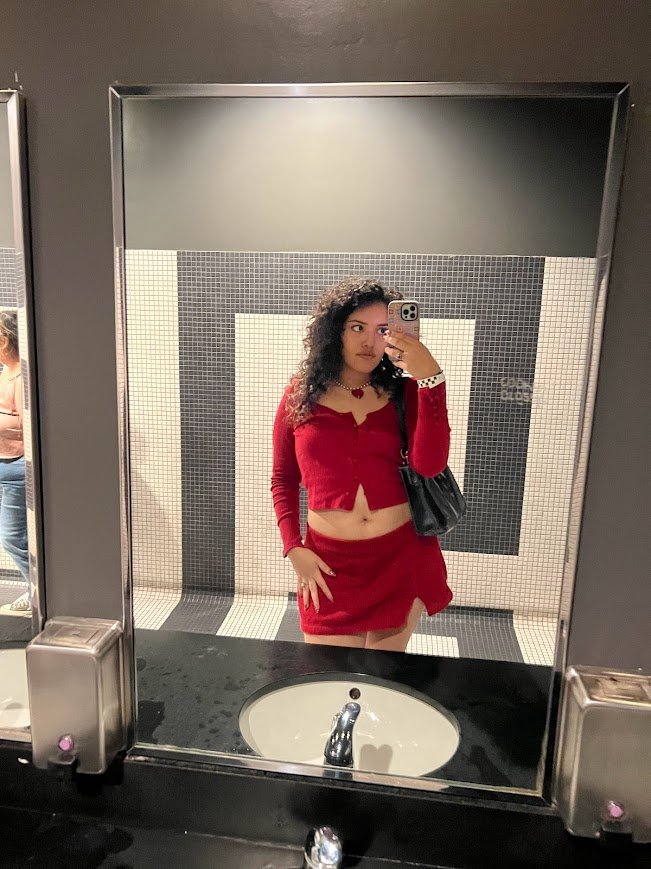
TA-DA you’re done! Go and enjoy your new knit :)

Want to leave a thank you? Click the button below :)
Terms and Conditions
Thank you so much for all the love on this design, your support means the world to me and helps my small business so much. I can’t wait to see what you create!
This pattern is made strictly for personal use only. The copying, distributing, or commercial use of any part of this pattern is strictly prohibited. Please always give credit to me (Dani Ruiz @theyarnbitch) as the pattern designer. I am more than happy to share the beautiful work you create and hope you respect mine as well.
I ask that you please do not sell products created from this pattern to the public. Small commissions between friends and family are ok :), but please refrain from selling products created from this pattern at markets, or on a larger commission basis.
I hope that you use the techniques and skills you learn from this pattern to create your own original designs.
Thank you and much love!
xx Dani